Planet Atmosphere
Contents
Overview[edit]
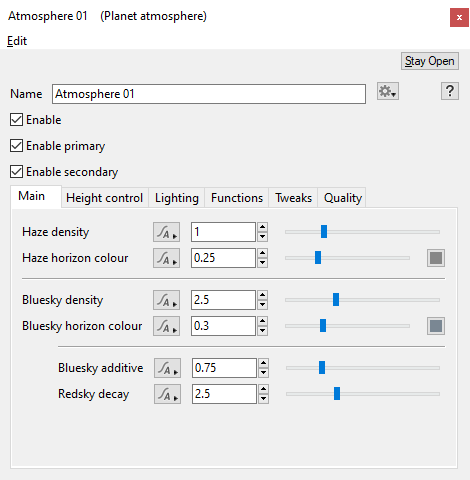
The Planet Atmosphere node provides all the effects of a full planetary atmosphere, including blue sky, the red of sunsets, and distance-enhancing haze. You can control many aspects of the atmosphere to fine-tune or enhance a realistic Earth-like atmosphere, or create completely alien skies. The default scene includes a Planet Atmosphere node. Note that clouds are created separately using the Add Cloud Layer button.
Settings:
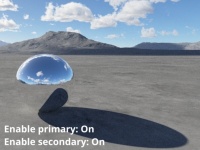
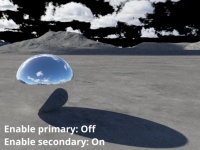
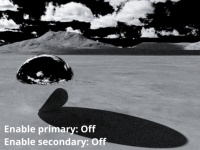
- Enable primary: Controls the visibility of the atmosphere itself, primarily manifested as haze. When enabled the camera directly sees the atmosphere, but when disabled causes the sky to become invisible to the camera. If Enable secondary is on, the atmosphere will still affect the lighting on any clouds and the terrain in the project.
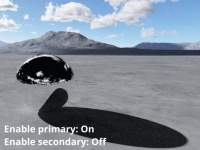
- Enable secondary: Responsible for the global illumination, reflections and shadows of the atmosphere. When enabled, shadows and reflections of the atmosphere are rendered. When disabled, they are not rendered, therefore the reddening of the light at sunset won’t be visible or the atmosphere on the dark side of a planet will still be fully lit because the shadows aren't calculated.
Main Tab[edit]
Haze
"Haze" in Terragen is used create the appearance of moisture or haze in the atmosphere. It can be used to simulate a broad range of phenomena such as fog, mist, or dry haze caused by dust and smoke.
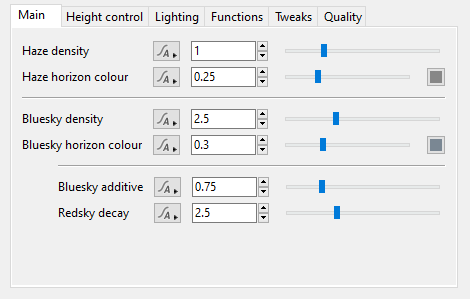
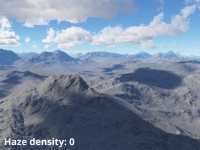
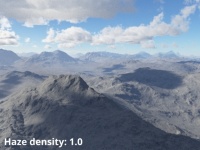
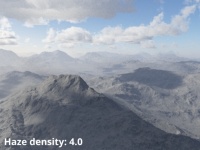
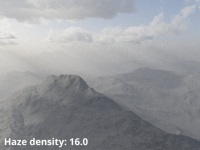
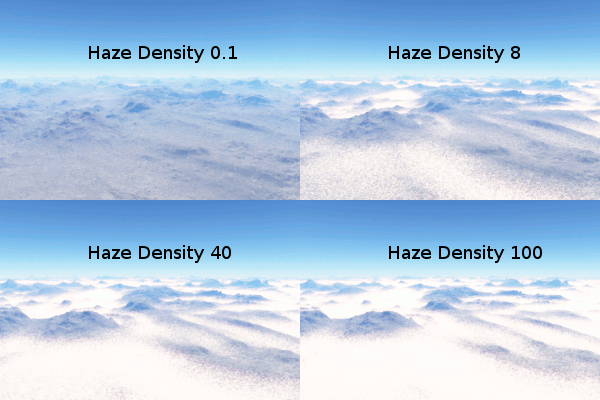
- Haze density: Controls how thick the haze appears. The default value is 1. Low values reduce the density, making clearer skies. High values increase the density, making the haze more opaque and the atmosphere take on more of the Haze horizon colour.
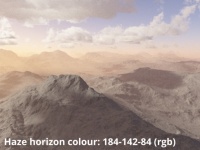
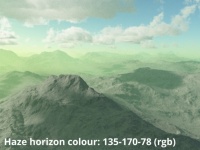
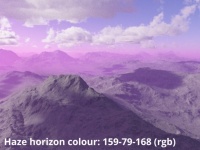
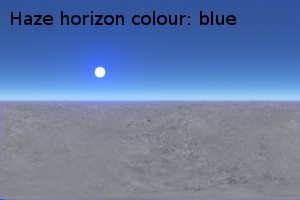
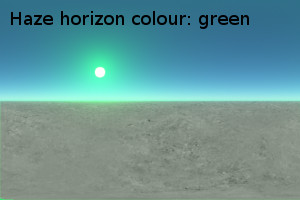
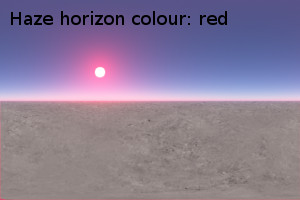
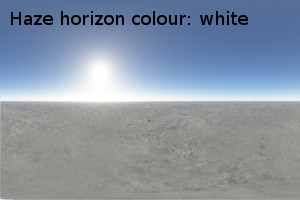
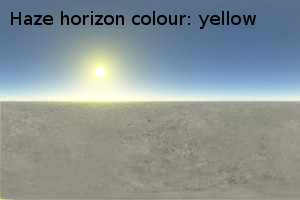
- Haze horizon colour: Sets the colour of the haze. This should normally be a greyish colour (a value of 0.25 represents 100% albedo here). As the haze becomes more dense or viewed through a large distance, the colour of the haze will converge to this colour. However, the overall colour of atmosphere is a mixture of the Haze horizon colour and Bluesky horizon colour (which depends on the density settings) and is also affected by the lighting.
Bluesky
"Bluesky" in Terragen simulates the Rayleigh scattering phenomenon due to air molecules in the atmosphere, but can also be used to simulate very fine smoke particles. Rayleigh scattering causes the the sky to be blue during daylight and reddens the sun at sunset. It also affects the lighting of the scene and the appearance of distant objects.
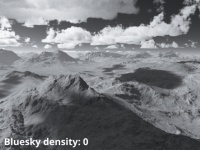
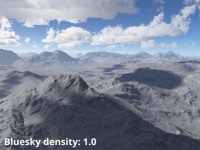
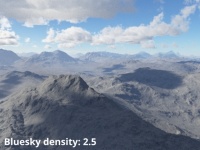
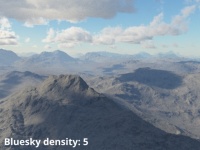
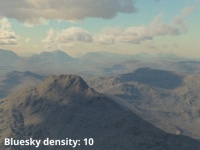
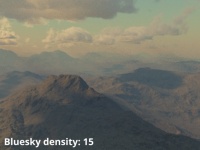
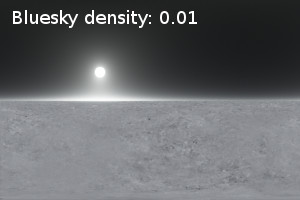
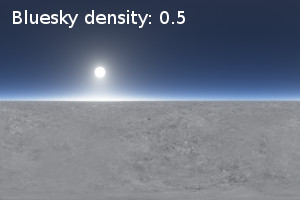
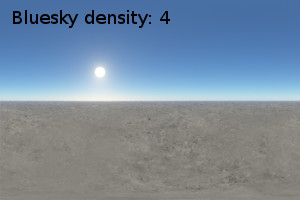
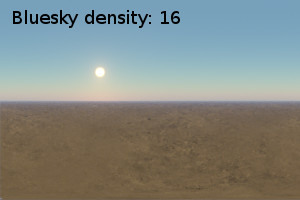
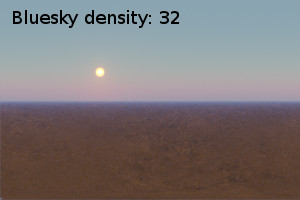
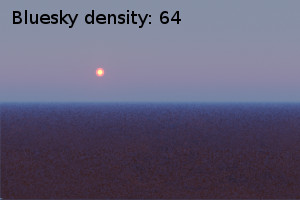
- Bluesky density: Controls the strength of this scattering effect, or the density of air molecules or other Rayleigh-scattering particles in the atmosphere.
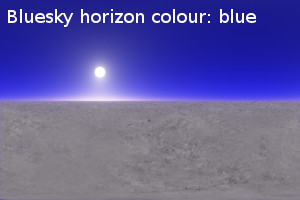
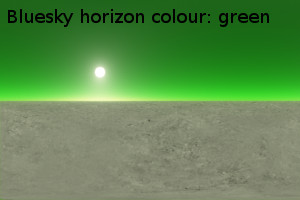
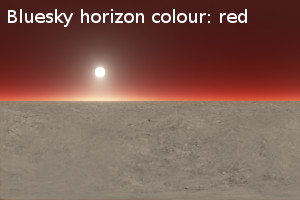
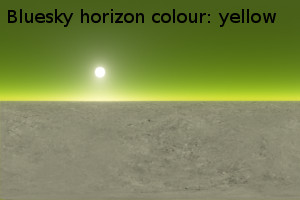
- Bluesky horizon colour: Sets the convergence colour of the bluesky component. This should normally be a greyish colour (not too blue). This colour emerges where there is an equilibrium between inscattering and outscattering, but you can change it for artistic effect. This occurs wherever the bluesky becomes more dense or objects are viewed through a large distance (e.g. at the horizon) and is easier to see when haze density is low. Bluesky horizon colour can also be expressed with the Bluesky additive (inscattering) and the Redsky decay (outscattering) parameters, because of the mathematical relationship between them. Changing this value automatically changes the Bluesky additive parameter.
- Bluesky additive: Allows for the independent adjustment of the additive blue effect (inscattering). Changing this value automatically changes the Bluesky horizon colour because the horizon colour is the equilibrium between inscattering and outscattering.
- Redsky decay: Allows for the independent adjustment of the reddening effect (outscattering). Changing this value automatically changes the Bluesky horizon colour because the horizon colour is the equilibrium between inscattering and outscattering.
Height Control Tab[edit]
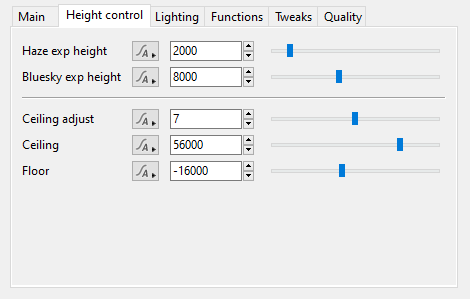
In reality the atmosphere does not stop at any altitude, but continues to get thinner the higher you go, and some molecules can exist hundreds of kilometres up. Terragen sets a limit on how high it calculates the atmosphere, therefore no atmosphere is rendered above the Ceiling value.
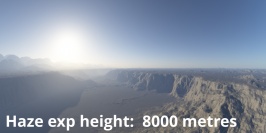
Within the atmosphere defined by the Ceiling and Floor values, the relationship between altitude and density is modeled by an exponential falloff. "Exp height" parameters affect the rate of this falloff. If the "exp height" is 8000, this says that at 8000 metres above sea level the density is reduced to 37% of what it is at sea level. And every additional 8000 metres causes a further reduction by the same factor, so at 16000 metres you have 37% x 37% = 14%. This "magic number" of 37% comes from 1/e ~= 0.37.
These exp height parameters are known as "scale height" in atmospheric science. See also: https://en.wikipedia.org/wiki/Scale_height
Settings:
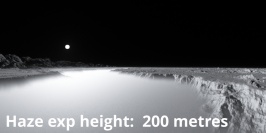
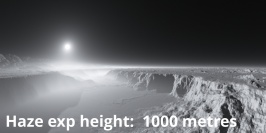
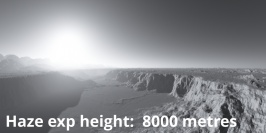
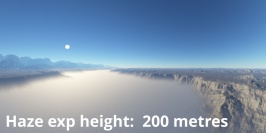
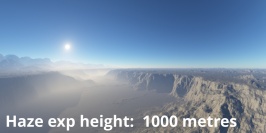
- Haze exp height: This controls the exponential falloff of the "Haze density" component. The value in the default scene is 2000, which says that at 2000 metres above sea level the density is reduced to 37% of what it is at sea level. Every increase in altitude by the exp height settings cause a further reduction by the same factor, so at 4000 metres you have 37% x 37% = 14%.
- Lower values of exp height cause the density to change more rapidly with respect to altitude, reduce density everywhere above sea level and increase density everywhere below sea level. Lower values can make a scene appear to be bigger, especially if the overall density is increased as well.
- Higher values of exp height cause the density to change more slowly with respect to altitude and increase density everywhere above sea level, while reducing density everywhere below sea level. Higher values can make a scene appear to be smaller, especially if the overall density is reduced as well.
- Smaller values of "Haze exp height", such as 100, can be used simulate low-hanging fog, but note that the apparent height of the fog greatly depends on the "Haze density" setting on the Main tab, and you may need to increase this by a large amount to make the fog visible in your scene.
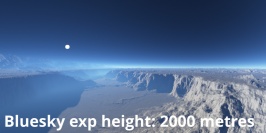
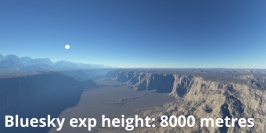
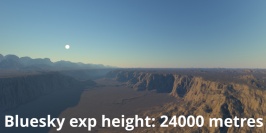
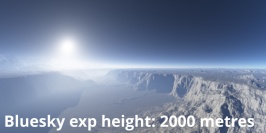
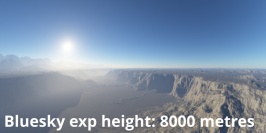
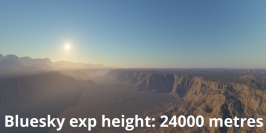
- Bluesky exp height: This controls the exponential falloff of the density of the "Bluesky density" component. The default value is 8000, which is a good approximation of Earth's atmosphere. This value says that at 8000 metres above sea level the density is reduced to 37% of what it is at sea level. Every additional increase in altitude by the exp height causes a further reduction by the same factor, so at 16000 metres you have 37% x 37% = 14% of the atmosphere remaining.
- Lower values of exp height cause the density to change more rapidly with respect to altitude and reduce density everywhere above sea level, while increasing density everywhere below sea level. Lower values can make a scene appear to be bigger, especially if the overall density is increased as well.
- Higher values of exp height cause the density to change more slowly with respect to altitude and increase density everywhere above sea level, while reducing density everywhere below sea level. Higher values can make a scene appear to be smaller, especially if the overall density is reduced as well.
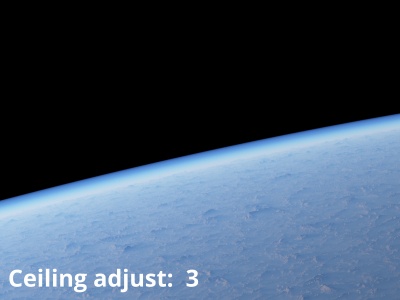
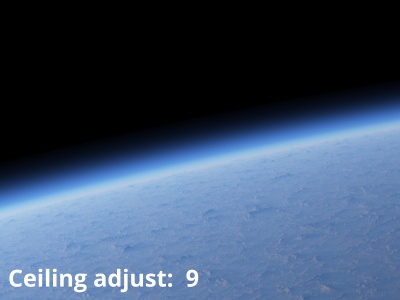
- Ceiling adjust: A different way to express the Ceiling altitude with a predictable range of good values. It is the ratio of the ceiling altitude to the larger of the "Haze exp height" and "Bluesky exp height".
- Ceiling: No atmosphere is rendered above this altitude. Sometimes in views from space you might notice a sharp line caused by this, in which case you can increase the value until it becomes imperceptible. This has the side effect of changing the distance between ray-marching samples and increasing noise, but you can compensate by increasing the number of samples on the Quality tab.
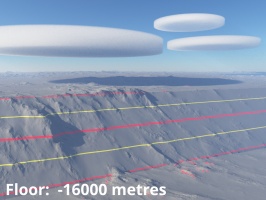
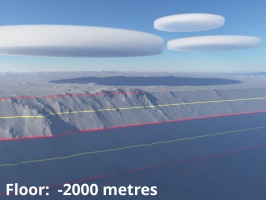
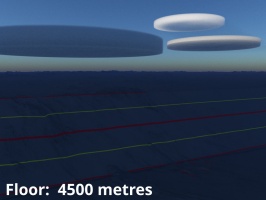
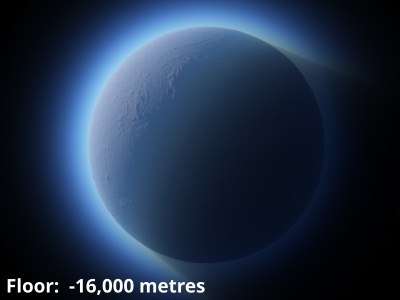
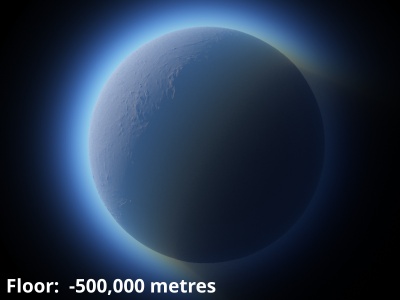
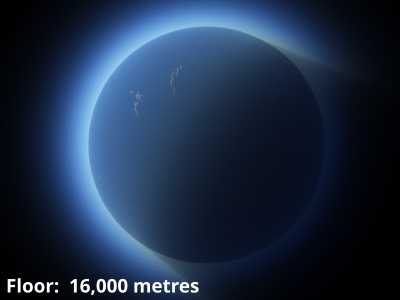
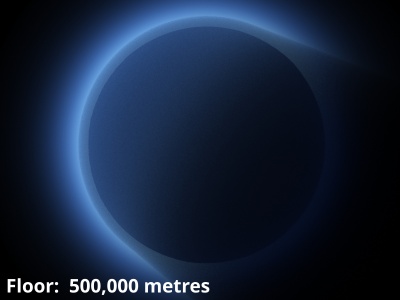
- Floor: No atmosphere is rendered below this altitude. The atmosphere also casts a solid shadow using a invisible sphere whose size is defined by this setting. This allows planets to cast solid shadows onto their atmospheres and the atmospheres of other planets even when the atmospheres are set to ignore shadows of surfaces to make them render faster.
Lighting Tab[edit]
Settings:
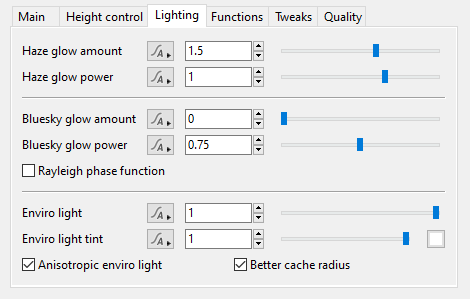
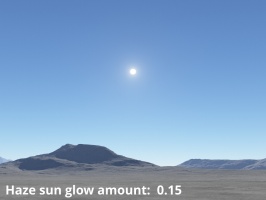
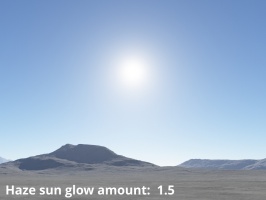
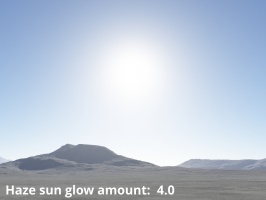
- Haze glow amount: This setting controls how far the sun’s glow extends through the atmosphere’s haze component. Higher values result in a larger and brighter halo effect around the sun. In order for this setting to have an effect, the sunlight node's “Glow in atmosphere and clouds” setting must be enabled.
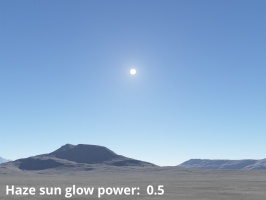
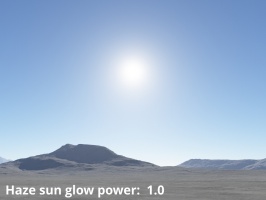
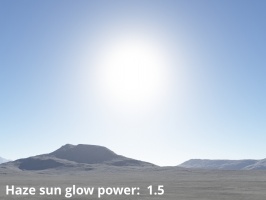
- Haze glow power: This setting controls the brightness of the sun’s glow through the atmosphere’s haze component. Lower values decrease the brightness of the halo effect around the sun, while higher values increase the brightness.
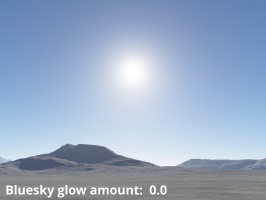
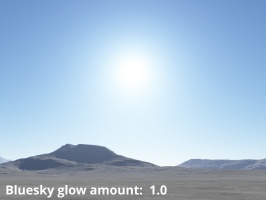
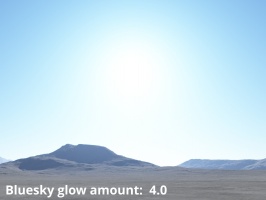
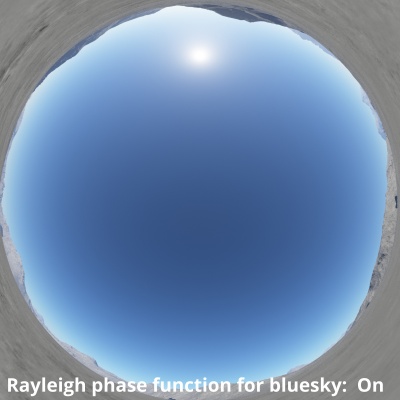
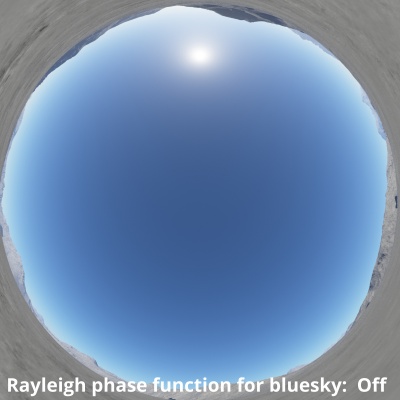
- Bluesky glow amount: As of Terragen 4.5.43 frontier release the “Rayleigh phase function for bluesky component” setting must be disabled in order to access this setting. This setting controls how far the sun’s glow extends through the atmosphere’s bluesky component. Higher values result in a larger, brighter and more blue halo effect around the sun.
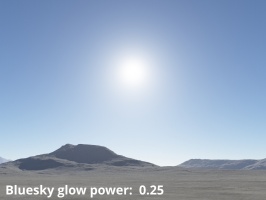
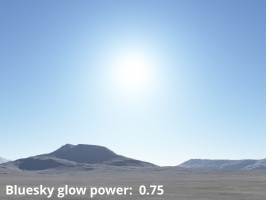
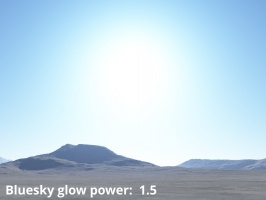
- Bluesky glow power: This setting controls the brightness or intensity of the sun’s glow through the atmosphere’s bluesky component. Lower values decrease the brightness of the halo effect around the sun, while higher values increase the brightness. In order for this setting to have an effect the “Bluesky glow amount” must be greater than zero.
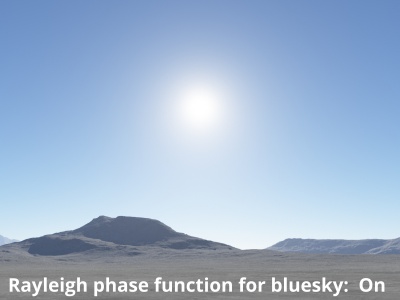
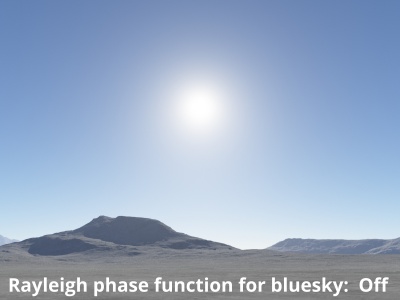
- Rayleigh phase function: This setting was designed to produce a more realistic, physically based atmosphere. When enabled, the Bluesky glow settings are ignored and replaced by the Rayleigh phase function. It brightens the Bluesky components of the atmosphere by 50% in directions towards the sun and opposite the sun, and darkens it by 25% in directions that are 90 degrees away from the sun, or halfway between the two bright lobes.
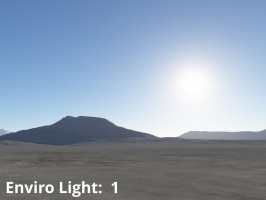
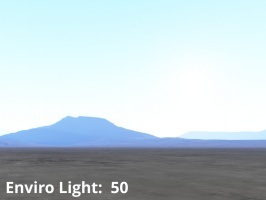
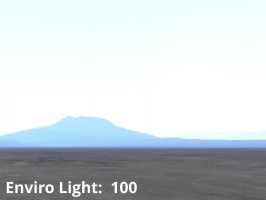
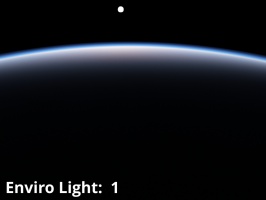
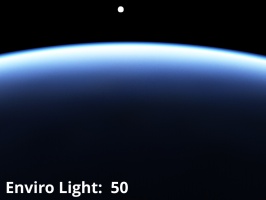
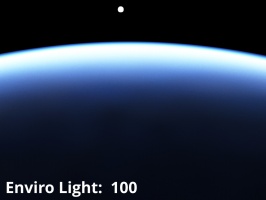
- Enviro light:
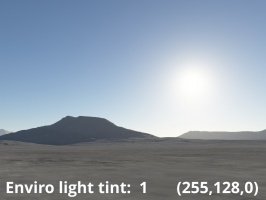
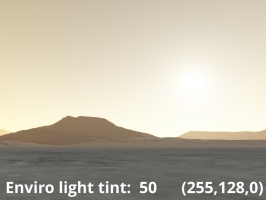
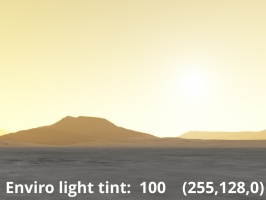
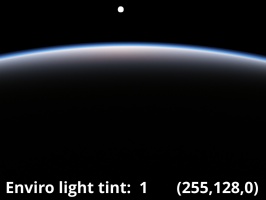
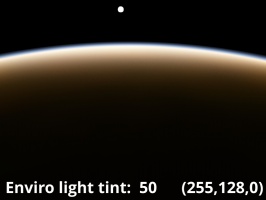
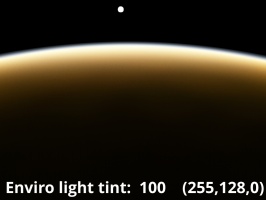
- Enviro light tint:
- Anisotropic enviro light: When enabled, enviro light (GI or Ambient Occlusion) contributions are weighted more strongly in the forward viewing direction than the backward viewing direction for thin clouds, and more strongly in the backward direction than the forward direction for dense clouds.
- Better cache radius: When enabled, this setting improves the resolution and accuracy of enviro light (GI) in the atmosphere which can make a big difference in twilight scenes. Some scenes will be affected more than others.
Functions Tab[edit]
Settings:
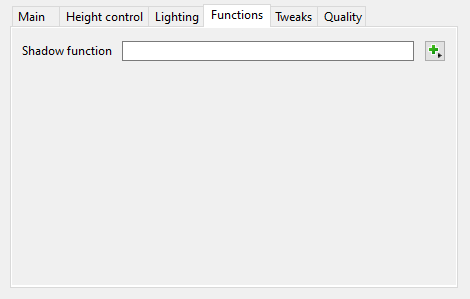
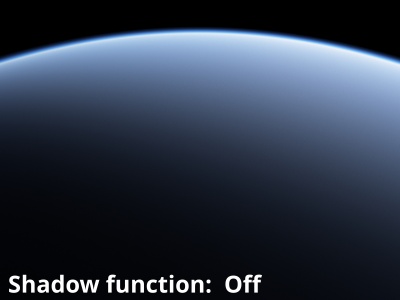
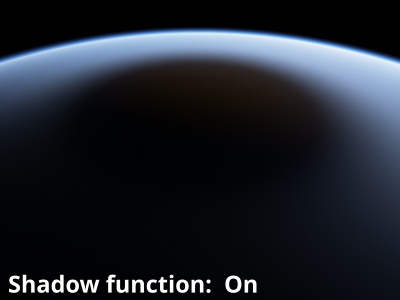
- Shadow function: This setting can be used to define additional regions in the atmosphere for any direct light sources that cast shadows. This may be useful to remove light in certain regions of the atmosphere when correct shadows of surfaces would be too expensive to calculate. Where the value is 1, or white, the atmosphere will receive no light contribution from light sources that have shadow casting enabled. Where the function is 0, or black, the atmosphere receives all the light from light sources. This function has no effect on the Enviro Light or light sources that do not have shadows enabled.
Tweaks Tab[edit]
Settings:
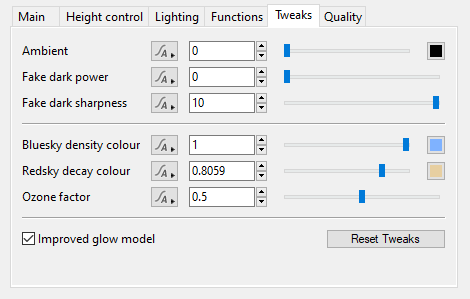
- Ambient:
- Fake dark power:
- Fake dark sharpness:
- Bluesky density colour:
- Redsky decay colour:
- Ozone factor:
- Improved glow model:
- Reset Tweaks:
Quality Tab[edit]
Settings:
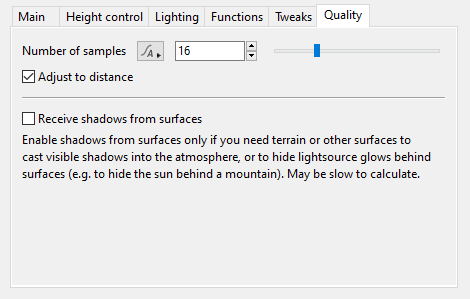
- Number of samples:
- Adjust to distance:
- Receive shadows from surfaces
Example movies
Example Picture
A single object or device in the node network which generates or modifies data and may accept input data or create output data or both, depending on its function. Nodes usually have their own settings which control the data they create or how they modify data passing through them. Nodes are connected together in a network to perform work in a network-based user interface. In Terragen 2 nodes are connected together to describe a scene.
A parameter is an individual setting in a node parameter view which controls some aspect of the node.
