Add Vector takes the Main Input component values and adds to the component values of Input 2.
Component values in vector form are refereed to as X, Y and Z.
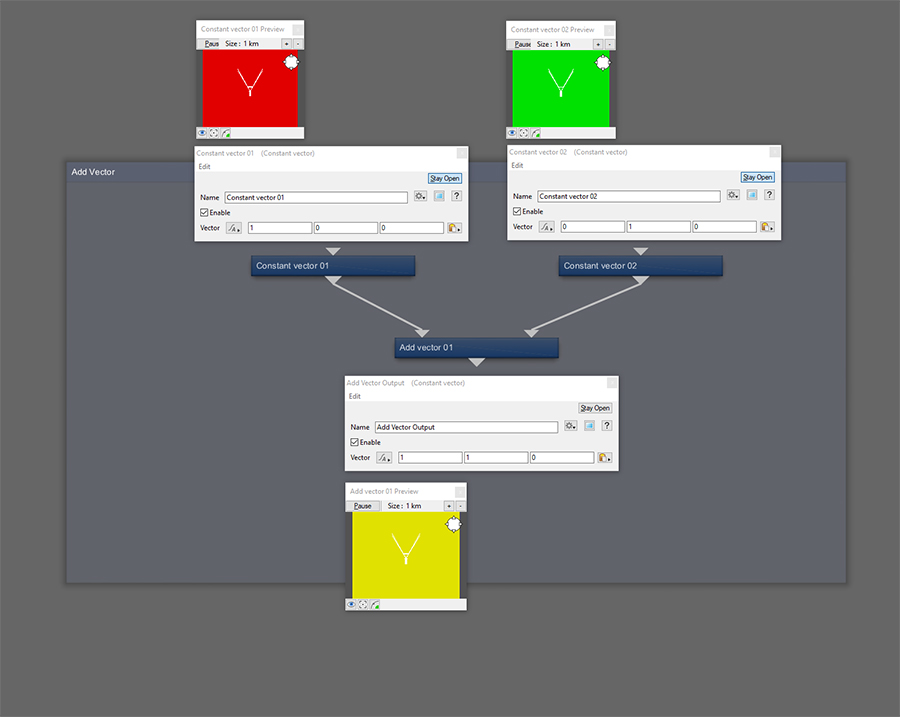
The Output maths of this node can be written: (Main Input X + Input 2 X) , (Main Input Y + Input 2 Y) , (Main Input Z + Input 2 Z)
Vectors share common attributes to Colours in that they too consist of 3 parts, red, green and blue, which are what the preview panels are showing.
We can't natively show values beyond 2 in preview panels, so we've substituted a proxy output box (an off screen Constant Vector node) to show output values for illustrative purposes.
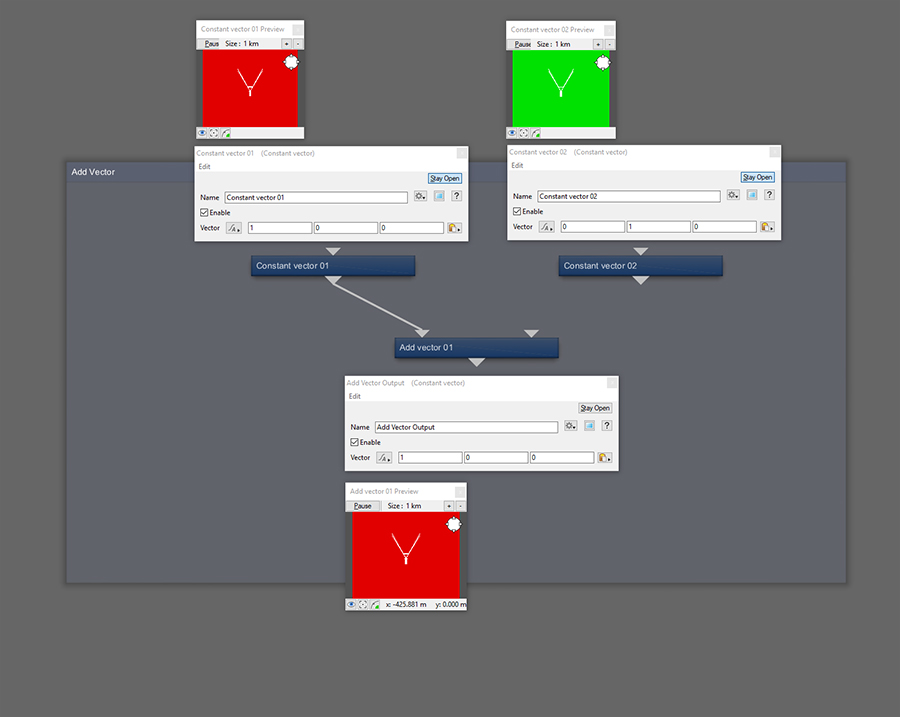
If Input 2 is disconnected, the Main Input passes through to the Output.
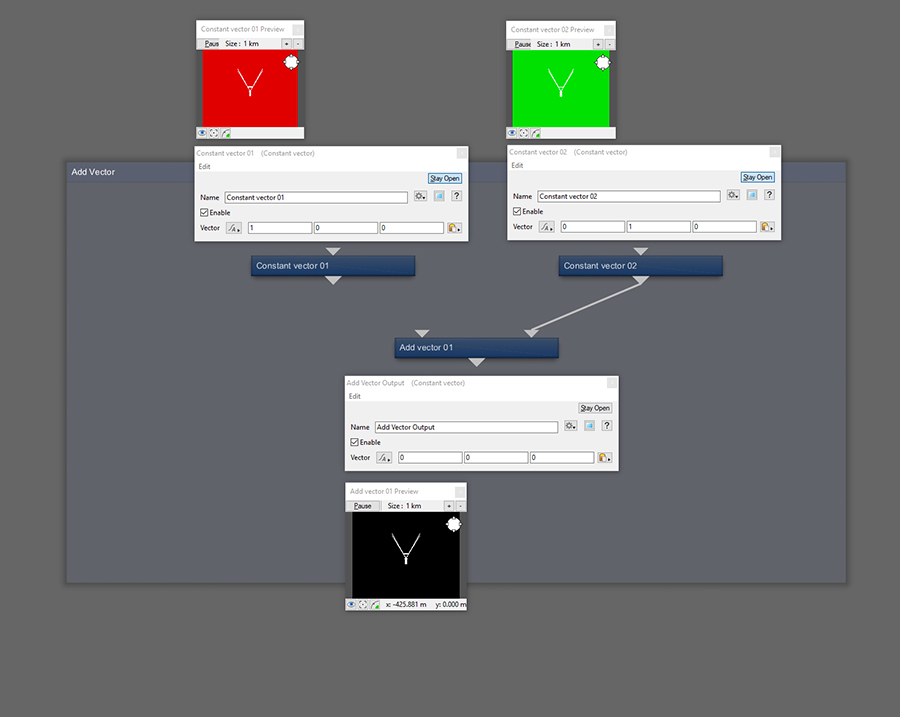
If the Main Input is disconnected, nothing passes through.
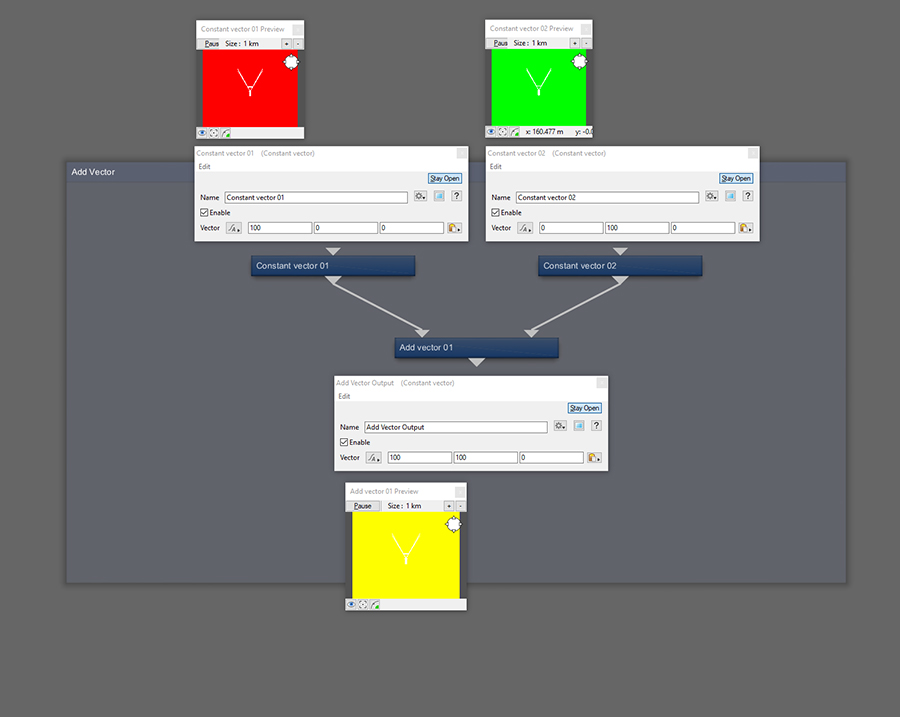
There is no limit to the value of each component in a vector and often can be quite large in your scenes depending what the source is. They also don't necessarily have to be positive either.
If one of your sources is Scalar, the Scalar value will be added to each component.
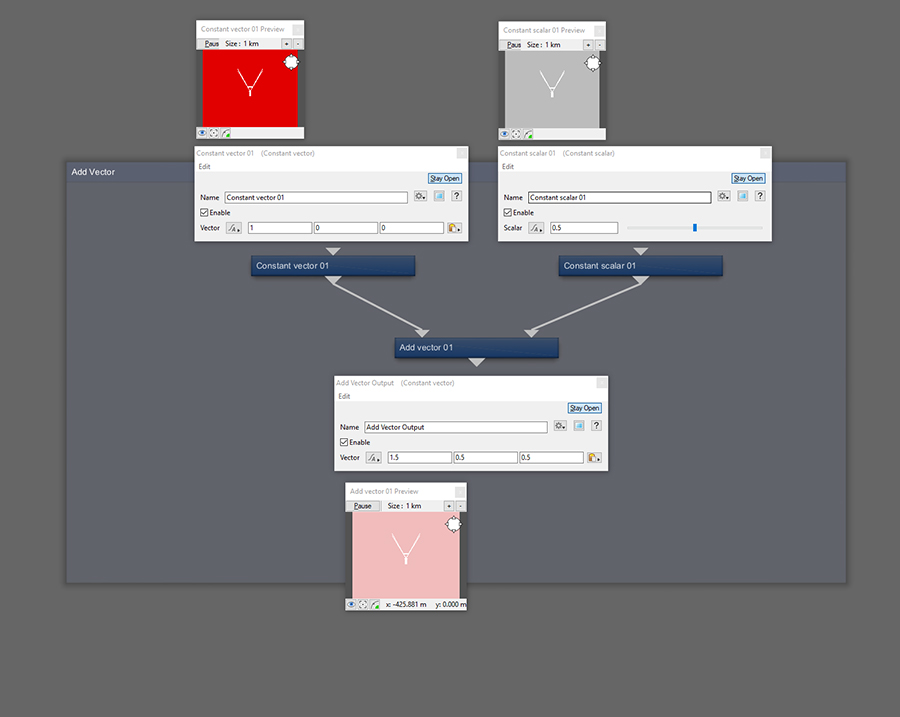
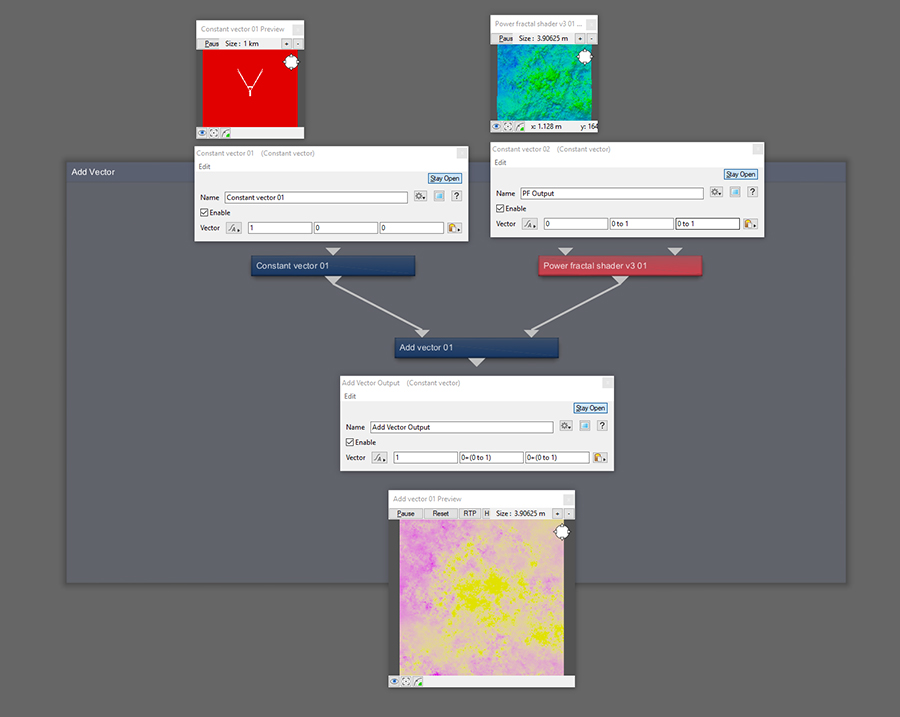
If the source is using colour, the red value will be added to the X, green to Y and blue to Z. Notice that this node is only interested in the sources component data and ignores displacement.
If there's any errors, omissions or questions about the above, please leave a comment below.
https://planetside.co.uk/wiki/index.php?title=Add_Vector