Underwater scenes, clouds by moonlight and others

Started by Mele, March 17, 2023, 07:09:03 PM

Previous topic - Next topic

Mele

Since the summer of 2021 I have been dealing with Terragen, whereby it may be that I still have Terragen smaller 1 on an old drive. In between there was a longer break. Since have I tried, me in TG to work in. Forum examples from Dune, Hannes, WAS and others have helped a lot. Likewise the TG Wiki, which is easily readable with a translation into German in the browser. Nevertheless, learning consisted of true and false.
Now I'm 68, I'm no longer learning to write or speak in English. The translations with DeepL go very slowly, because the back translation often does not say what I actually wanted to write.

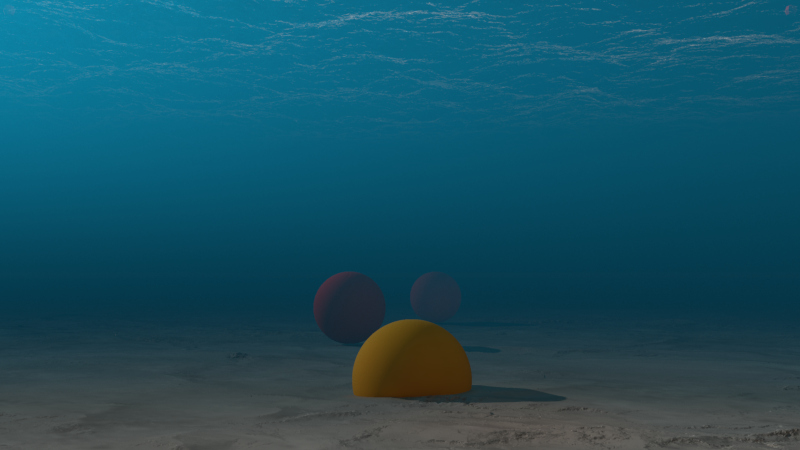
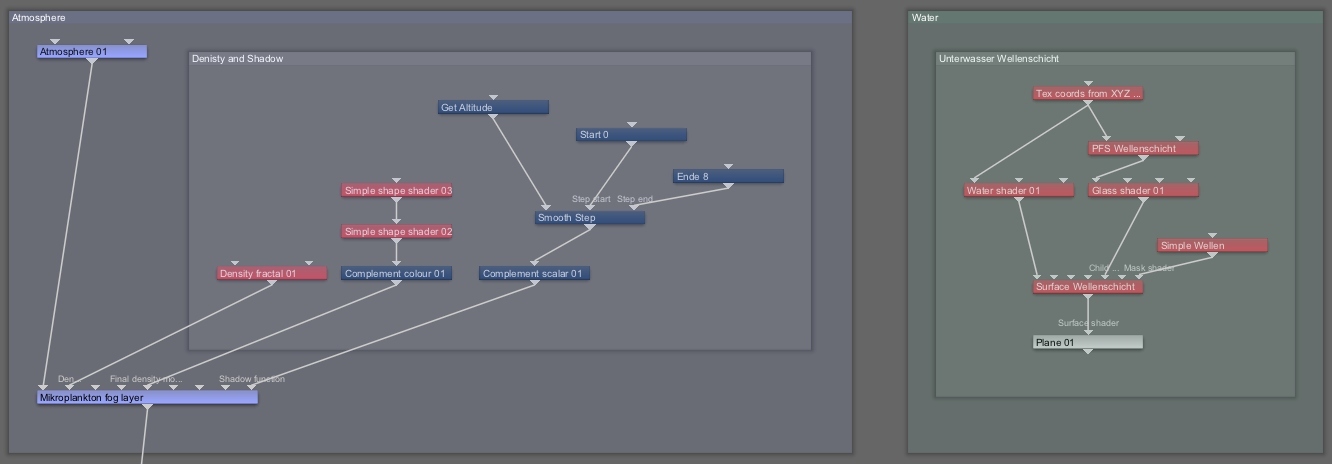
An underwater example that I believe is correct. If I remember correctly, I took the wave plane from a forum example of Dune and adapted it.
I could have made the shadows even softer, the deeper the softer.

Waves plane without mask. | Waves plane with mask.
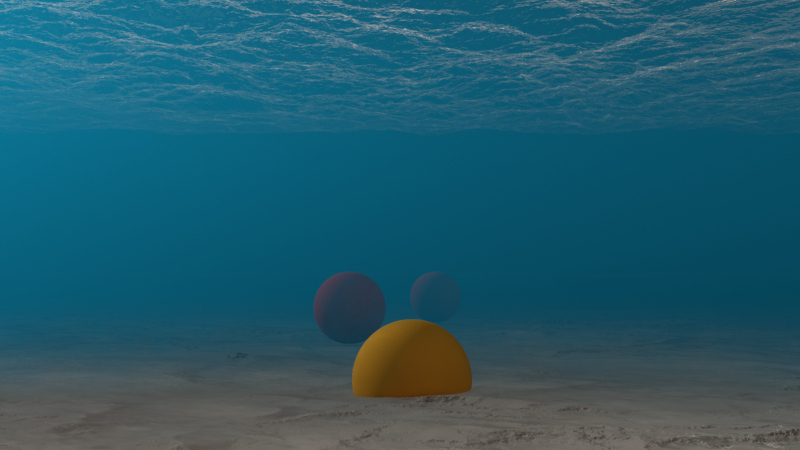
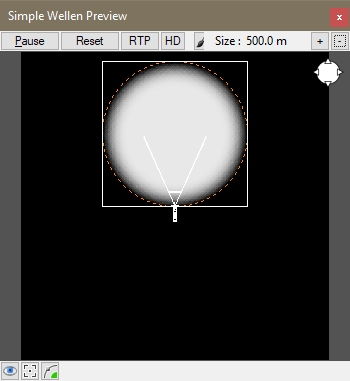
unterwasser-g22-01.jpg  unterwasser-g22-04.jpg  unterwasser-nodes-g22-04.jpg  simple-wellen-shader.jpg

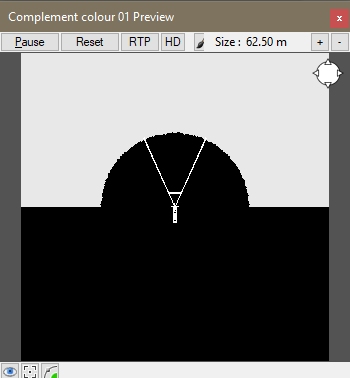
Masks for scene:

complement-coulor-01.jpg


Render Camera – y Rotation 0

Setting up a scene: Either in front of the camera, similar to the theater, or customize sine functions.

Rotational plane example calculation with Python:
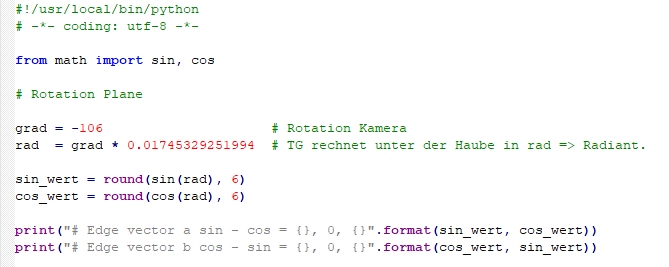
rotation-kamera.jpg

The calculations are always correct, but sometimes the values have to be swapped. Delete minus sign, only one, where it belongs.

unterwasser-g22-04.tgd

---

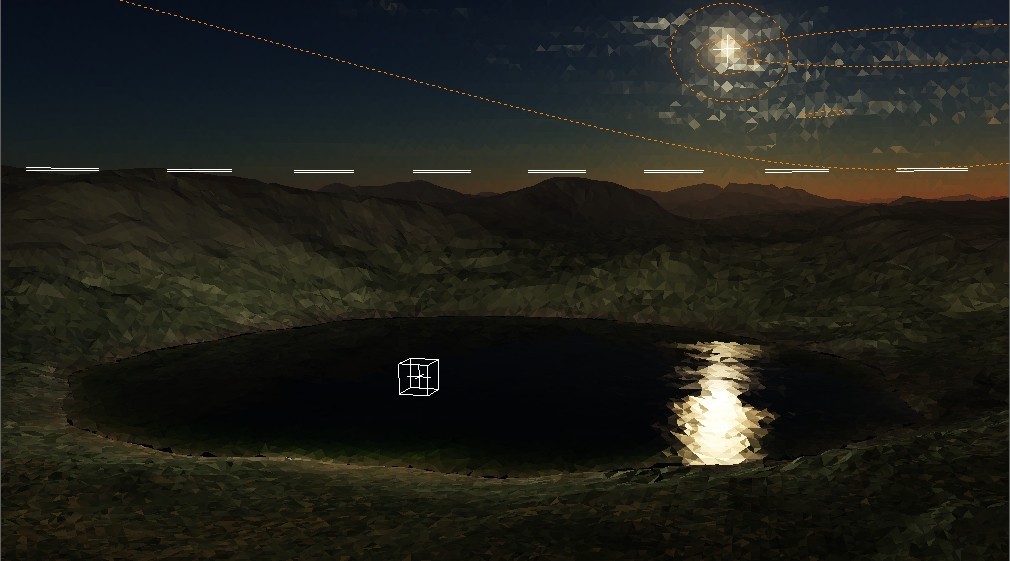
Clouds by moonlight

Semi-finished, there is still a lot missing.

First attempts July 2021, received many gray hairs. Last attempt December 2022, already better. For the stars, I'll probably use a layer with Gimp and then add them in post-processing. Forestation etc. is still missing. Tips for clouds in moonlight would be desirable, but have not found any renders created with newer Terragen versions. I found a few that were created with TG 2.
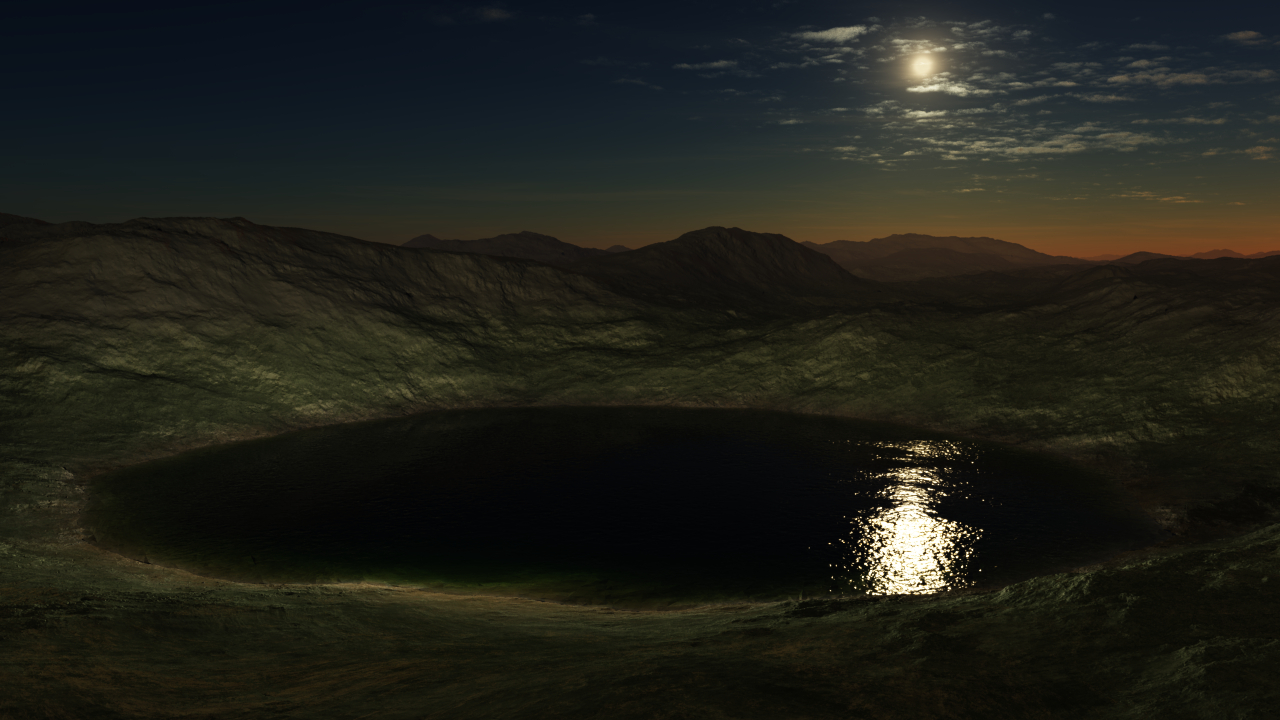
wolken-bei-mondschein-dezember-2022.jpg clouds-moonlight.jpg

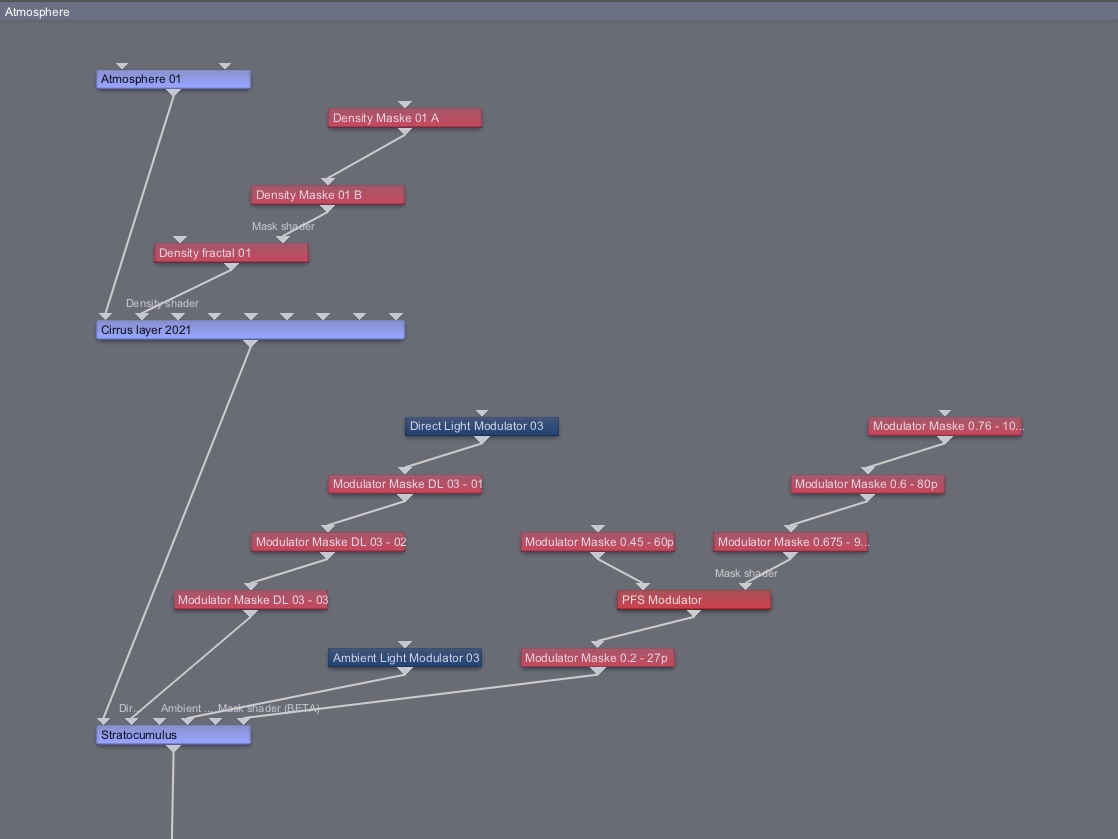
Example - Input only mask shader (beta):
masken-moonlight.jpg

---

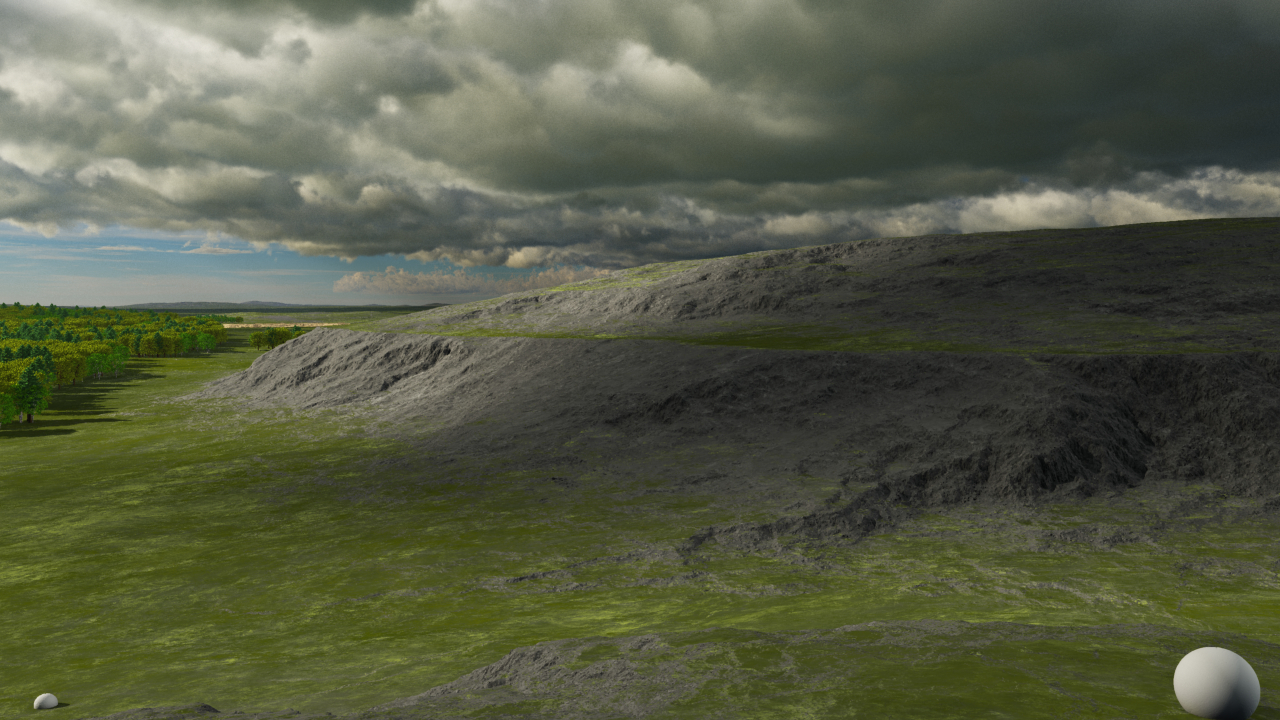
Semi-finished, there is still a lot missing. Bright area in the distance, just a plot of land for a village still missing. Side trees with Blender without textures, better ones should be planted in the foreground.

Cloud experiments started with Overcast A1.tgd from WAS from the Cloud Library.
waldgebiet-01.jpg

Hill with crater shaders. Spheres for size comparison only - Sphere left bottom Radius 2, Sphere right bottom Radius 1.


Inspirations Old Masters of painting

Albert Bierstadt
- A Storm in the Rocky Mountains 
- Mount Corcoran
- Sierra Nevada
- California Spring

Friedrich Preller the Elder
- Hünengrab auf Rügen

---

Preview did not open, after post the images are now all displayed large. I thought they stay small and only open large when clicked.

Dune

Welcome to the forum, and thanks for showing and sharing your setup with us. The extra mask is working well in the underwater scene.

Regarding the largeness of the images; I always just click attachments, add files, and leave all at default. That way thumbnails appear. But maybe that works differently in Mac or other browsers?

Mele

Thanks for the answer as well.

To the underwater scene with the humpback whales at Discord.

All objects removed.
Disabled a spotligt that was only aimed at the Eye of the Whale. The eye would otherwise have been barely visible.
I always align the spotlight with a spotlight camera. I then adopt their position for the spotlight.

Stage design theatre, three layers of simple shape shaders. Long enough to find suitable sections, edges and ditches.

unterwasser-szenenaufbau-01.tgd

The radius for the camera mask is actually too large, I left it that way for this scene.


Dune

Cool! You don't always need a compute terrain, btw. In many cases it can just be taken from the main line, and just 'dangling' loose for the computation of the surface for populations. So, in your case the merge shader goes directly to the base color shader. That way a scene will render faster (depending on how many shaders you have used before the compute terrain).  You would have to check out any differences in appearance.

Mele

Thanks for the tip, I will give it a try.

Still have a similar riverside design in mind. But that could still take a long time.

Mount Corcoran or Sierra Nevada (Further down the page.)

It still occurred to me to have started a scene from ancient Greece. Tubes only as a scale for figures. TG render became blurred in Daz Studio. Import figure in TG, the hair became a disaster. For this scene it is enough to render the figures with transparency, then insert them afterwards. Just a first draft. There is still a lot missing.

Dune

Looks like an interesting idea. I don't know why the hair didn't come out well in TG, but you'd need at least a good AA (6 or 8 ), and certain variables like translucency and reflection may need another approach than in DAZ. I always import DAZ figures, though most (fibre) hair is made in ZBrush, it works pretty nicely.

Hannes

Cool stuff, Mele, and willkommen!!!!
I hope to see more of your work. I like your Greece image especially, since I#m travelling to Greece each and every year, and I know some places where it looks almost exactly like in your image.
Can you show us an example of your hair not displaying correctly?

Mele

Thanks for the answers!

I should mention that I learned with a TG Free version on a weak Windows machine. I didn't get TG Professional until December 2022. A powerful computer is now also available, but not yet set up.
That the old computer is too weak, I noticed very clearly with the divers in Blender. The diver was displayed correctly for two to three seconds, then her jacket was removed again. Possibly through Windows memory management.

Screenshots with the hair. Greek Woman 01 to 04 and more I have published on www.3d-board.de/board/46-terragen/ (Thread: Strand, Brandung, Gischt und Schaum) page 9 and Greek Woman 05 and more on page 10. Not sure if more than one page can be accessed without logging.

Tested in another browser, it only loads the first page from the thread, at the bottom with the registration notice. I think it's a pity, because I had started the last thread for Terragen beginners.

Mele

Imported the figure once again. Now I know again what I was doing.

After importing from Daz in TG - Image 01
These three were not imported - Image 02
Added these under Opacity, a cutout - Image 03
After that it looked like in - Image 04

And after that I began to tinker and try out many things.

Hannes

Hmmm... in your previous post "greek-woman 04"  somehow looks weird, the hair is too thin, whereas " greek-woman 05" look good to me. So, this is still in DAZ?
And in your last post the first image looks better than the second one, even though I could imagine, the opacity maps may not be working correctly. Hard to say...

Dune

I had some trouble with DAZ hair as well. Importing the right maps is indeed one thing, TG doesn't always load all maps correctly. Then the opacity; this works as on/off, no gradient (and that may be different in DAZ). Above 0.5 will be interpreted as full opacity (though a value lower than 1 does affect the amount of shadowing between strands, in RT mode at least). You also need a pretty good AA for such fine strands, as I wrote before. I whitened some of the hair maps a bit in Photoshop, to increase whiteness of the thinnest 'greyish' hairs, but that's fickle work, as you don't want to merge the white strands together too much.
Then I also do a little translucency (0.1), and a little reflection (usually 0.2 or so with 0.2 roughness), though that works best in PT mode. In RT mode hair with translucency often 'grays' a bit overall. But in short, in all comes down to experimentation to figure out the best settings.

Exported characters from DAZ also have a lot of common textures that would be loaded several times for one figure, so I always take a figure through Poseray to merge certain groups using the same texture (in group tab), then converting groups to materials (in material tab). This will reduce number of parts in TG from maybe 20 to 7 or so. You loose all materials, but I reload those in TG (so maybe make a note of what goes where before), and save final character as tgo. Sometimes recalculating smooth normals will also be needed, for smooth angles (in group tab).

I hope this helps a bit.

Mele

#11
All previous images were in TG.

For this I had the scalp with a glass shader, the white level under Opacity set to 14, which made the hair fuller.

First image, my notes so I don't forget.
The other two images in Daz.

In this scene, the figures are not obscured by anything, so I can render them as a layer with transparency. Just need to align the shadows properly.
In the MTL I always rewrite the paths. Put a texture directory in the TG directory. I should take a look at PoseRay, with grouping sounds good.
I only later realized how important translucency can be with trees and curtains behind glass.

WAS

Love the clouds in the hills scene.

Regarding the underwater scene, it's probably best to setup your mask with distance shaders to follow the camera wherever it may be, at whatever direction.


Mele

Thanks for responses so far!

It would be possible for some underwater scenes, but not for a scene containing the wave plane. You could enlarge the wave plane and also connect its wave mask to the camera.

For my needs and single renders, when I have found a good position for the render camera, I save this setting and do not change its position anymore. Then I build the whole scene according to it. With small videos I wanted to start later. Then it might be considered. Radius always depends on subjects. Small objects in the foreground, smaller radius, large objects a little further away, larger radius.

I will probably do one or two more underwater scenes, but that's all I have planned. I'm just not sure yet if I'll buy corals and sponges as a collection or try to make them myself.
I also want to finish the scenes I've started.

Dune

Smart to increase the opacity to such high value, it apparently works the same as increasing mask whiteness in Photoshop. I used to believe a slider set to 1 was a maximum, but since a long time learned that that is not always the case. Like here.

Regarding sponges and corals; there must be free objects around, like here: https://sketchfab.com/tags/coral-reef