My way to get stars! (short version)

Started by mayda, January 26, 2007, 09:14:50 AM

Previous topic - Next topic

mayda

this is a quick, short and clear tutorial of the previous post:
sorry, i've found the time to rewrite all just today...

http://forums.planetside.co.uk/index.php?topic=444.0

1st step:
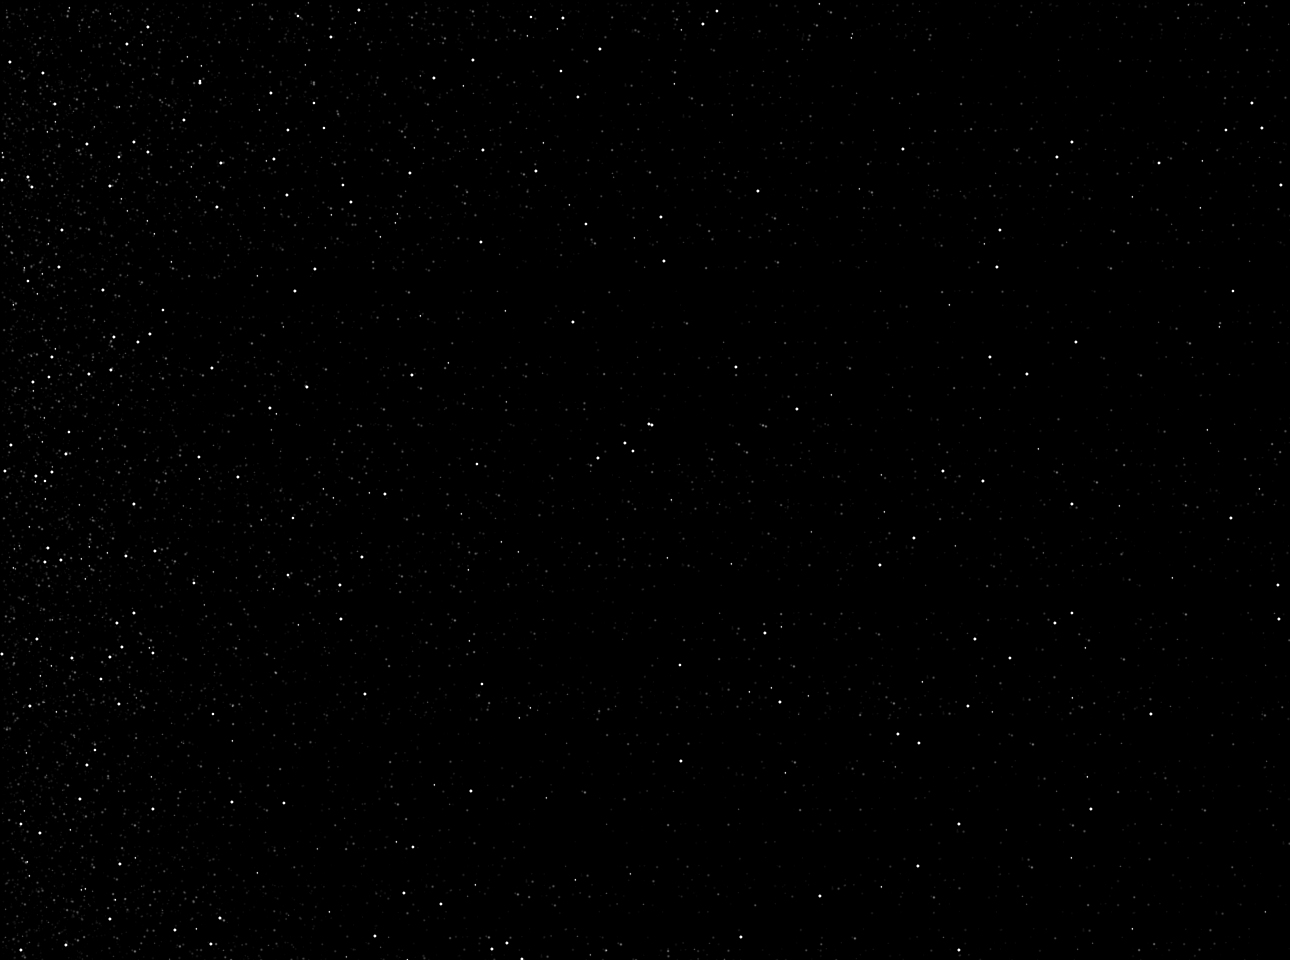
first of all you've to put the attatched "stars.jpg" files into your folder c:/ ....
this is a starfield that i've generated using glitterato (a photoshop plugin, youi may download it for free... it's a limited time demo)
http://www.flamingpear.com/download.html

2nd step, we want to add this starfield to the sky.
Go in the object panel, select your background, than the surface shader tab.
Into this you've to create a new shader, a new "default shader" where now there's a background shader.

Go into it and set the stars.jpg as a background for diffuse colour and for luminosity.
Set the luminosity value at higher value if you want to make stars visible by day.


movin' your camera you may obtain something like this
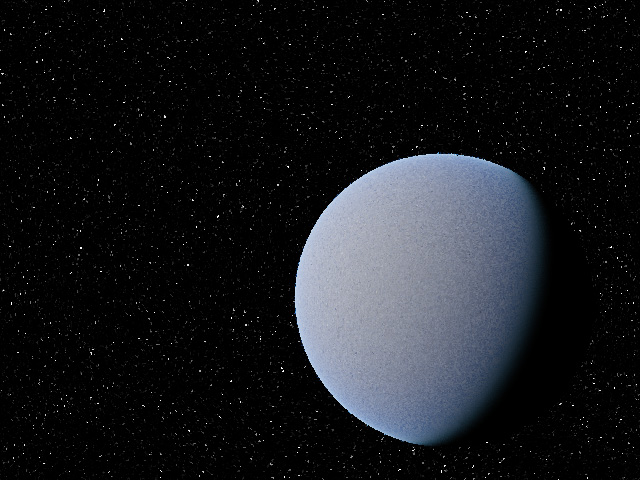

tgd file here> http://forums.planetside.co.uk/index.php?action=dlattach;topic=444.0;attach=876

and now the best touch!
simply add a cirrus layer and put a planet for half before your sun (visible disk checked and increase the radius of it).
all that fabulous colours are generated by tgd...
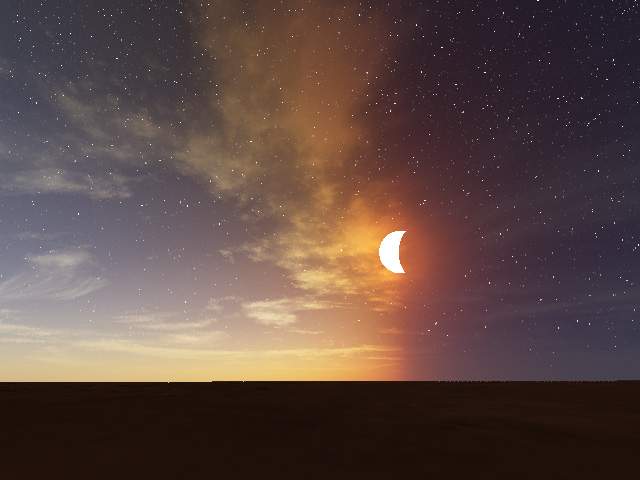


tgd file here> http://forums.planetside.co.uk/index.php?action=dlattach;topic=444.0;attach=879

thant's all!
hope that this tut will be better of  the previous version....
have a good day!
Mayda

www.MaydaPhoto.com

Dark Fire

This tutorial is much clearer than the previous version. Thanks!


littlecannon

Those colours are amazing... Thanks for the tut.
I just need to tweak that texture a bit more...

semaj


aurora

OK I'm lost. I'm currently using version 1.9.04.1
I go into my Objects->background->shaders tab then in the Surface Shader selection do I select to 'Assign' a shader, create a new one and which of them. I tried adding a new image map shader bt its not working at all for me.

squirreltape

Aurora... it has to be a default shader.
Double-click the grey 'background' node to bring up it's own properties window.  In the 'surface shaders' tab,click the grey square to the right of the surface shader box.  'Create new shader' / 'other surface shader' / 'Default shader'.  This replaces the original background shader.  Click the grey box again and select 'Go to "Default shader (n)" ' where you can load up your images by selecting the folder icon to the right of 'Colour image' and 'Luminosity image' in the 'Colour' tab.  Very simple walkthrough.
The tutorial is fantastic, thankyou.
There are only 10 types of people in the world... those that understand binary and those that don't

jamd315

More than 10 years later, and this is still useful.  Thanks for an easy way to get stars!

TkGhoul

Quote from: jamd315 on March 03, 2017, 07:59:31 PM
More than 10 years later, and this is still useful.  Thanks for an easy way to get stars!

TkGhoul

Quote from: TkGhoul on March 29, 2018, 02:44:11 AM
Quote from: jamd315 on March 03, 2017, 07:59:31 PM
More than 10 years later, and this is still useful.  Thanks for an easy way to get stars!
I have the same idea with you.

luvsmuzik

#10
Yeah too bad when Microsoft reset my old computer loaded with win10, it wiped out my paint program with all my8bf filters including glitterato. I can reinstall all of this since I have a few software CDs, but I suppose the drivers won't work. >:(

I stand corrected on this. I just get an error message: failed to update system blah blah blah try regedit (as if I know what that means) If it involves opening "the black screen" I need step by step.

The program does now work with my old filters after re entering path to plugin filters. Now to see if it will open with new paths, which were the old paths....but gone from program preferences after reset.

DannyG

If you search hard enough there is a simple application by TG artist Gionni called SpaceUp. This old (2005) but super useful app makes custom star png patterns if you want to go that route, however I would Search for moodflows procedural starfield & nebula to get a procedural starfield here in the forums
New World Digital Art
NwdaGroup.com
Media: facebook|Twitter|Instagram

WAS

#12
Photoshop/gimp grain (gaussian -  monochromatic) and levels for the win.... So easy to make stars its not even funny, can do it in any image manipulation software, and have full control. Hundreds of tutorials.

The issue I have with images in TG, is it's quite easy to spot a loaded image in a scene compared to procedural assets. It's like the beautification processes don't apply right to them or something. They always come out"Richer" than the environment imo. Even textures, hence the need to diffuse a lot.

When people use sky-boxes in TG they pop through the sky too hard and become noticeable as a image. Maybe just me, I do tend to notice a lot more subtleties around here sometimes.

I could do a tutorial if people want? It really is super duper easy (example map below)

WAS

#13
I also just quickly made these two generators in Photoshop. Just load the actions into your photoshop, create a new document, and generate (play) Stars A or B.

Subsequently this allows you to see every action I took broken down. :)

Feel free to use the preview JPEGs if you want as well.


RichTwo

Quote from: WASasquatch on September 13, 2018, 03:23:49 PM
I also just quickly made these two generators in Photoshop. Just load the actions into your photoshop, create a new document, and generate (play) Stars A or B.

Subsequently this allows you to see every action I took broken down. :)

Feel free to use the preview JPEGs if you want as well.

I have an ancient (circa year 2000) yet still useful version of Photoshop, and I cannot find a way to open the file through a new project or applying filters.  Maybe because I have a severely outdated version?  No big deal anyway.  I can take a starfield image and jazz it up quite a bit.
They're all wasted!