Easy Cloud
Contents
Overview[edit]
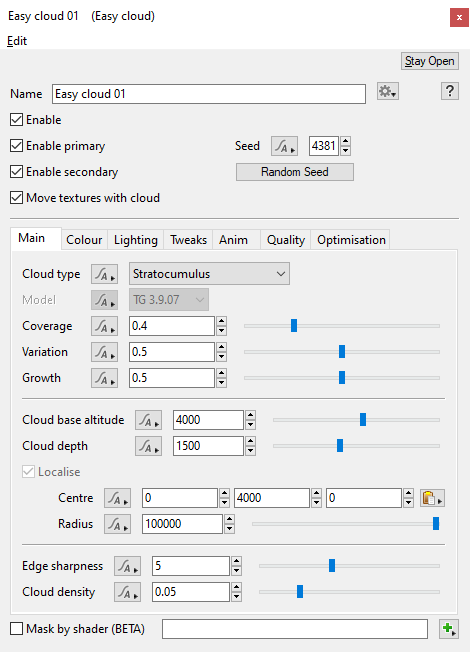
Settings:
- Enable:
- Enable primary:
- Enable secondary:
- Move textures with cloud:
- Seed:
- Random Seed button:
- Mask by shader (BETA):
Main Tab[edit]
Settings:
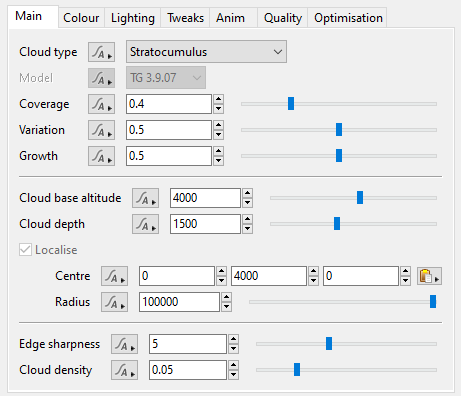
- Cloud Type: This popup has three options.
- Cumulus:
- Altocumulus Castellanus:
- Stratocumulus:
- Model: This popup has two options.
- TG 3.9.04:
- TG 3.9.07:
- Coverage:
- Variation:
- Growth:
- Cloud base altitude:
- Cloud depth:
- Localized:
- Center:
- Radius:
- Edge sharpness:
- Cloud density:
Colour Tab[edit]
Settings:
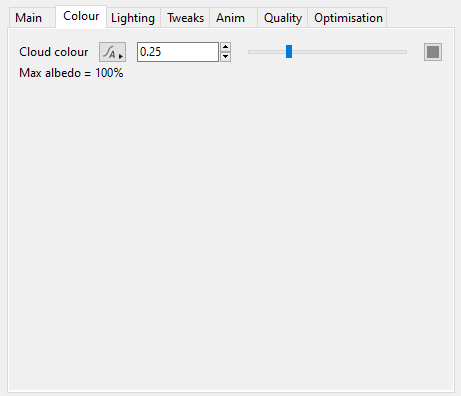
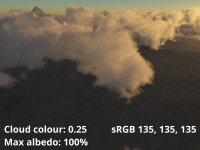
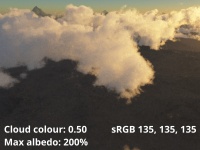
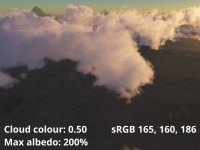
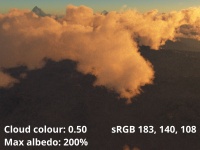
- Cloud colour: This setting controls the colour of the cloud. Displayed beneath the setting is a readout indicating the level of albedo, which is a measurement of reflected light. The maximum albedo possible In the real world is 100% and a Cloud colour value of 0.25 can result in 100% albedo if the clouds are dense enough due to the way volumetric colours are calibrated in Terragen. For realistic looking cloud layers, it is recommended to keep the albedo value to around 100%.
Lighting Tab[edit]
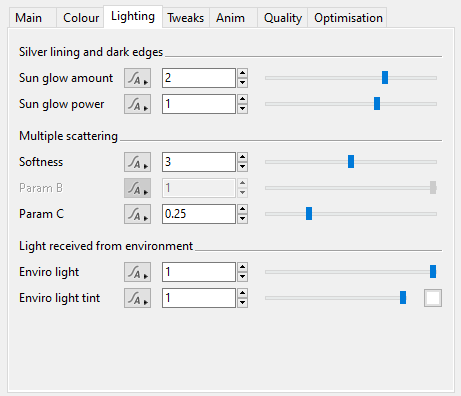
The settings on this tab are arranged under three distinct groups. The Silver lining and dark edges, the Multiple scattering, and Light received from environment. (Need descr)
Settings:
- Sun glow amount
- Sun glow power
- Softness:
- Param B:
- Param C:
- Enviro light:
- Enviro light tint:
Tweaks Tab[edit]
Settings:
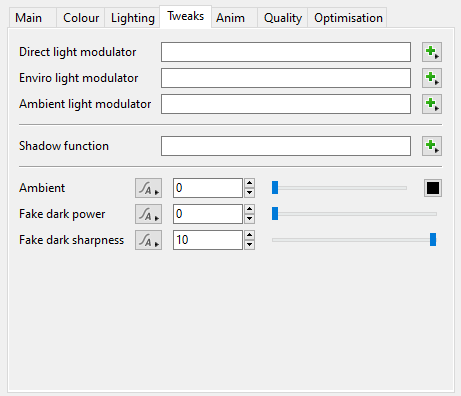
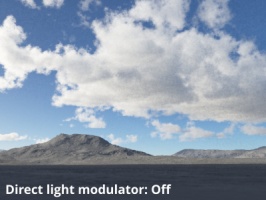
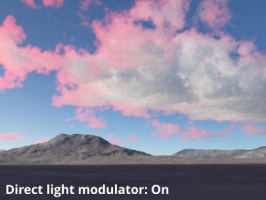
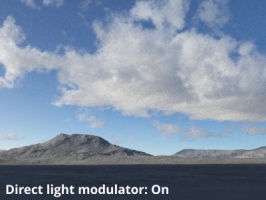
- Direct light modulator: The shader or function assigned to this setting is used as a multiplier to the direct lighting which illuminates the cloud layer, it has no effect on areas of the cloud illuminated by indirect lighting (global illumination). It can be used to modify the colour or brightness of a cloud layer where it encounters direct lighting.
- Environment light modulator:
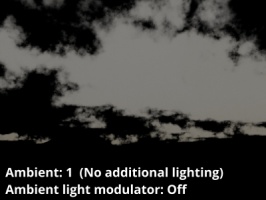
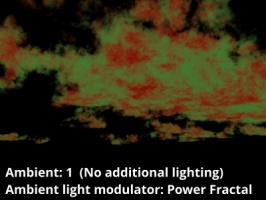
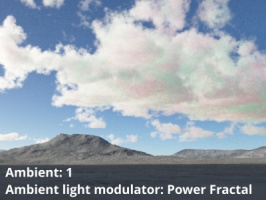
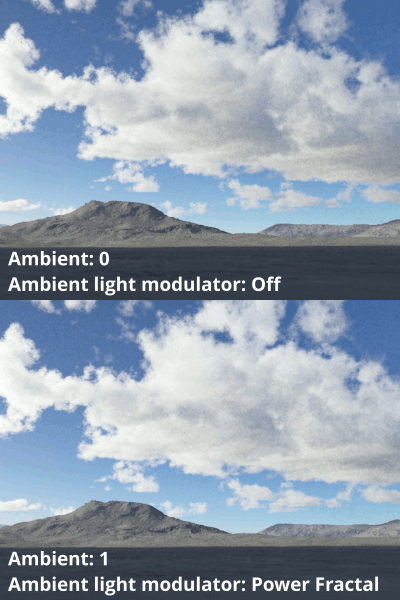
- Ambient light modulator: The shader or function assigned to this setting is used as a multiplier to the cloud layer’s Ambient setting value. In order for the modulator to have an effect the Ambient value must be greater than 0.
- Shadow function:
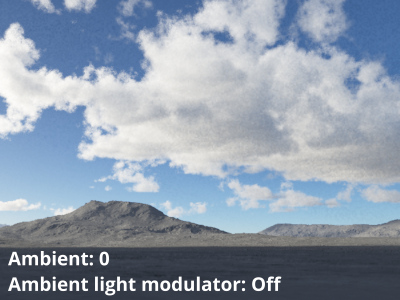
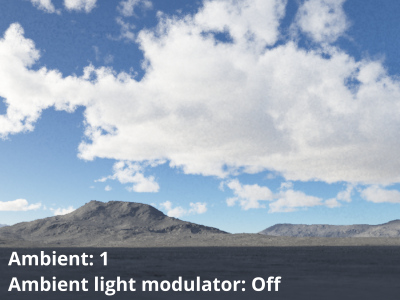
- Ambient: This setting defines a colour and intensity which is added to the lighting that illuminates the cloud layer. While disabled by default, so that only direct and indirect lighting (global illumination) affect the cloud layer, a practical example for using this setting would be to increase the overall brightness of the cloud layer. The colour and intensity of the Ambient setting can be modulated by the Ambient light modulator setting.
- Fake dark power:
- Fake dark sharpness:
Anim Tab[edit]
Settings:
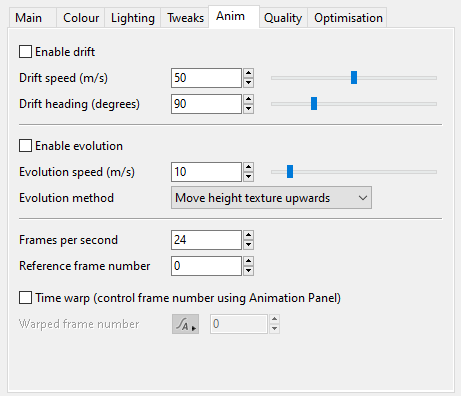
- Enable drift: When checked, allows the clouds to drift at the speed and heading defined by the Drift speed (m/s) and Drift heading (degrees) values.
- Drift speed (m/s): Determines the rate at which the clouds move. Note that the cloud layer itself does not drift.
- Drift heading (degrees): Determines the direction in which the clouds are moving. Note, that the cloud layer itself does not rotate to face in the direction of the Drift heading (degrees).
- Enable evolution: When checked, allows the clouds to evolve at the rate of speed and in the direction as defined by the Evolution speed (m/s) value and Evolution method options.
- Evolution speed (m/s): Determines how rapidly the shape of the cloud layer changes over time, by moving its internal textures in the direction defined by the Evolution method. The larger the value the greater the shape changes each frame.
- Evolution method: This popup has four options that determine the direction in which the cloud shapes evolve.
- Move all textures upwards:
- Move all textures downwards:
- Move height texture upwards:
- Move height texture downwards:
- Frames per second: Determines the frame rate for calculating cloud drift and evolution. For example, if a cloud were to drift 1 meter in 1 second at 24 frames per second, then the clouds would drift approximately 0.042 meters each frame. At a higher Frames per second value, the cloud would take more frames to move the 1 meter and appear to be drifting or evolving slower.
- Reference frame number: This is the frame at which changing the Evolution speed (m/s) and Evolution method values have no effect. For example, if the reference frame value is 1, then frame 1 will look the same no matter what the Evolution speed (m/s) and Evolution method values are set to. All other frames are calculated according to the time difference from this frame.
- Time warp (control frame number using Animation Panel): When checked, allows the Drift speed (m/s) and Evolution speed (m/s) values, which are constant values, to be driven by the Warped frame number value. For example, if the cloud drifted at a constant rate of 1 meter per second at 24 frames per second, you could make the cloud drift twice as slow by setting a keyframe for the Warped frame number at frame 1 with a value of 1, and a second keyframe at frame 48 with a value of 24. Note, the interpolation mode for the keyframes is set in the Animation panel, and in this example should be set to “Linear” to ensure that the cloud drifts and evolves at a consistent rate.
- Warped frame number: On any given frame the current value of this setting, whether animated or not, keyframed or interpolated, determines the frame for the Drift speed (m/s) and Evolution speed (m/s) of the cloud. For example, if the current frame is 100, and the Warped frame number is 2, the clouds will appear as they were evaluated on frame 2. In subsequent frames, if the Warped fame number remains at 2, the clouds will appear to remain in place and not drift or evolve. With the Warped frame number setting it is possible to create slow motion or time lapsed effects.
Example movies:
Quality Tab[edit]
Settings:
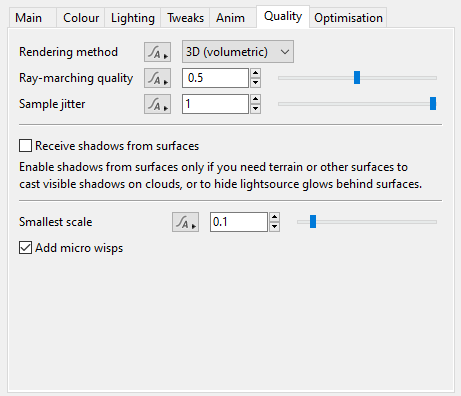
- Rendering method: This popup menu has two options which determine the way in which the cloud layer is rendered. Easy clouds are based on 3D volumetric data therefore the 2D rendering method is not recommended.
- 2D: This rendering method samples one point per pixel midway between the base and top of the cloud layer.
- 3D (volumetric): This rendering method uses ray marching to accumulate the density of the cloud layer. The clouds are based on procedural 3D textures.
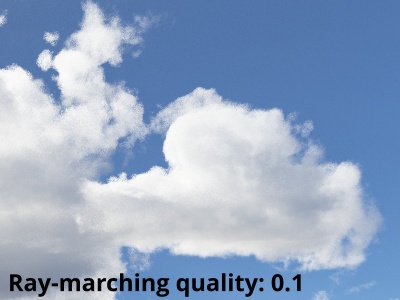
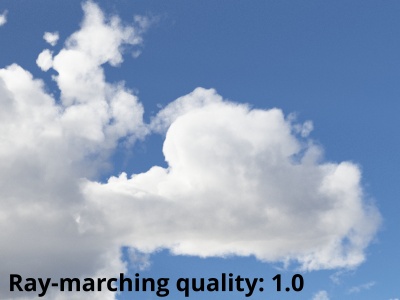
- Ray-marching quality: This setting provides a way to reduce render times by evaluating fewer samples within the volume along the ray. In many circumstances the quality of a rendered image using the default value of 0.5 is almost indistinguishable to the quality at a value of 1.0 but at a faster render time. Using too low a value, such as 0.1 or less, can cause the shadows cast by the cloud layer onto itself, to appear lighter or more diminished.
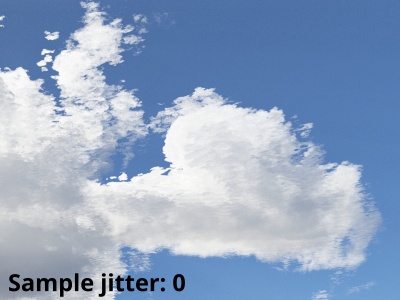
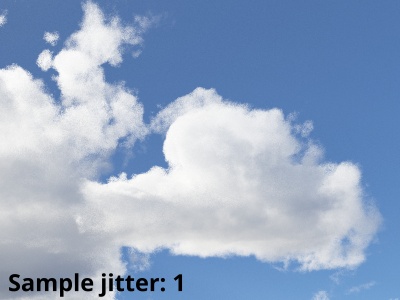
- Sample jitter: This setting provides an offset for each ray-marched segment of the volume being sampled. A value of 0 means the sample point is located at the center of each ray-marched segment being evaluated, which may introduce “banding” in the final rendered cloud layer. A value of 1, shifts the sample point along the ray, but still within the ray-marched segment being evaluated. This introduces noise into the final rendered cloud layer, however the anti-aliasing process averages all the neighboring rays together to create a better approximation of the volume being sampled.
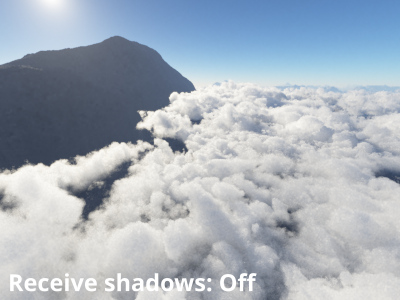
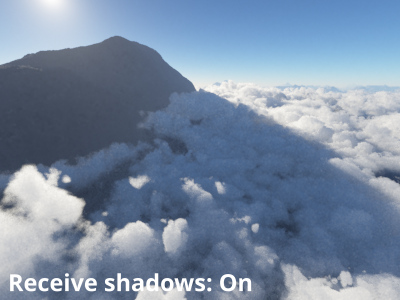
- Receive shadows from surfaces:
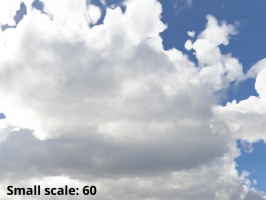
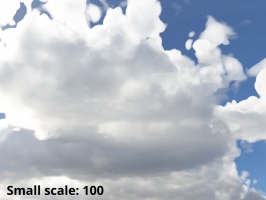
- Smallest scale: This setting controls the smallest scale in metres for the internal fractal patterns that make up the Easy Cloud layer. Each time the value is lowered by 0.5 an additional octave is created for every internal fractal pattern in the Easy Cloud layer, which in turn will increase render times.
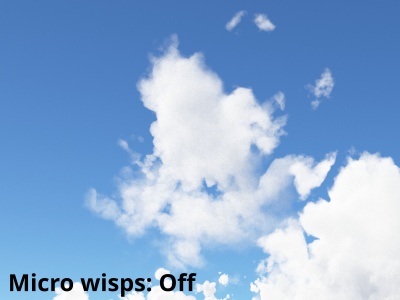
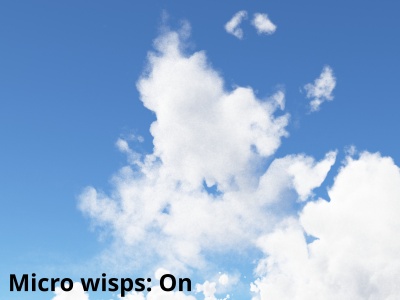
- Add micro wisps: When checked, or enabled, a fractal pattern is used internally by the Easy Cloud layer to introduce wisp-like detail into the edges of the clouds.
Optimisation Tab[edit]
Settings:
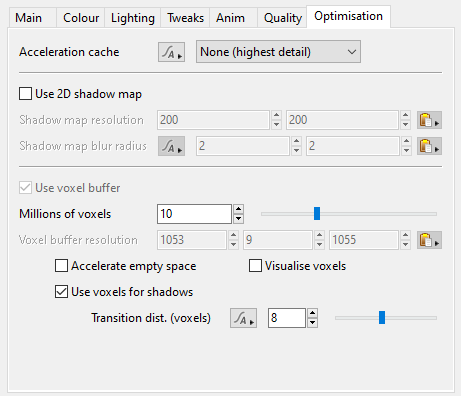
- Acceleration cache: This popup has five options.
- None (highest detail)
- Conservative acceleration:
- Optimal:
- More acceleration:
- Aggressive acceleration:
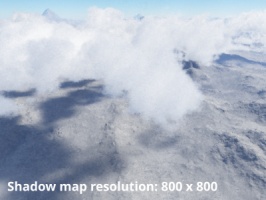
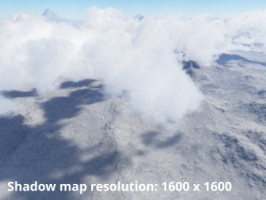
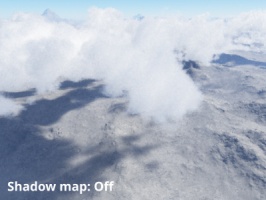
- Use 2D shadow map: When enabled this setting will generate an internal 2D shadow map for each cloud layer from all light sources in the project. Shadow map data includes shadows cast by the cloud layer onto the terrain, objects, and other cloud layers, but not self-shadows.
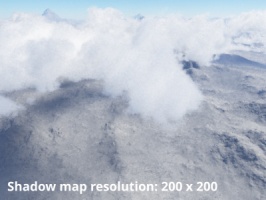
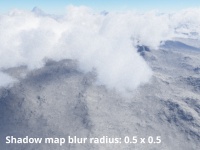
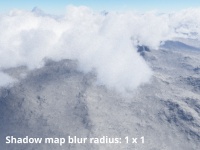
- Shadow map resolution: These values determine the resolution for the internal buffer’s width and height to be used in creating the shadow map for the cloud layer. Higher values take longer to calculate but result in more accurate detail. Lower values tend to be softer and have less contrast, due to less detail.
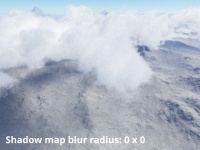
- Shadow map blur radius: These values determine the blur radius in pixels to apply to the shadow map after it has been rendered, therefore the Shadow map resolution values are important to take into consideration. For example, a Shadow map blur radius value of 2 will have a greater softening effect on a Shadow map resolution of 100 pixels by 100 pixels compared to a Shadow map resolution of 1000 pixels by 1000 pixels. The higher the Shadow map blur radius value the softer, or more blurred, the shadow map will be.
- Use voxel buffer:
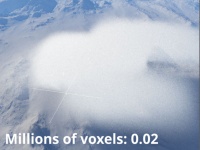
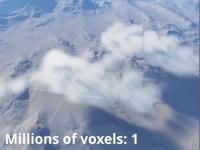
- Millions of voxels:
- Voxel buffer resolution:
- Accelerate empty space:
- Visualise voxels: When enabled, the voxel buffer for the cloud layer is displayed in the 3D Preview and used for rendering the cloud layer itself.
- Use voxels for shadows:
- Transition dist. (voxels):
A shader is a program or set of instructions used in 3D computer graphics to determine the final surface properties of an object or image. This can include arbitrarily complex descriptions of light absorption and diffusion, texture mapping, reflection and refraction, shadowing, surface displacement and post-processing effects. In Terragen 2 shaders are used to construct and modify almost every element of a scene.
A single element of an image which describes values for color and/or intensity, depending on the color system which the image uses. Groups of ordered pixels together form a raster image.
A sample refers to a value or set of values at a point in time and/or space. The defining point of a sample is that it is a chosen value out of a continuous signal. In Terragen 2 it is usually a mathematical (procedural) function that is being sampled.
