Terragen Sky Creating God Rays
Overview
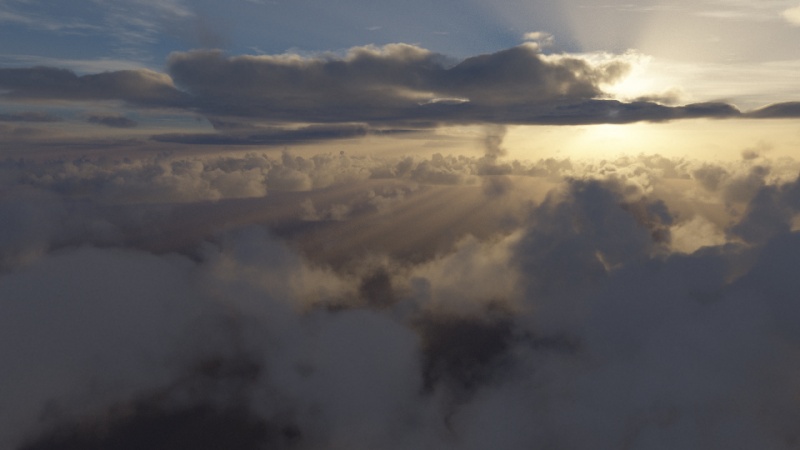
Crepuscular rays, or the shafts of sunlight that pierce through cloud cover or peek out from behind a cloud, can often be used to add dramatic lighting or enhance the emotional mood of an image.
These “God Rays” as they’re sometimes called, result from the sunlight illuminating some parts of the atmosphere while being blocked in other areas by clouds, terrain or other objects.
In Terragen Sky it’s easy to create God Rays by arranging the Sun’s heading and elevation in relation to the cloud layers, and manipulating the project’s haze parameters. In Terragen Sky there are two methods to define haze; the Haze layer and the Atmosphere Haze density value.
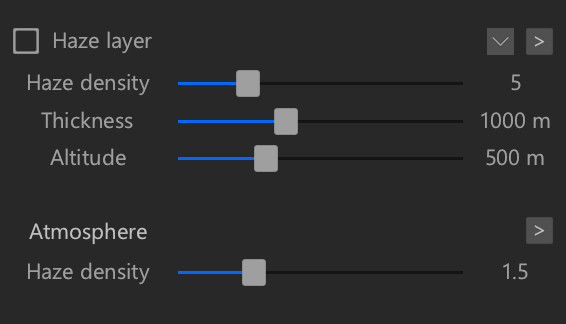
- Haze layer provides a customizable layer of uniform haze within a defined height range. You can control its density, thickness and altitude just like the other Cloud layers.
- Atmosphere Haze density setting defines a layer of haze with exponential fall-off with respect to height above sea level.
Haze Layer
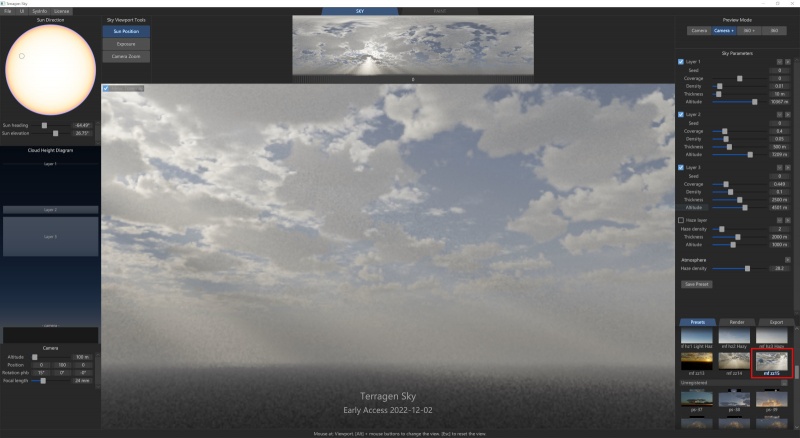
Let’s start by loading one of the presets that’s already designed to produce a sky with visible God Rays.
- Click the “mf zz 15“ preset to load it.
Did you notice that for this preset the Haze layer is disabled but the Atmosphere’s Haze density value is set fairly high?
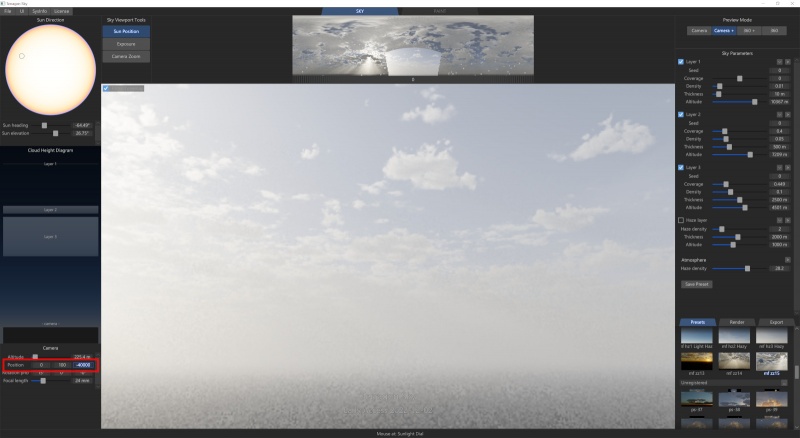
Now move the camera further away from its original position in the project along its Z axis, so we can see more of all the cloud layers that make up the project.
- Click the entry field for the Camera’s Z axis and enter -40,000 metres.
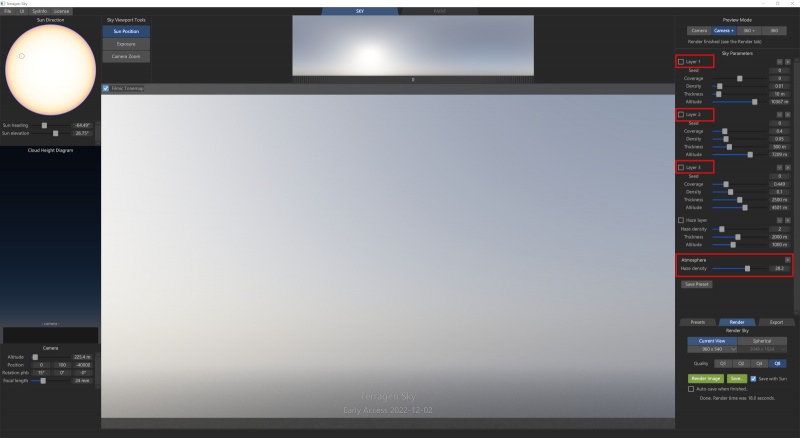
Let’s temporarily isolate the atmospheric haze from the cloud layers by disabling the three cloud layers in the project.
- Uncheck Layer 1, Layer 2, and Layer 3
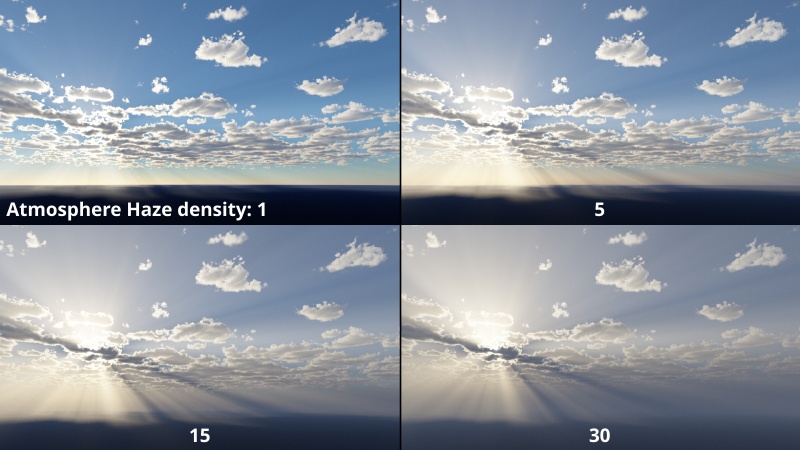
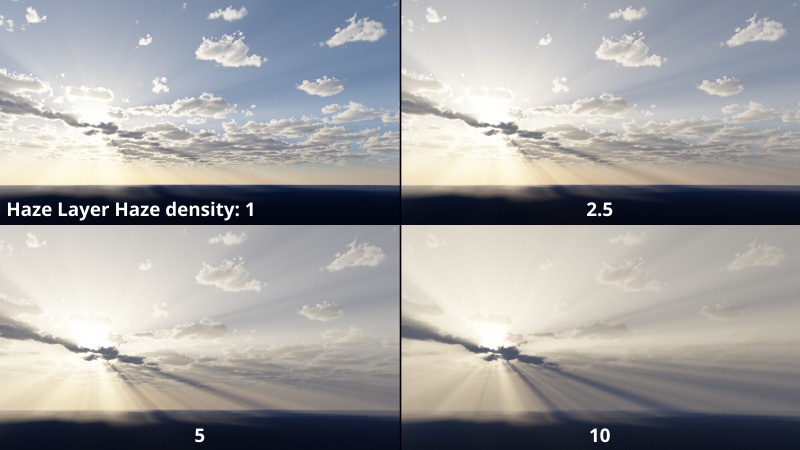
In the rendered image below you can see how the sun illuminates just the atmospheric haze. As you increase the value of the Atmosphere’s Haze density the more “stuff” there is in the atmosphere to scatter the light about.
In the example image below, you can see how the God Rays become more pronounced as the Atmosphere Haze density value increases.
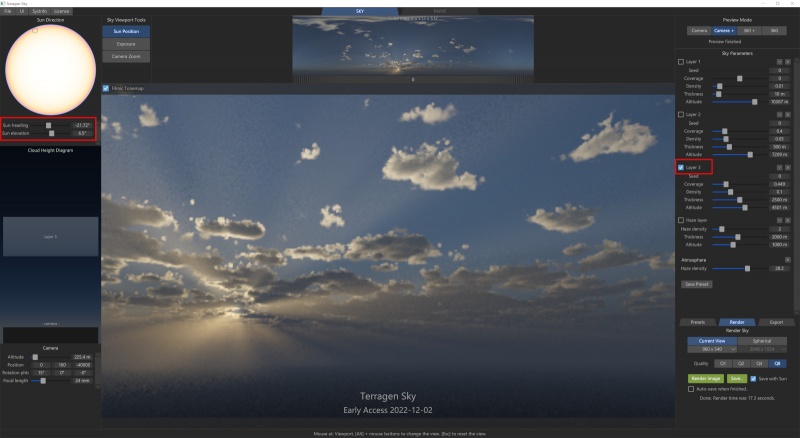
Now bring back Layer 3 so we can see the effect of just one cloud layer, and reposition the Sun so that it’s just above the horizon and obscured by a bit of the cloud layer. The settings we used are listed below.
- Check Layer 3 to turn it back on.
- Click in the Viewport to position the Sun, or
- Enter a value of -21.72 degrees for the Sun heading
- Enter a value of 6.5 degrees for the Sun elevation.
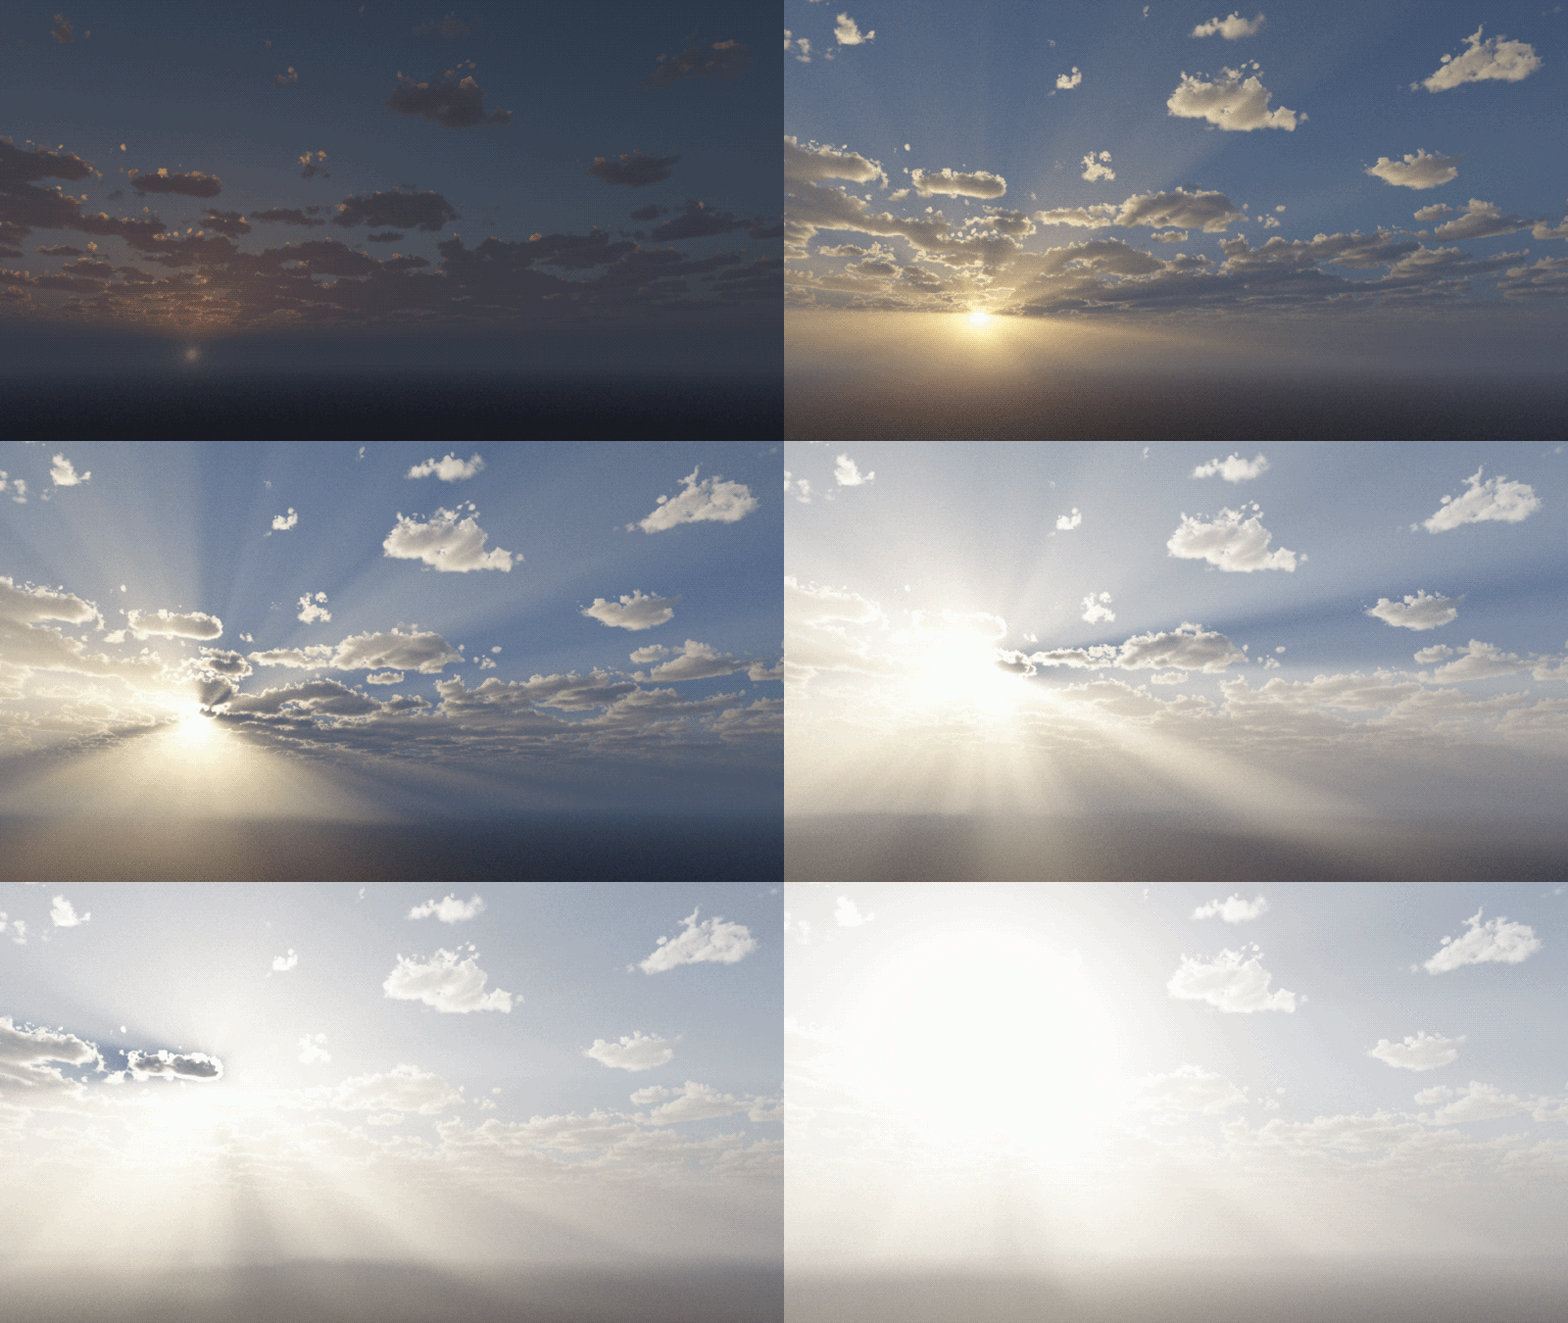
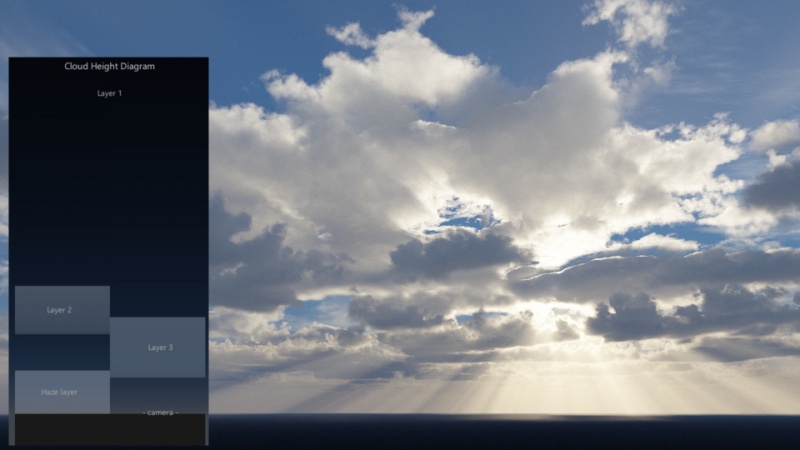
Change the Sun’s elevation value in small increments of about 1 degree to see how the God Rays change as the Sun rises or sets in the sky. You can see this effect in the animated GIF image below.
Atmosphere Haze density
The second approach we can take is to use the Haze layer instead of, or in conjunction with, the Atmosphere’s Haze density. This method provides a uniform volume of haze, allowing you to position the Haze layer precisely where you want it, making it as thick and dense as you like.
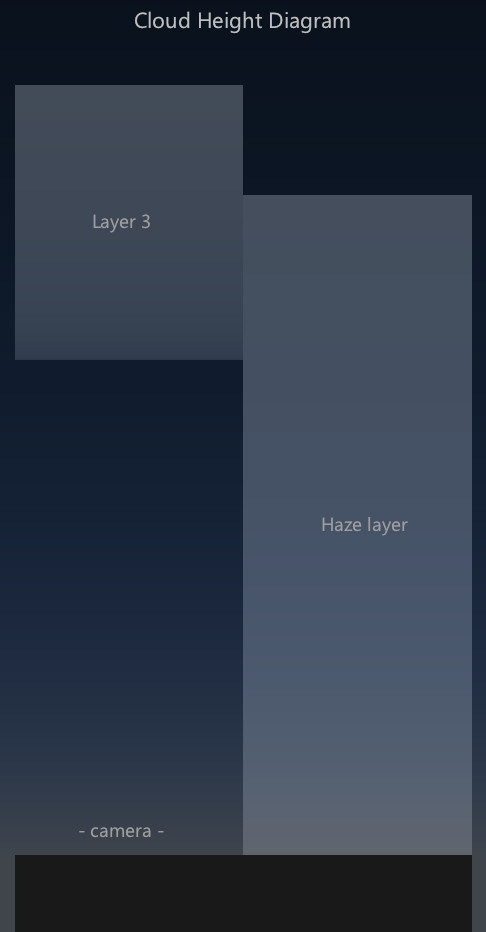
In order to compare these God Rays to the ones from the atmospheric haze example, we’ll make this Haze layer extend from the ground to about halfway through Layer 3 as shown in the Cloud Height Diagram below.
To see just the effect of the Haze layer, disable the Atmosphere Haze density.
- Set the Atmosphere Haze density value to 0.
Turn on the Haze layer, and set its Thickness and Altitude values until the Haze layer reaches from the ground to about the middle of Layer 3.
- Click the Haze layer checkbox to enable it.
- Set the Thickness value to around 5,000 metres.
- Set the Altitude value to around 2,500 metres.
Next, play around with the Haze density value to see how this affects the God Rays.
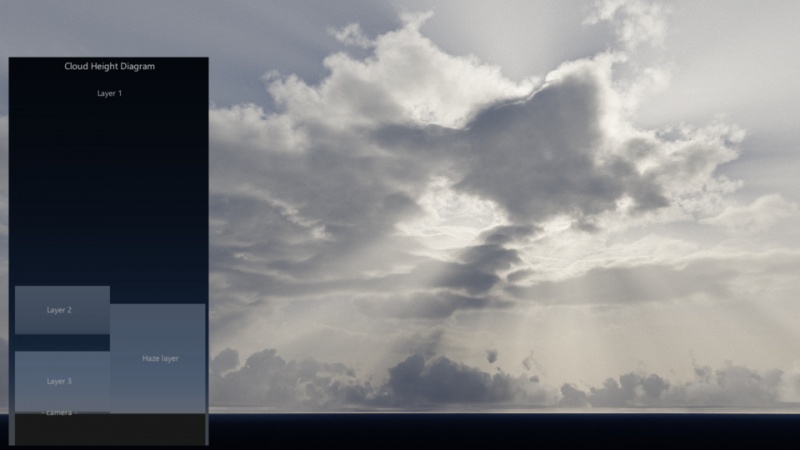
In the rendered image below we’ve enabled the other Cloud Layers.
Now that you see how the Haze layer and Atmosphere Haze density provide a volume for sunlight to scatter about, try placing the Cloud and Haze layers in different positions to see the God Ray effect you can create.
