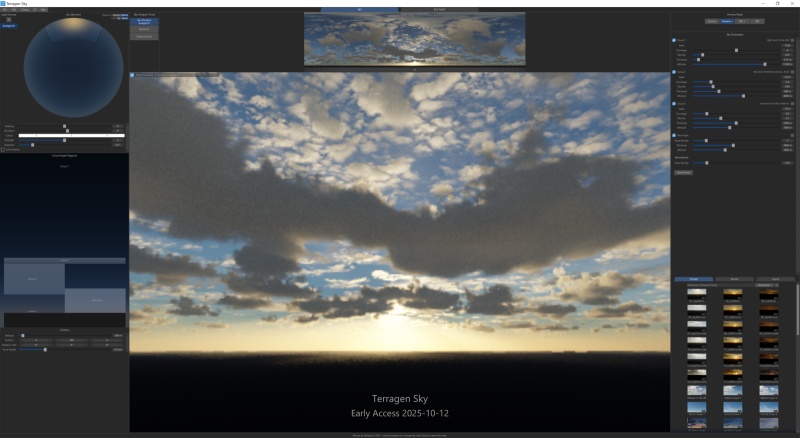
Terragen Sky Early Access
Overview[edit]
This is the online documentation for the Early Release version of Terragen Sky.
As features are being added or updated on a daily basis, please consider this documentation to be a work-in-progress.
Contents
Menu Bar[edit]
File menu button
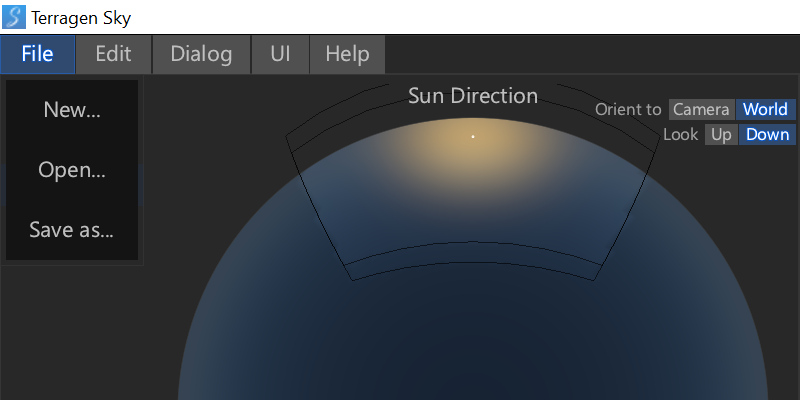
- New: Starts a new Terragen Sky project with the default values.
- Open: Opens a previously saved Terragen Sky project.
- Save As: Saves the current project as a Terragen Sky project.
Edit menu button
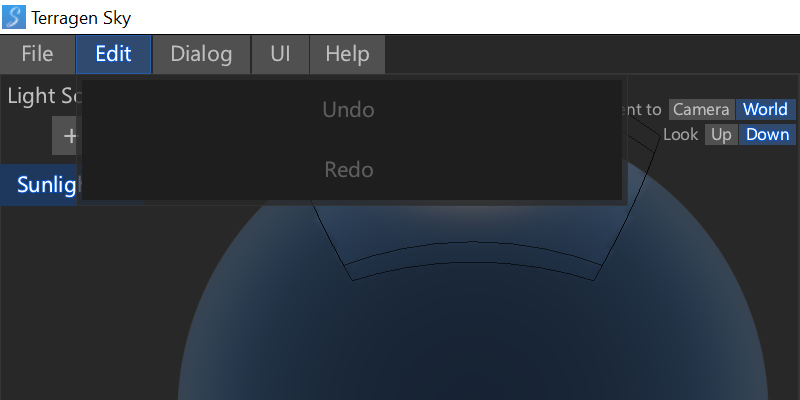
- Undo: Undo the last operation.
- Redo: Redo the last operation
Dialog menu button
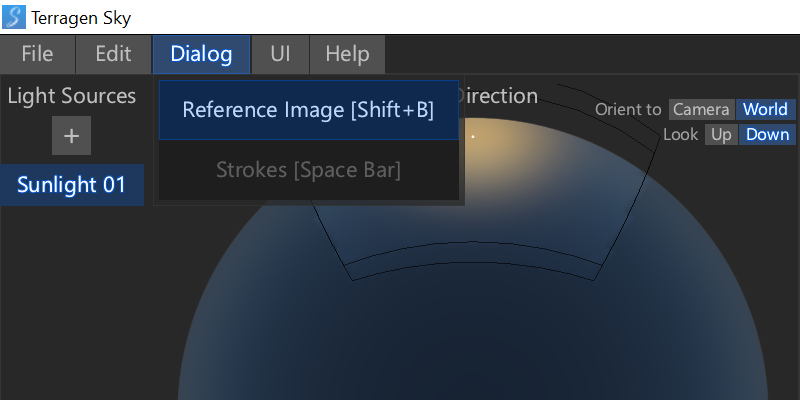
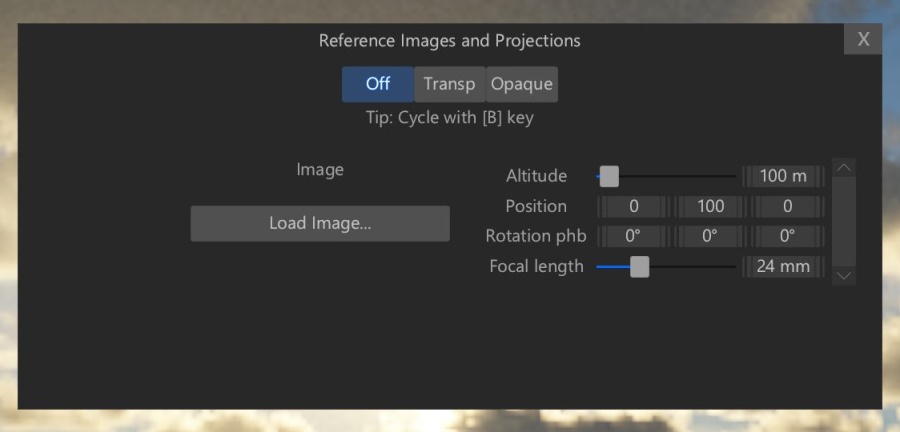
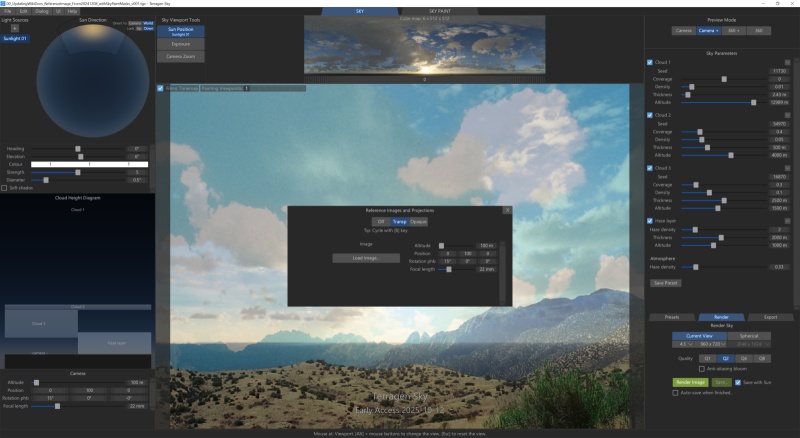
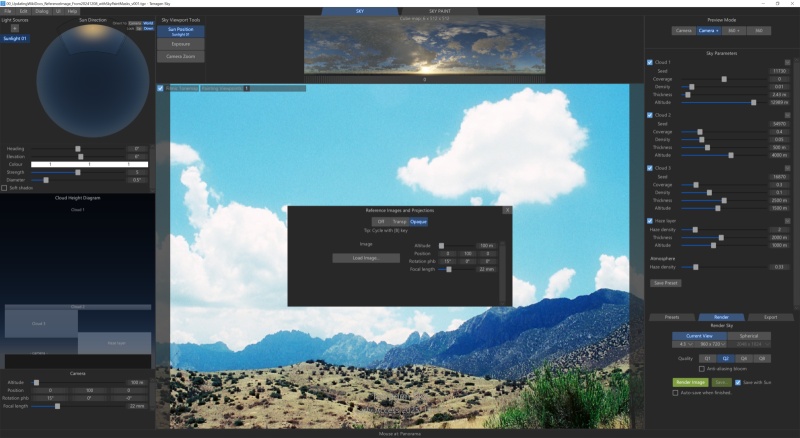
- Reference image: Opens the Reference Images and Projections window. This allows you to load an image from disk and project it into the project for reference. Image visibility can be fully opaque, transparent or completely off. The image can be positioned in the project by setting the Altitude, Position, Rotation and Focal length parameters.
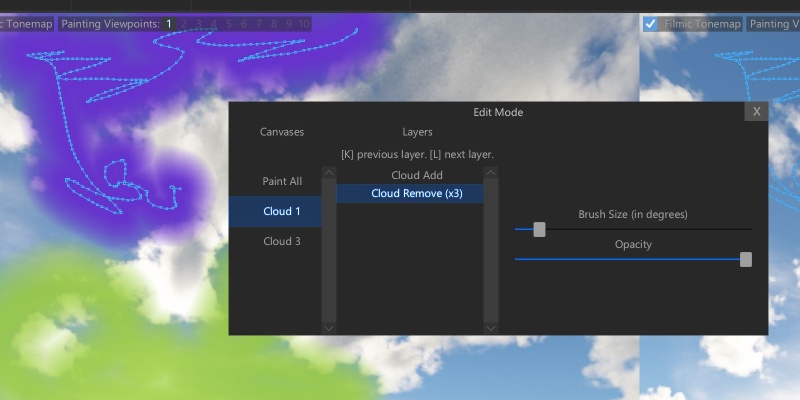
- Strokes: When the Sky Paint workspace is active, this option opens the Edit Mode window. In Edit Mode the size and opacity of brush strokes can be modified, and they can be assigned to different canvases. For more information, see the Sky Paint section below.
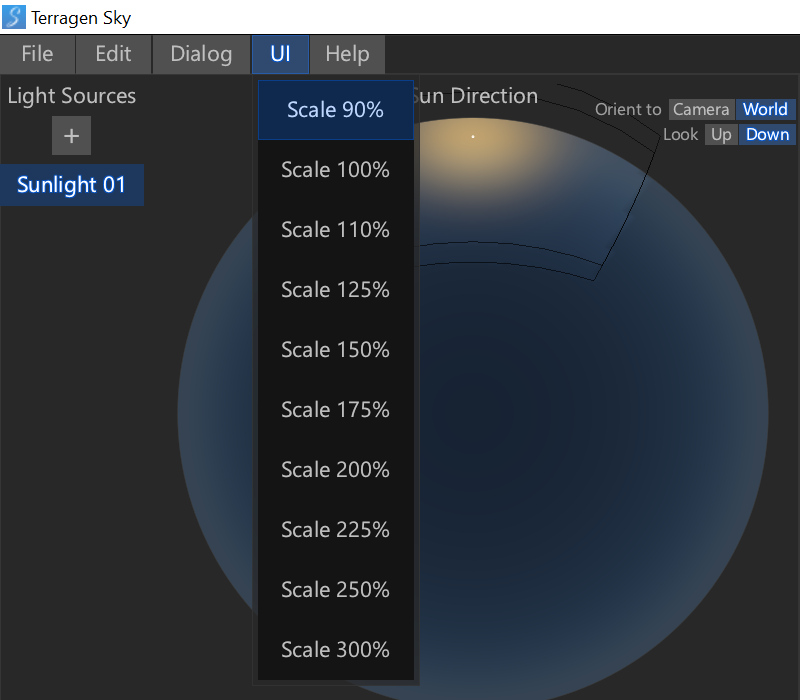
UI menu button
The presets under this menu scale the user interface components accordingly, so that you can adjust the layout to best fit your display device or visual preference.
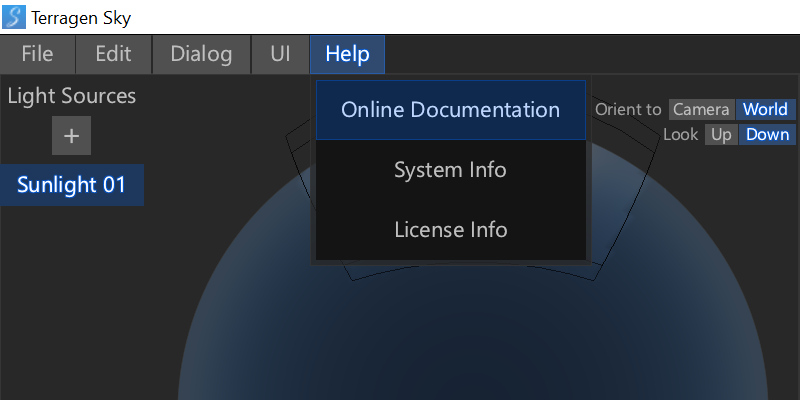
Help menu button
- Online Documentation: Opens the URL for the Terragen Sky documentation in your browser.
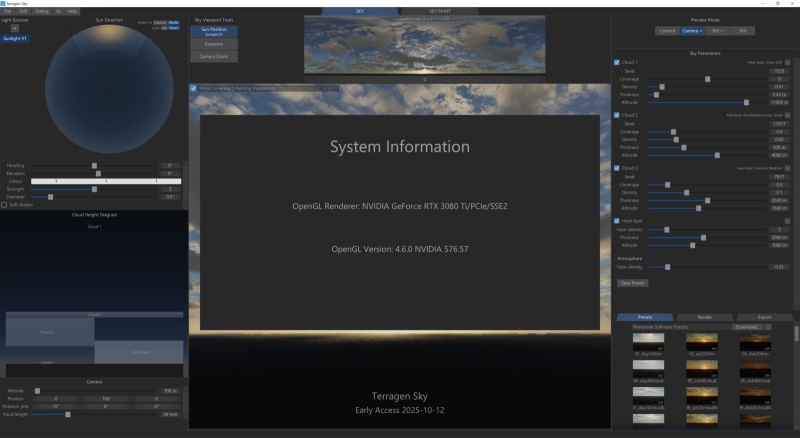
- SysInfo button: Displays the system information including OpenGL Renderer and OpenGL Version. Click anywhere outside the information window to close it and return to the main interface.
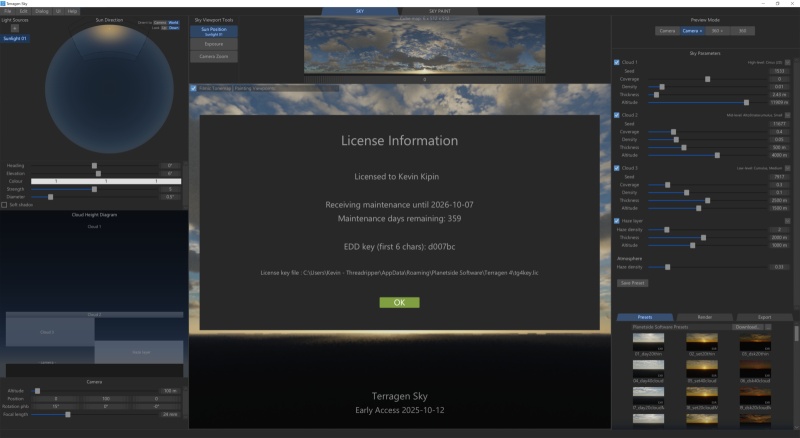
- License button: Displays the license information. One year of maintenance is included with the purchase of a perpetual license of Terragen. Click anywhere outside the information window to close it and return to the main interface.
Resizable Docks[edit]
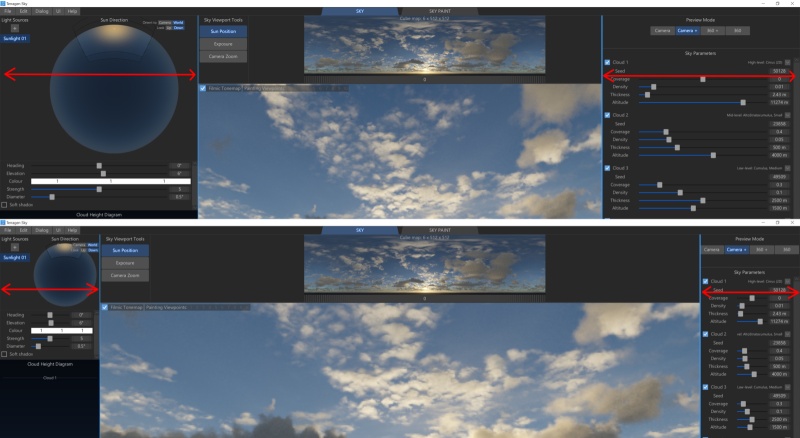
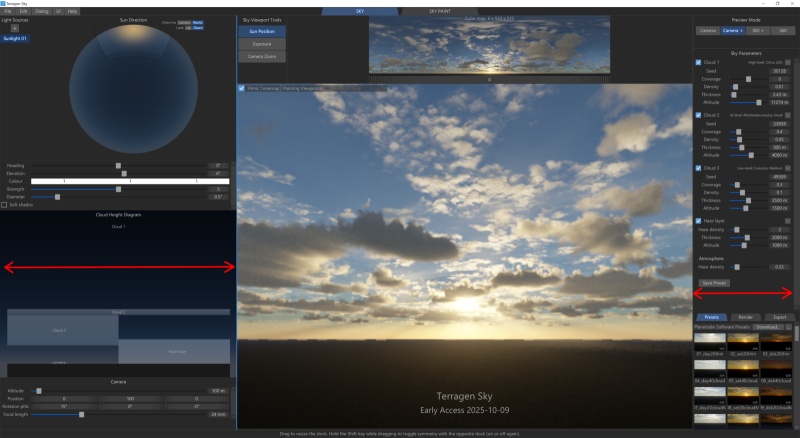
The left and right docks of the UI are resizable, with optional symmetry between the left and right docks. Dock symmetry can be toggled by holding Shift while dragging a dock resizer bar.
Lighting Panel[edit]
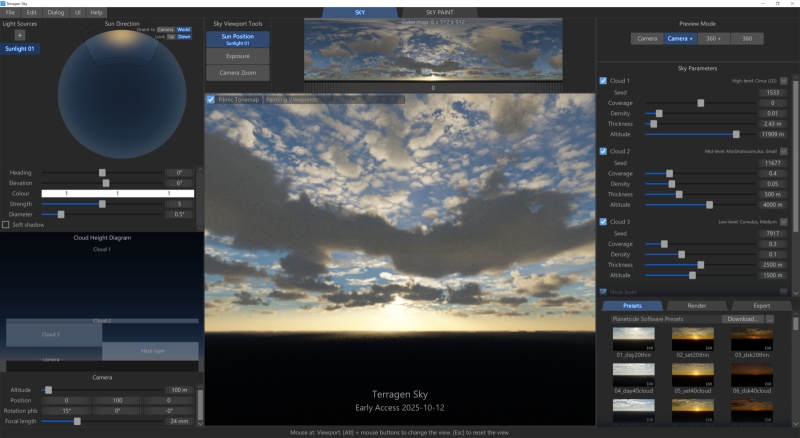
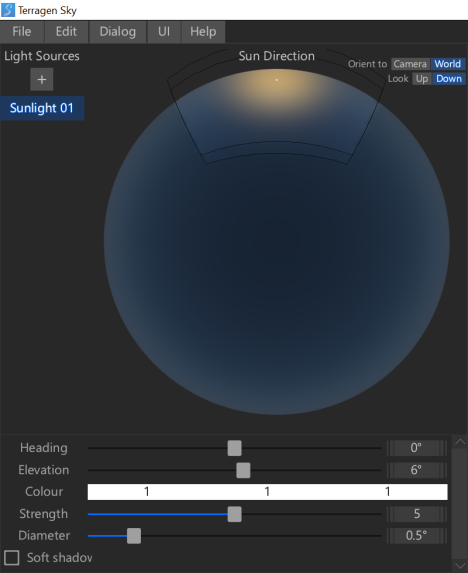
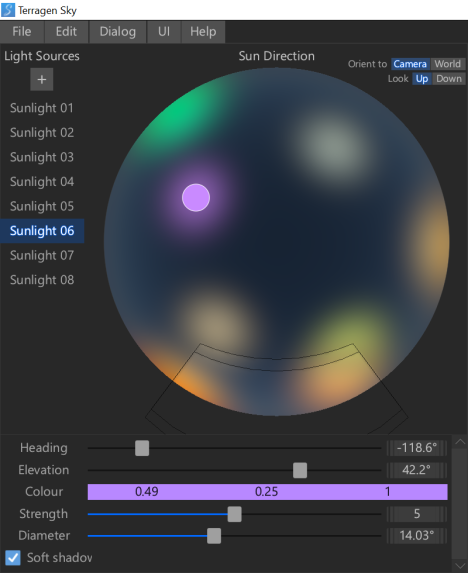
The lighting panel provides complete control over the Sunlights in your project by means of the Light Sources list, a Sun Direction dial, and parameters for each Sunlight.
You can easily add Sunlights to the project by clicking the “+” button below the Light Sources label. To remove a Sunlight from the list, select it and press the Delete key.
Selecting a Sunlight in the Light Sources list allows you to edit it and any changes are reflected immediately in the UI.
To change the position or elevation of a Sunlight, select it from the list then click and drag anywhere in the Sun Direction disk. For finer control you can adjust these parameters by dragging their sliders to the left or right. For very precise control use their rollers and drag left or right, or simply type in the numeric value you desire.
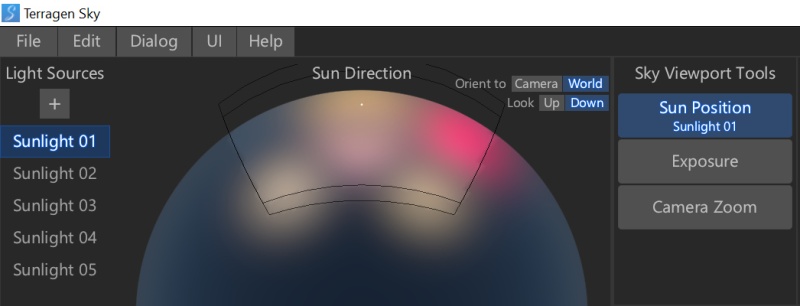
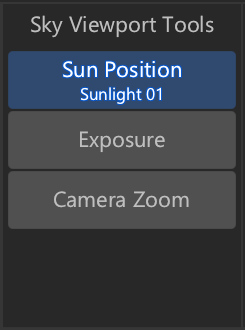
With the Sun Position button enabled in the Sky Viewport Tools you can snap the selected Sunlight directly to where you click in the Viewport. The name of the currently selected Sunlight appears below the Sun Position button.
As a Sunlight nears the edge of the dial its colour in the UI changes to reflect its proximity to the horizon.
The Sun Direction dial also includes a camera frame and viewport rectangle, represented as lighter-shaded areas with black lines.
List of Sunlights
- Light Sources +: Clicking the "+" button adds a new Sunlight to the project. The name of the newly added Sunlight is shown in a list below the button and a visual representation of the Sunlight appears in the Sun Direction disk. To remove a Sunlight from the list and project, select it and press the Delete key. If only one Sunlight exists in a project it can not be deleted. You can undo the creation and deletion of Sunlights via the Edit menu or by using Ctrl+Z on the keyboard.
Sun Direction Dial
- Orient to Camera/World: The Sun Direction dial can be displayed in camera or world orientation. When the Camera button is enabled, the camera’s field of view in the Sunlight dial remains facing forward and any Sunlights in the project rotate around the dial as the Camera is rotated or the Panorama Roller is dragged to the left or right. When the World button is enabled and the camera is rotated, its field of view in the Sun Direction dial rotates around the dial while any Sunlights remain fixed in their position.
- Look Up/Down: These buttons indicate the way in which you’re viewing the Sun Direction dial; from above it or below it. If you imagine the dial to be the sky Up indicates that you’re below the sky looking up at it, while Down indicates you’re above the sky looking down at it.
Sunlight Parameters
- Heading: This parameter sets the heading of the sun in degrees. You can think of 0° as North, +90° as East, +-180° as South, and -90° as West. The parameter includes a slider with a range of -180 to +180 degrees, and a roller which can be dragged to the left or right to adjust its value, or to directly enter a numeric value.
- Elevation: This parameter sets the elevation of the sun in degrees. You can think of 0° being directly on the horizon, +90° being directly overhead, and -90° being on the underside of the planet. When negative values are used to simulate a night sky, you can compensate for the darkness by increasing the Exposure value. The parameter includes a slider with a range of -90 to +90 degrees, and a roller which can be dragged to the left or right to adjust its value, or to directly enter a numeric value.
- Colour: This parameter sets the colour of the selected Sunlight. It consists of one roller for each of the components (red, green, blue) that make up the Sunlight's colour. To change the colour simply drag to the left or right in each roller, or enter a numeric value. Negative values are allowed. The Sun Direction dial will update to reflect the new colour values.
- Strength: This parameter sets the intensity of the Sunlight. The default strength value is 5.
- Diameter: This parameter sets the diameter of the selected Sunlight’s disk. As the value is changed, the Sun Direction dial will automatically update to show the size of the Sunlight disk. A visible Sunlight disk can be included or excluded from a rendered image by checking the “Save with sun” checkbox under the Renders tab and saving the rendered image.
- Soft shadow: When checked the renderer will calculate soft shadows for the selected Sunlight based on the Sunlight's diameter. This can take longer to render but is more accurate.
Sky Viewport Tools[edit]
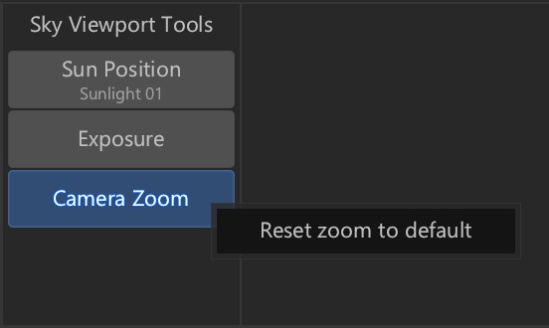
- Sun Position: When active, clicking in the main viewport repositions the sun to that location, updating the Sun heading and elevation values.
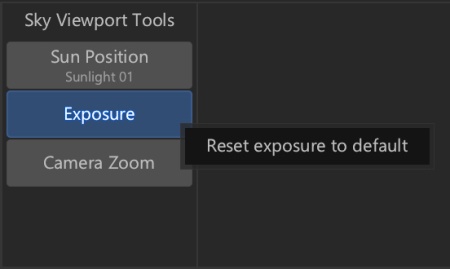
- Exposure: When active, clicking and dragging in the main viewport changes the camera’s exposure value, simulating the response to light a real camera might have. Dragging to the right increases the exposure value and brightens up the image as more light reaches the film. Dragging to the left decreases the exposure value and darkens the image, much like stopping down the camera lens aperture from f/2 to f/4. Right-click the exposure button to open a context menu which has the option to reset the exposure value to default.
- Camera Zoom: When active, clicking and dragging in the main viewport changes the camera’s focal length, which can also be seen in the Camera Focal length parameter.
Cloud Height Diagram[edit]
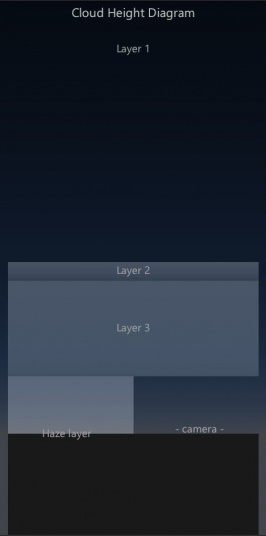
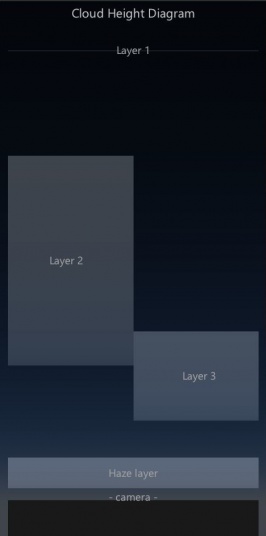
The Cloud Height Diagram provides a visual and alternate way of positioning the cloud and haze layers, and camera. Moving an item within the diagram adjusts its altitude. When one item’s altitude overlaps with another their indicators appear side by side.
Camera[edit]
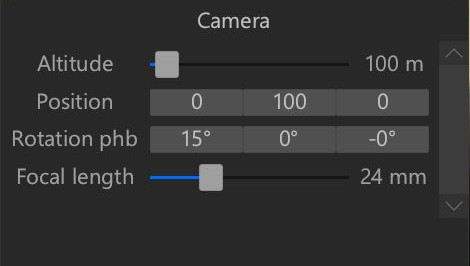
- Altitude: This parameter controls the height of the virtual camera. Dragging the slider right or left will increase or decrease the camera's altitude. For finer control drag the roller to the right or left, or enter a numeric value. The Cloud Height Diagram will update and show the new altitude of the camera.
- Position: This parameter controls the position of the virtual camera in the scene. Each component value (XYZ) may be modified by dragging to the right or left in the rollers, or by entering a new numeric value.
- Rotation phb: This parameter controls the rotation of the virtual camera in the scene. Each component value (pitch, heading, bank) may be modified by dragging to the right or left in the rollers, or by entering a new numeric value.
- Focal length: This parameter controls the focal length of the virtual camera lens and is the equivalent to the focal length of a real camera lens. The parameter includes a slider with a range of 0 mm to 300 mm, and a roller which can be dragged tothe left or right to adjust its value, or to directly enter a numeric value.
Panorama and Panorama Roller[edit]
The Panorama displays a “lat-long” (spherical) image or a cube map overview of the entire environment. The overlaid text provides information about the type and resolution of the environment map, whose resolution depends on the Terragen Sky mode selected. Dragging the roller below the Panorama rotates the environment from -180° to +180°. Clicking with the RMB resets the rotation value to 0.
Viewport[edit]
The viewport is the main display of the UI. The Alt key + mouse buttons and dragging in the viewport will change the view. These are similar to the default bindings in Terragen 4.
Translate forwards/backwards (dolly): Alt+MMB, or Alt+Shift+LMB Translate up/down/left right: Alt+RMB, or Alt+Ctrl+LMB
Pressing the Esc key resets the camera’s position and rotation to the values they had when the project was loaded, or created in the case of using New Project.
Below the viewport is the status bar, which displays helpful information, such as the name of the UI component that the mouse is currently pointed at.
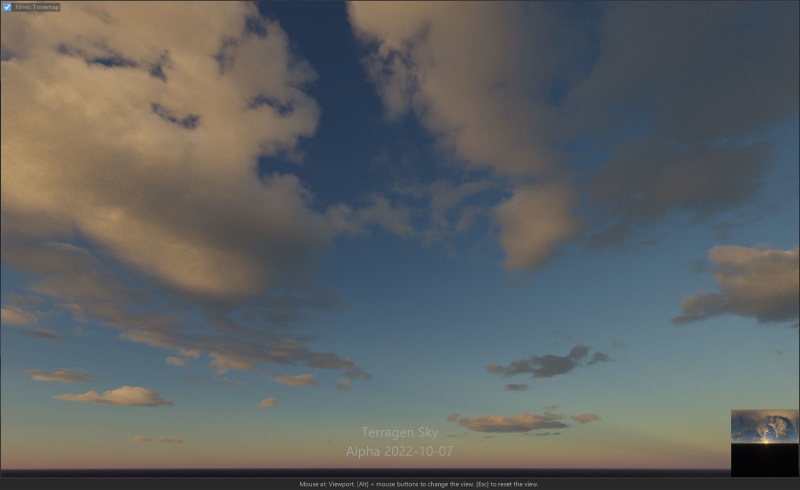
- Filmic Tonemap: When checked, a tone map is applied to the viewport in much the same way as the Renderers Tonemap settings in Terragen 4. When unchecked, no tone mapping is applied and you may see clipping in the bright areas of the sky.
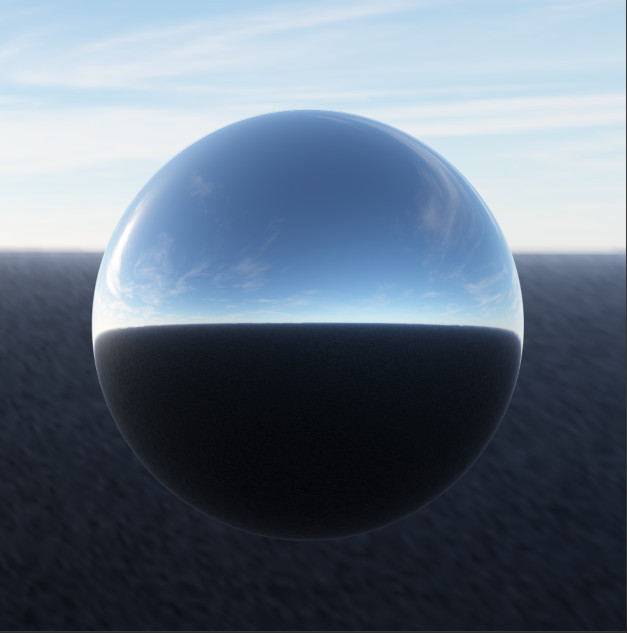
- Enviro map/sphere: Inset into the main viewport is an environment shader object. This chrome sphere can be useful when rotating the environment map in order to see what's behind the camera position. You can drag the object around the viewport by clicking on it with the LMB, or resize it using the MMB.
Preview Modes (Camera, Camera+, 360+, 360)[edit]
Camera-Priority Modes:
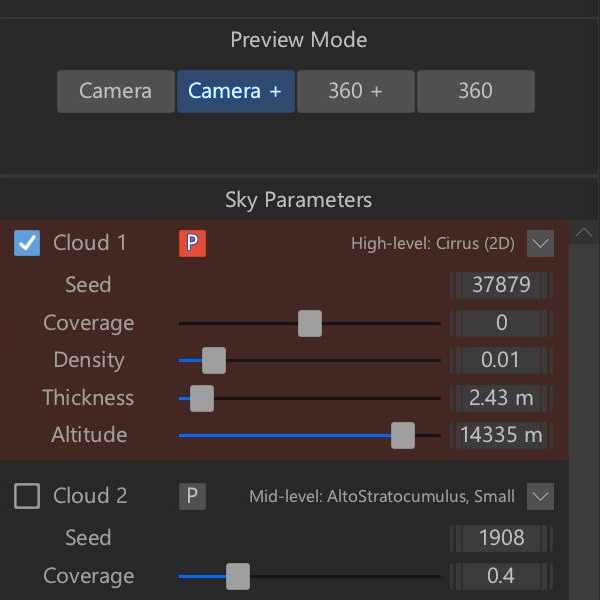
- Camera: Use this mode when you want to preview the area you’re looking at as quickly as possible. In this mode, whatever you’re looking at is progressively refined up to an internal target resolution and quality.
- Camera+: In this mode, whatever you’re looking at is progressively refined up to an internal target resolution and quality, then the rest of the 360° view is updated and refined until everything is at the internal target resolution and quality.
360/Lighting-Priority Modes:
- 360 +: Use this mode when you want an approximate 360° render as quickly as possible (e.g. for lighting) but you also want to refine the area within the camera’s view. In this mode, the entire 360° view is first updated to a minimum resolution, then whatever you’re looking at is refined to the internal target resolution and quality, and finally the rest of the 360° view is updated and refined until everything is at the internal target resolution and quality.
- 360: Use this mode when you want a 360° view as quickly as possible (e.g. for lighting). In this mode, the entire 360° view is updated at a uniform resolution.
Sky Parameters[edit]
The Sky parameters consist of three cloud layers, a Haze layer and an Atmosphere control.
Cloud Layers
- Layer # (checkbox): When checked, the layer is active and will appear in the viewport and in renders.
- Presets menu (down chevron): When clicked, a list of cloud presets is displayed, allowing you to choose the type of clouds to assign to this cloud layer. See below.
- Advanced Settings (right chevron): When clicked, the advanced settings for the selected cloud, haze or atmosphere is displayed. This feature is not currently implemented.
- Seed: This value generates the random aspects of the cloud layer.
- Coverage: This setting controls the amount of clouds within the cloud layer. Low values reduce the amount of individual clouds and increase the amount of empty space between them. Increasing the value fills up the area with more individual clouds.
- Density: This setting controls the transparency or opaqueness of the clouds within the cloud layer. Low values make the clouds look thin and let more light pass through them. Higher values make the clouds look thicker and denser, as well as darker because less light passes through them.
- Thickness: This setting controls the height range of the cloud layer from top to bottom. This corresponds to “Cloud depth” in Terragen 4.
- Altitude: This setting controls the height of the cloud in metres above sea level. For some cloud types this corresponds to the base of the cloud and for others it corresponds to the mid-point between the base and the top.
Presets menu
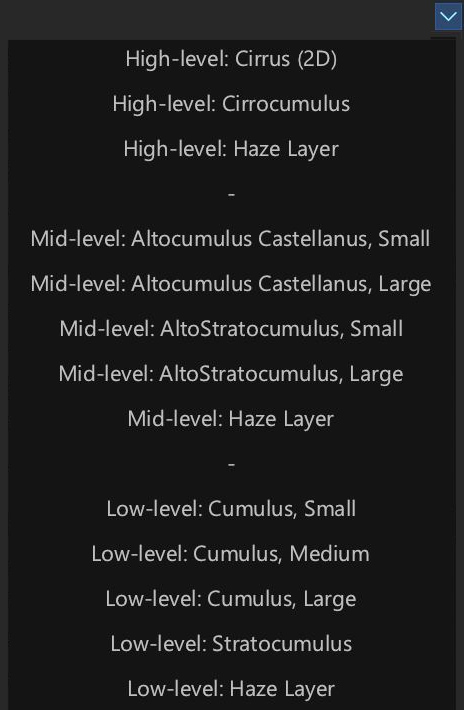
Through the presets menu for Cloud and Haze layers, you have access to the cloud type presets available in Terragen, including Cloud Layer V2, Cloud Layer V3, and Easy Clouds.
- High-level: These cloud layers default to an altitude of 8,000 metres or more, and are based on Terragen’s Cloud Layer V2 or Easy Clouds presets. When an Easy Cloud preset is selected, you can further choose between Cumulus, Altocumulus Castellanus, and Stratocumulus cloud types under the cloud layer’s advanced settings.
- Mid-level: These cloud layers default to an altitude around 4,000 metres, and are based on Terragen’s Easy Cloud presets. Under the cloud layer’s advanced settings you can further choose between Cumulus, Altocumulus Castellanus, and Stratocumulus cloud types.
- Low-level: These cloud layers default to an altitude around 1,500 - 2,000 metres and are based on Terragen’s Easy Cloud presets. Under the cloud layer’s advanced settings you can further choose between Cumulus, Altocumulus Castellanus, and Stratocumulus cloud types.
- Haze: High-level, Mid-level, and Low-level haze layers are available based on Terragen’s Cloud Layer V2 without a Density shader, tapering or falloff. It provides a volumetric layer in which you can control the density, thickness and altitude.
Haze Layer
Haze is the appearance of moisture and particulates in the atmosphere. It can be used to simulate a broad range of phenomena such as fog, mist, or dry haze caused by dust and smoke. The Haze layer is a layer of uniform haze with a prescribed height range, whereas the Atmosphere is a layer of haze with exponential fall-off with respect to height above sea level.
- Haze layer: When checked, the haze layer is visible.
- Haze density: This is the opacity of the haze layer.
- Thickness: This is the height range of the Haze layer from top to bottom, measured in metres.
- Altitude: This is the altitude, specified in metres, at which the bottom of the Haze layer begins.
Atmosphere
- Haze density: The exponential fall-off of haze in the atmosphere with respect to height above sea level.
Other buttons
- Save Preset button: Clicking this button saves the current settings as a preset, which becomes available in the Presets tab.
Presets Tab[edit]
The presets tab is a convenient way to access your favorite Terragen Sky settings.
To load a preset, simply click on the thumbnail image in the Presets tab, or right click it and select “Load Preset”.
To save a preset, simply press the Save Preset button located at the bottom of the Sky Parameters, and the new preset will be added to the Preset tab.
User presets and presets from third party sources show up under the User Presets or Unregistered categories.
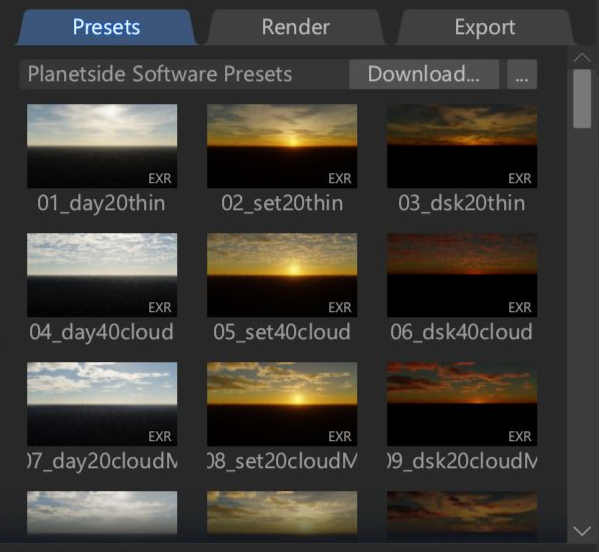
The Planetside Software Presets category displays the presets that ship with Terragen Sky. You can download them by clicking on the Download button as shown in the image below.
You can also navigate to their installation directory by clicking on the ellipsis button.
Render Tab[edit]
The render tab provides controls for the rendered output, including size and quality settings.
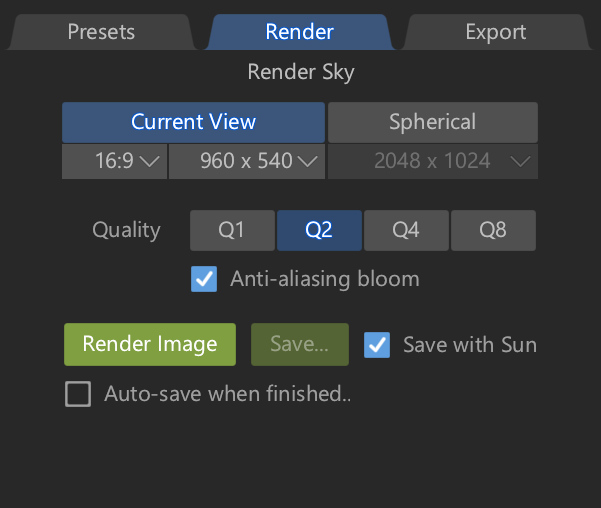
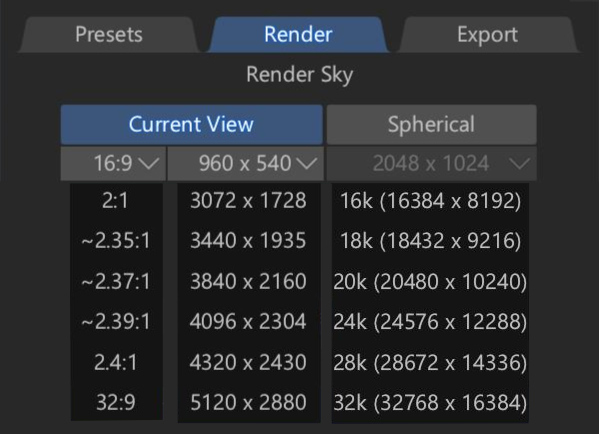
- Current View & Spherical: These settings provide a dropdown menu of standard image resolutions to choose from. The width and height of the rendered image will be set to the chosen resolution.
- Quality: The quality of the rendered image is governed by the four Q buttons. The higher the Q button value the better the quality of the rendered image, at the expense of a longer render time.
- Anti-aliasing bloom: When checked this produces a nicer edge on the sun discs in the rendered image. Note that it also increases render times.
- Render Image button: Click this button to start the render process. When the process is complete, a notification is displayed below the button indicating how long the render took.
- Save button: Click this button to save the rendered image.
- Save with sun: When checked, the sun disc is saved in the rendered image. Note that to turn the sun disc on or off, the image does not need to be re-rendered.
- Auto-save when finished: When checked, the image will automatically be saved upon render.
Export Tab[edit]
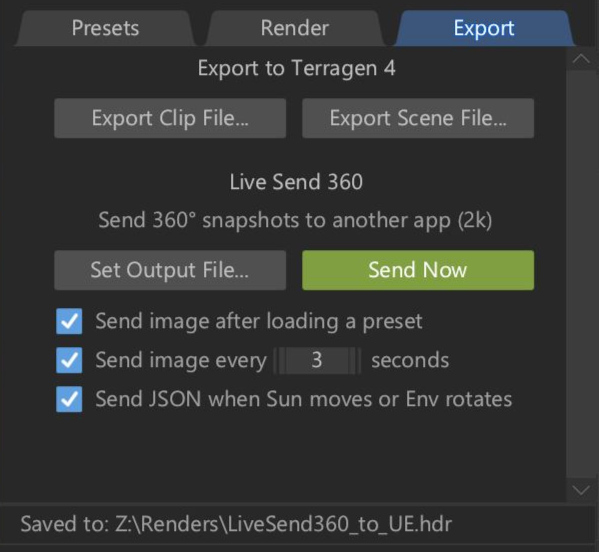
The items on the Export tab allow you to save the project as a Terragen clip file or scene file for further use in Terragen 4. Additionally, with Live Send 360, you can immediately save the environment map to a file for access by third party software.
Export to Terragen 4
- Export Clip File: Saves the Sky Parameter settings as a clip file which can then be imported into Terragen 4 for further manipulation.
- Export Scene file: Saves the project, including Sky Parameters, sun and camera, as a scene file which can be opened in Terragen 4 for further manipulation.
Live Send 360: This feature allows you to export a 2k spherical image to a specific location which is based on the current render state of the viewport, eliminating the need to wait for a final rendered image.
- Set Output File: Clicking this button brings up a standard file requestor in which to set the filename and path for the Live Send 360 output.
- Send Now: Clicking this button immediately updates the image defined in Set Output File parameter.
- Send Image after loading a preset: When checked, the image is immediately updated as soon as a preset is loaded. When unchecked, you need to click the Send Now button.
- Send image every “n” seconds: When checked, the image is saved to the output file every “n” seconds that you specify.
- Send JSON when Sun moves or Env rotates: When checked, a JSON file located in the same folder as the output file, is updated with project information such as the Sun’s heading and elevation. Third party applications supporting dynamic updating, like Unreal Engine, can access the information and their project assets can be synced with Terragen Sky.
Sky Paint Workspace[edit]
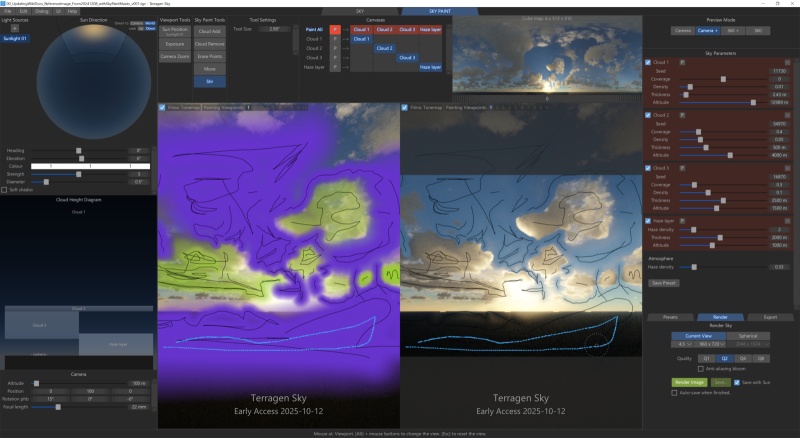
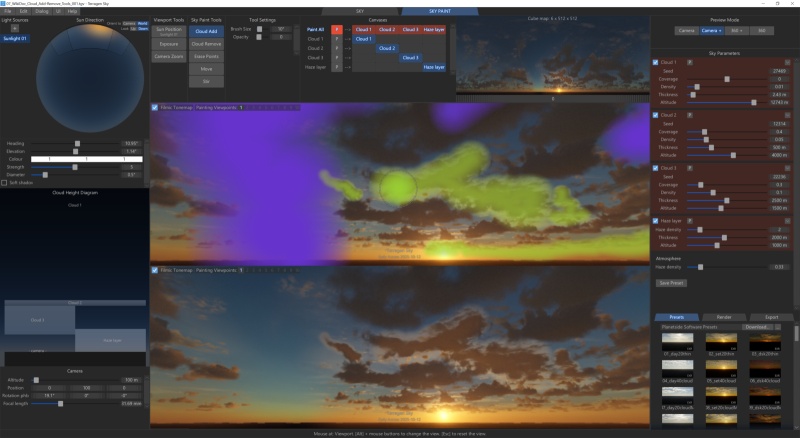
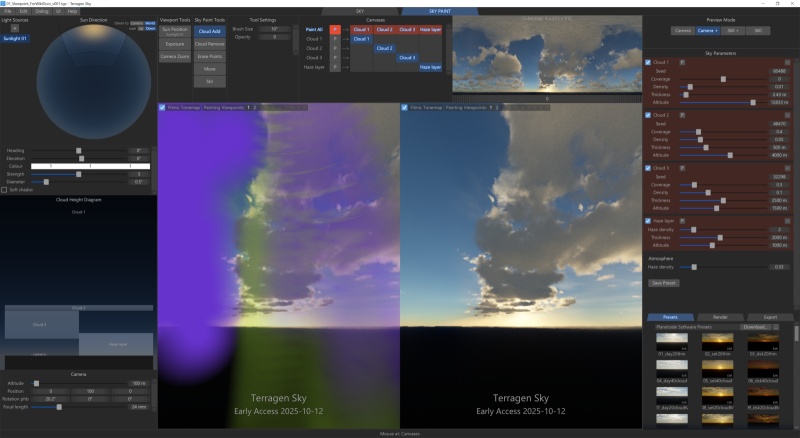
The tools and features under the Sky Paint workspace give you precise control of the shapes and positions of your clouds.
Clicking on the Sky Paint workspace tab brings up the viewport display menu.
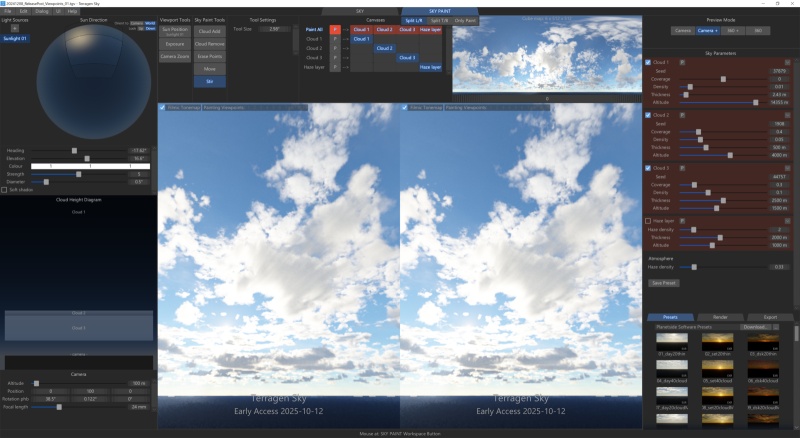
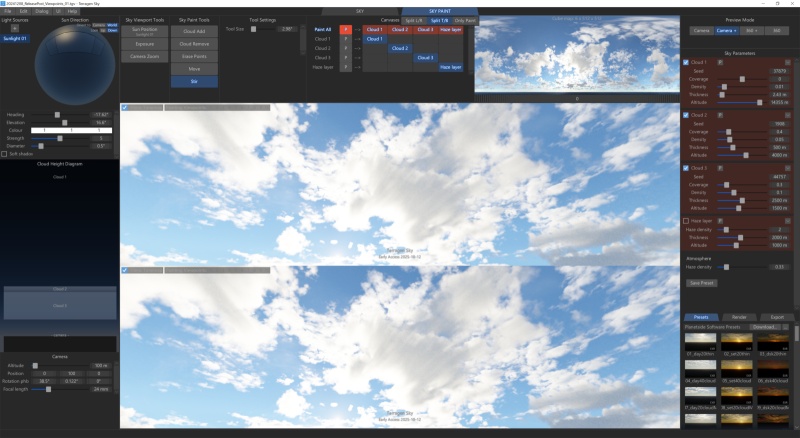
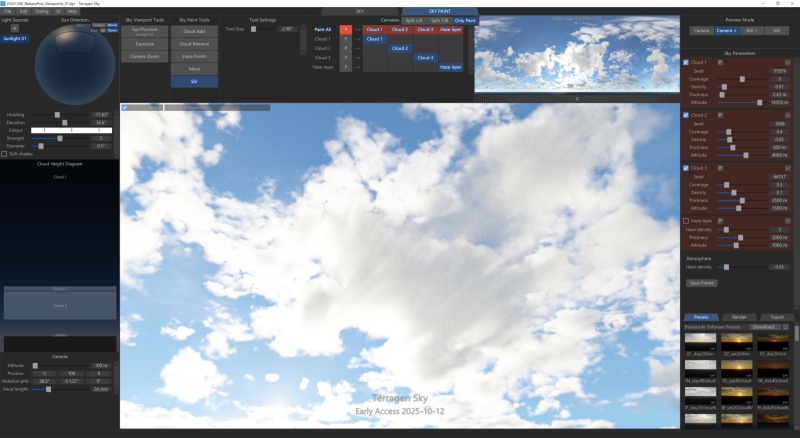
You can set the viewport display to side-by-side, top-and-bottom, or to display the painting viewport only.
Canvases:
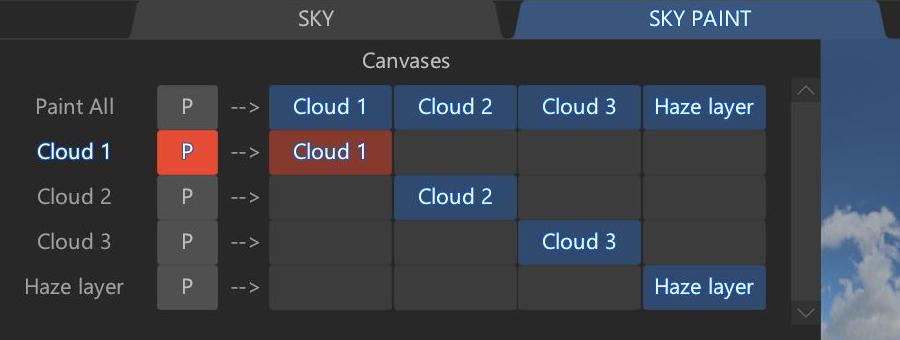
A canvas is a 360-degree paintable volume which can be painted from multiple viewports. Each project contains multiple canvases.
By default, the "Paint All" canvas is selected. Paint tools used in this canvas affect all cloud layers and haze layers in the project. This lets you start painting and see immediate results.
There are extra canvases for each cloud layer and haze layer, such as "Cloud 1", "Cloud 2", and "Haze Layer". When painting in these canvases, paint tools are limited to that specific layer.
When a canvas is selected, the “P” paint indicator and Sky parameters for the affected layer will be highlighted in red.
Sky Paint Tools:
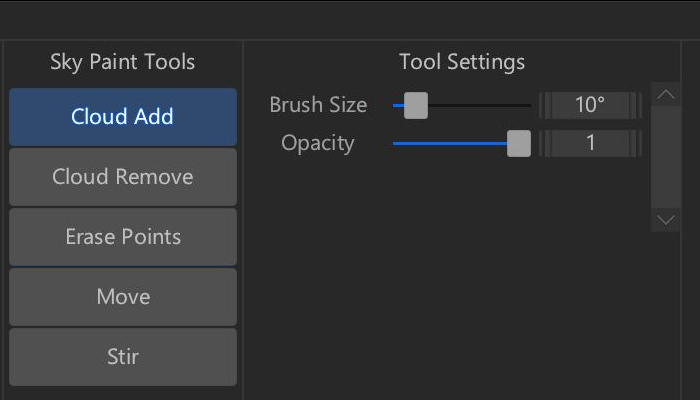
The Sky Paint Tools allow you to add, remove and modify the cloud and haze layers in your project. Painting is completely non-destructive and you can edit your strokes at any time. Everything is undoable.
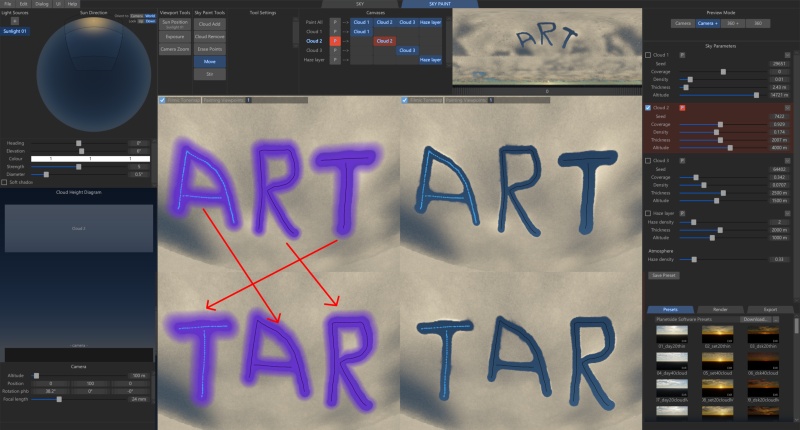
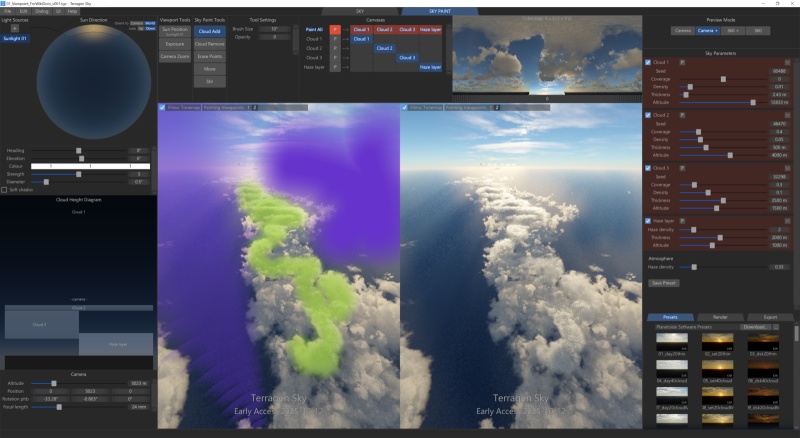
- Cloud Add and Cloud Remove: Paint strokes created with the Cloud Add tool appear in green, while paint strokes created with the Cloud Remove tool are coloured purple. Both tools allow you to set the brush size and opacity. You can use the left “[“ and right “]” bracket keys to change the current tool’s brush size. Paint strokes are grouped together into a layer when their size and opacity are the same. A new layer is created whenever the size or opacity is changed and a new paint stroke is made. You can edit the size and opacity of a paint stroke layer by simply hitting the Space Bar to enter into the Edit mode. Within the Edit mode, you can move paint strokes from one canvas to another.
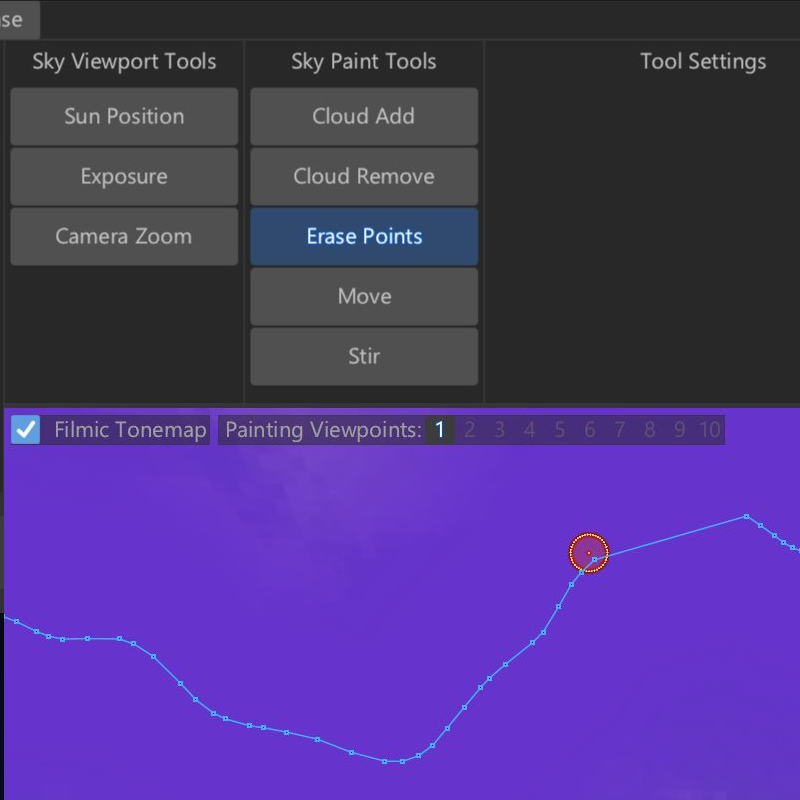
- Erase Points: The Erase Points tool works like an eraser, allowing you to remove individual points of the curve that makes up the brush stroke. With the tool selected, simply left click and drag over the points you want to remove from the curve.
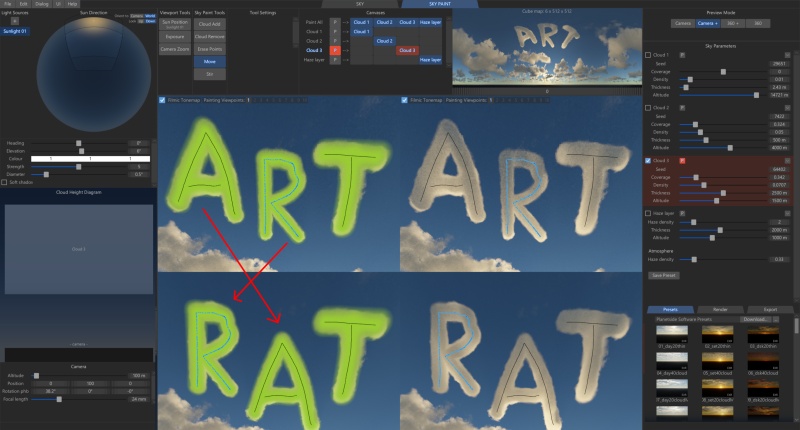
- Move: The Move tool allows you to move entire paint stroke layers. Hovering the cursor over the paint strokes will highlight the current paint stroke layer to move.
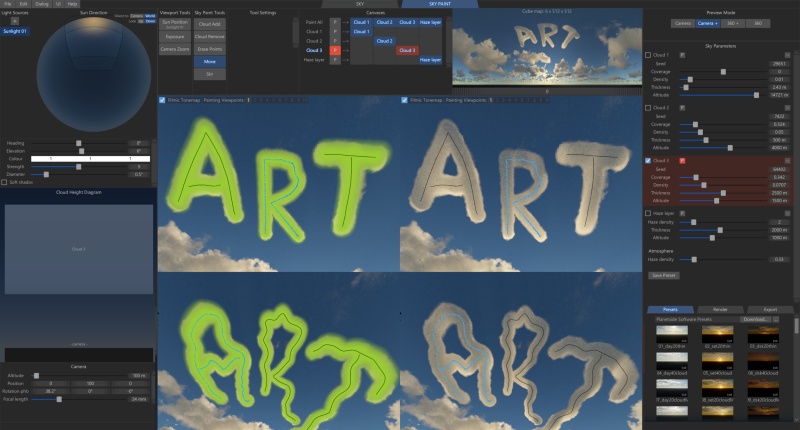
- Stir: The Stir tool allows you to distort the shape of the paint stroke curve. When selected, the tool displays two dotted circles indicating the extent of the distortion effect upon points that fall within. Points of the curve within the inner circle are more intensely affected by the strength of the distortion, which gradually falls off by the outer circle. The “Tool Size” parameter allows you to increase or decrease the area affected by distortion.
Edit Mode:
Hitting the Space Bar will bring up the Edit Mode. Any canvas having contained a paint stroke will be listed in the Canvas column. The Layers column lists the paint stroke layers for that canvas. You can select an individual layer or use the keyboard shortcuts [K] and [L] to select the previous or next layer. Pressing the [Delete] key will delete the paint stroke layer. If you delete a layer accidentally, you can undo the deletion via the main menu Edit dialog, or pressing Ctl-Z.
With a layer selected you can modify the size of the brush stroke and its opacity.
Painting Viewpoints:
You can paint from multiple viewpoints. Up to 10 different camera positions can be stored as a viewpoint, and each viewpoint has its own set of cube maps. These are projected into 3D space and intersect with one another to provide a merged solution to where clouds should be added and removed in 3D space.
Painting Viewpoints can be selected with the buttons at the top of the Viewport. You can hover over them to preview viewpoints temporarily without switching to them.
A parameter is an individual setting in a node parameter view which controls some aspect of the node.
A shader is a program or set of instructions used in 3D computer graphics to determine the final surface properties of an object or image. This can include arbitrarily complex descriptions of light absorption and diffusion, texture mapping, reflection and refraction, shadowing, surface displacement and post-processing effects. In Terragen 2 shaders are used to construct and modify almost every element of a scene.
