So you’ve created a procedural landscape in Terragen and want to export it to another package like Blender, Unreal Engine, Maya, etc. Where do you start?
The answer depends on the terrain itself and what you want to do with the exported data.
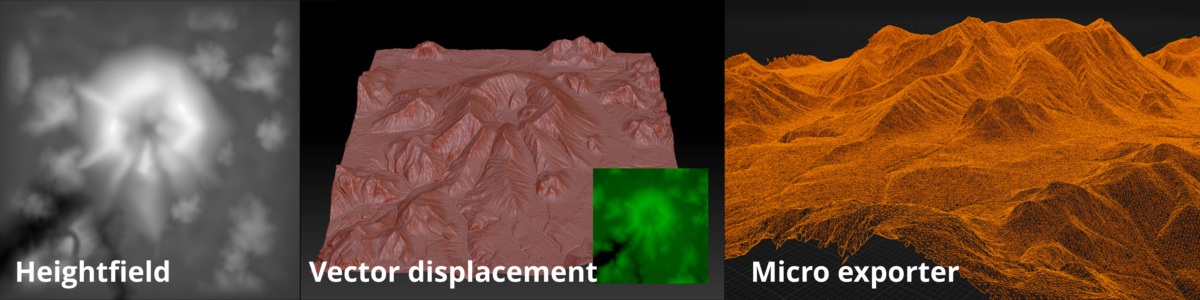
If your terrain has overlapping features that you want to preserve, then your best bet to capture that information is in a 3D mesh object or vector displacement map. On the other hand, if you’re only concerned about altitude values, a heightfield may do just fine.
Let’s take a look at each of these three methods.
Heightfields
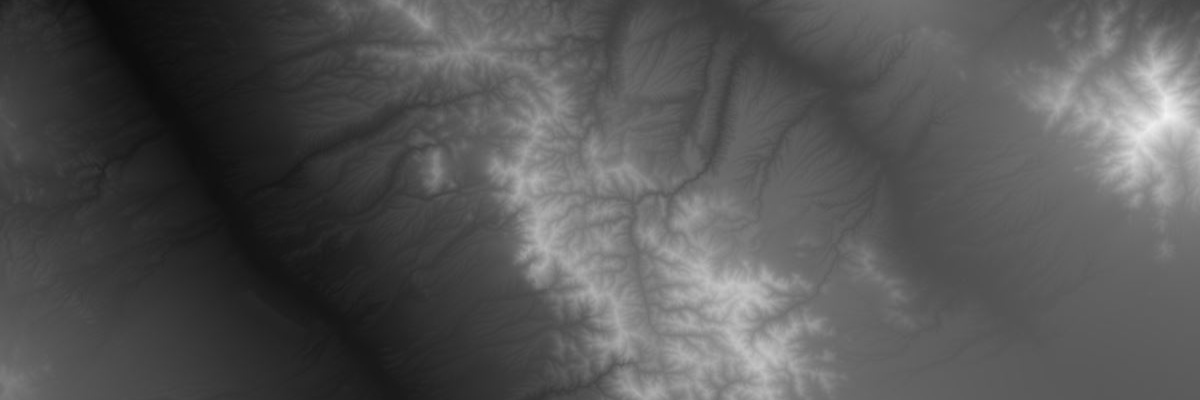
A heightfield or height map is one of the most common methods for storing terrain data. Even the National Map Viewer from the US Geological Survey supplies Digital Elevation Map and GEOTiff data as heightfields.
Terragen can generate heightfield data from procedural terrains by simply adding a “Heightfield generate” node to the project and connecting its “Shader” input to the output from the last node making up the procedural terrain.
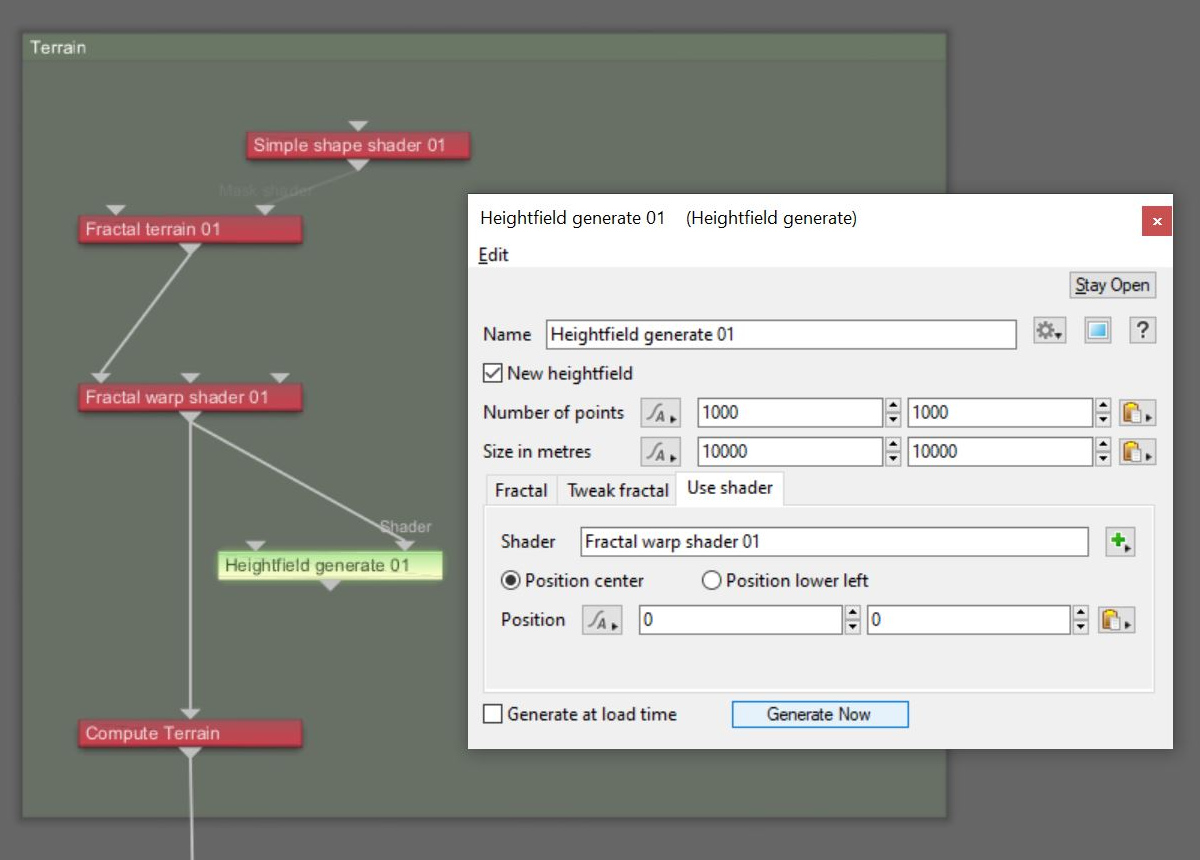
Once the heightfield has been generated by clicking the “Generate Now” button, you can export it by right-clicking on a heightfield operator node and selecting “Save file as…” from the context menu. EXR, TER, RAW and TIF file formats are supported.
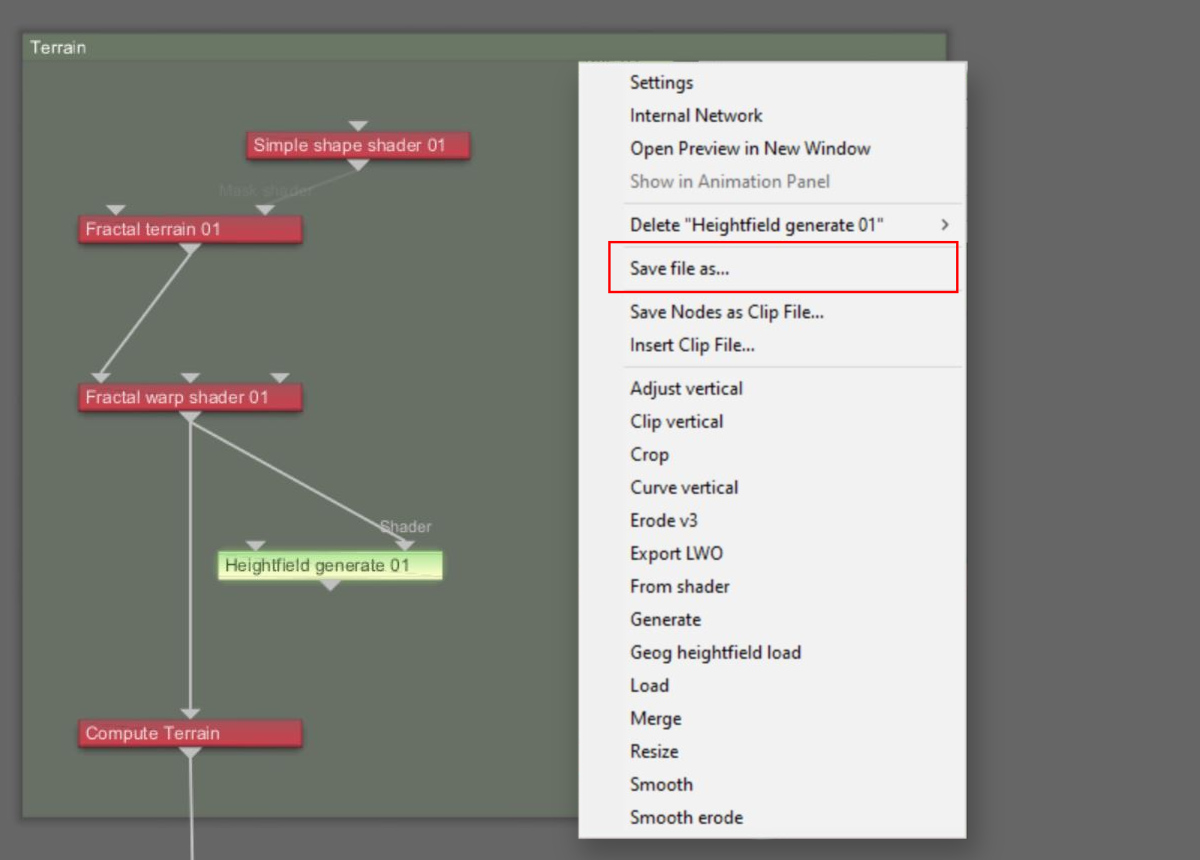
You’re not limited to just using procedural terrains either. You could start with a DEM file and apply operator nodes to scale and erode the terrain.
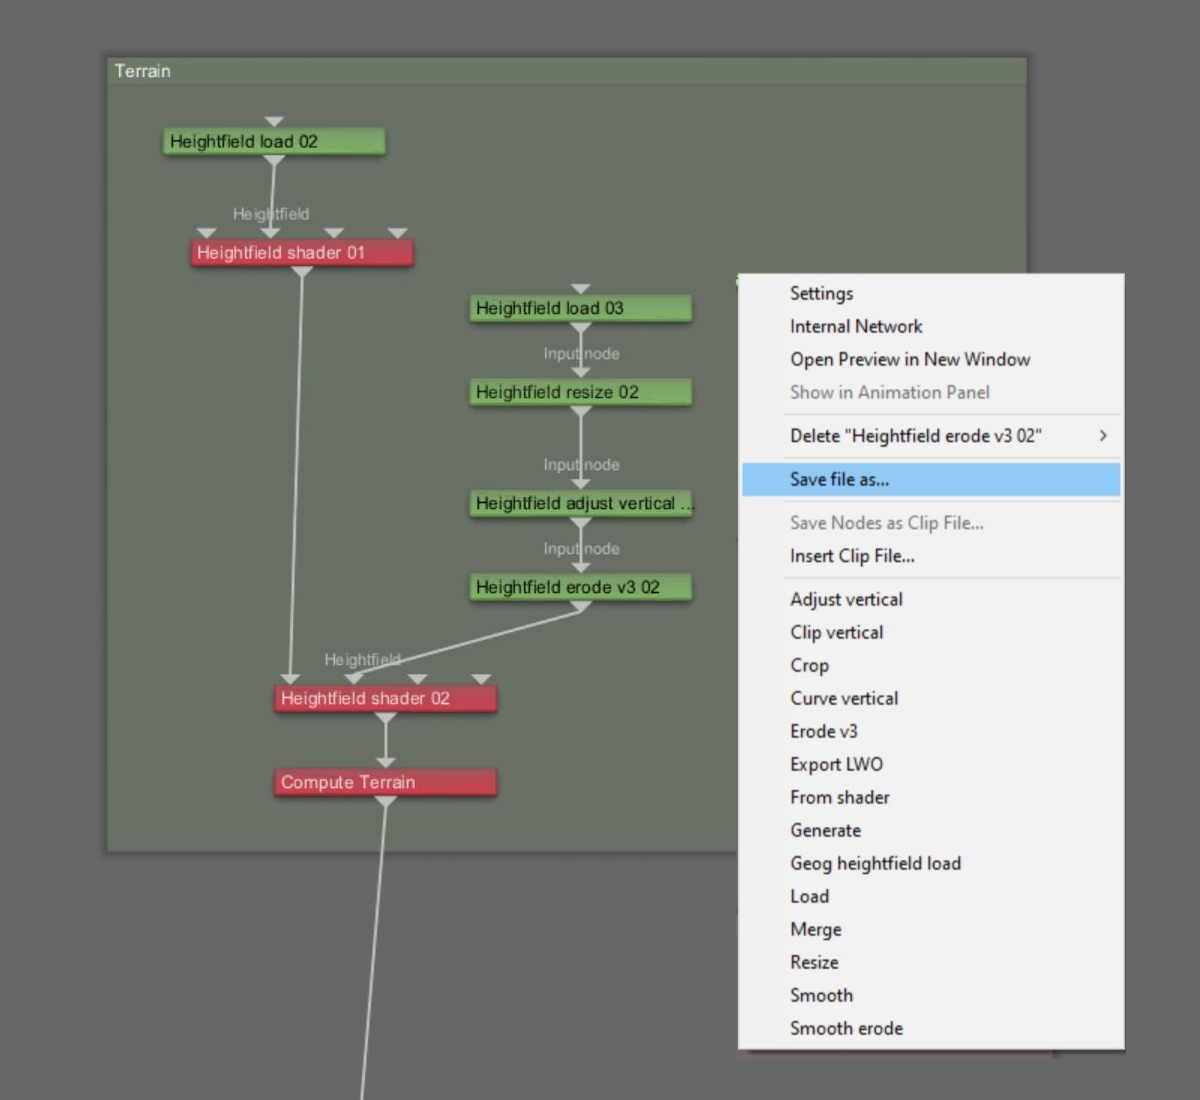
Note all the ways you can modifiy a heightfield with the list of operator nodes in the context menu.
Vector Displacement
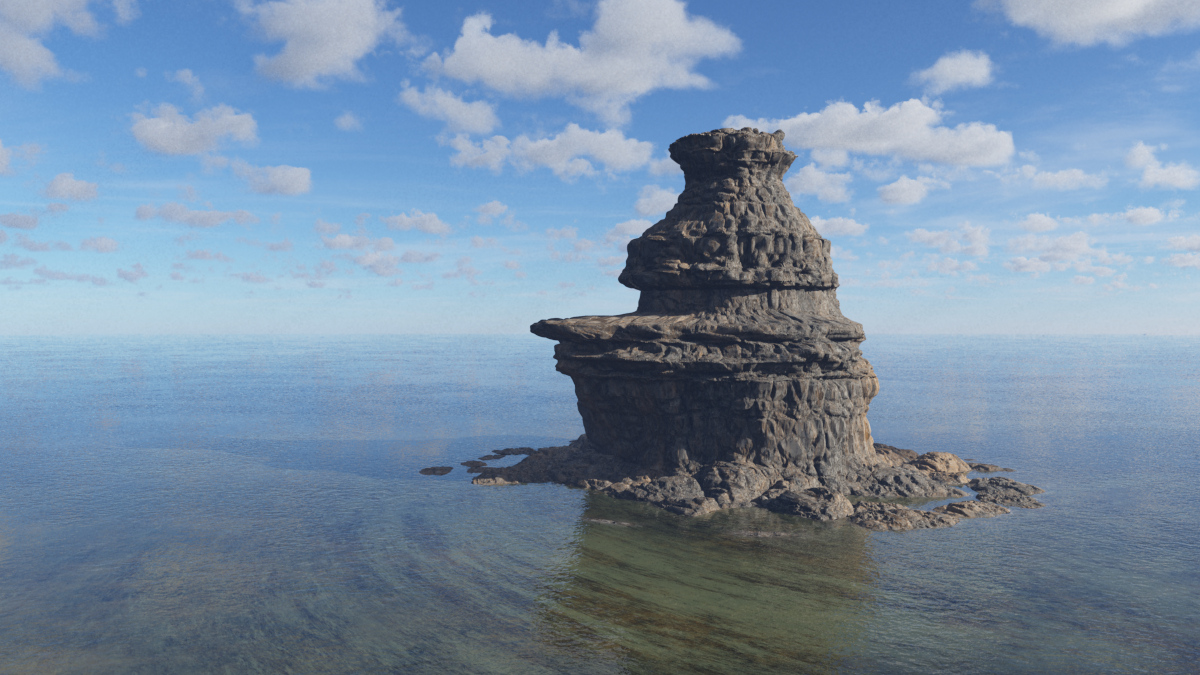
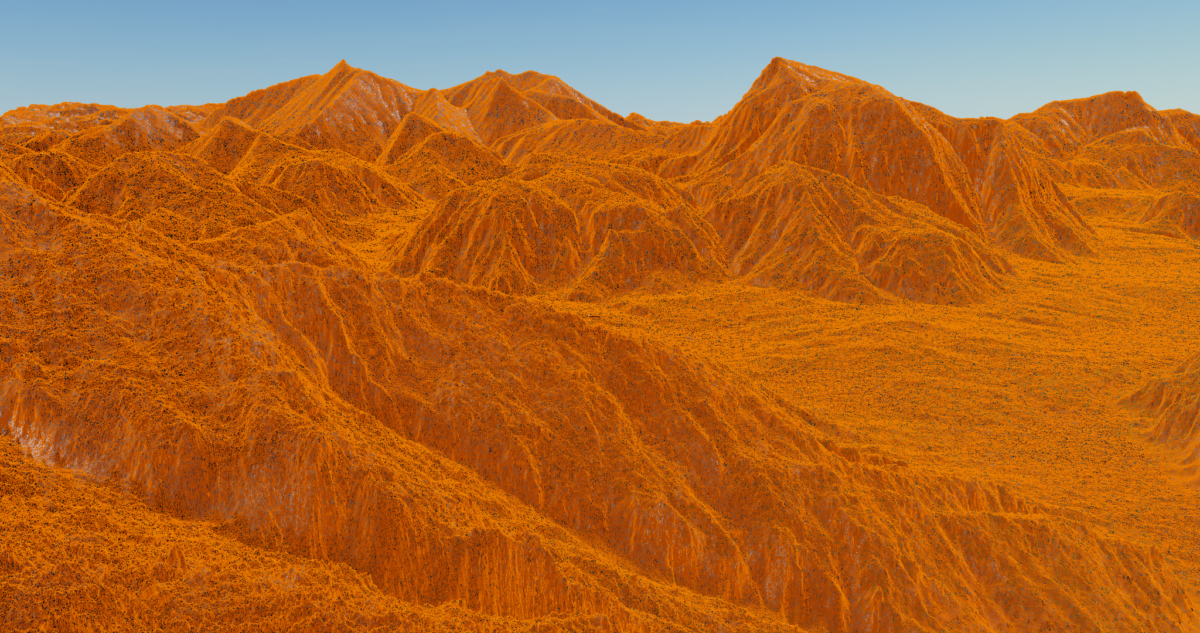
Terragen render of terrain with overhanging features.
Unlike heightfields which are limited to Y axis or elevation displacements, vector displacement mapping provides a way to capture terrain features which overhang in the X and Z axis.
Terragen 4 has built-in tools to import and export vector data, giving users the flexibility to export terrains and make modifications to them in other applications such as Zbrush, then import the modified terrain back into Terragen.
For a complete step-by-step of this process, please see this tutorial.
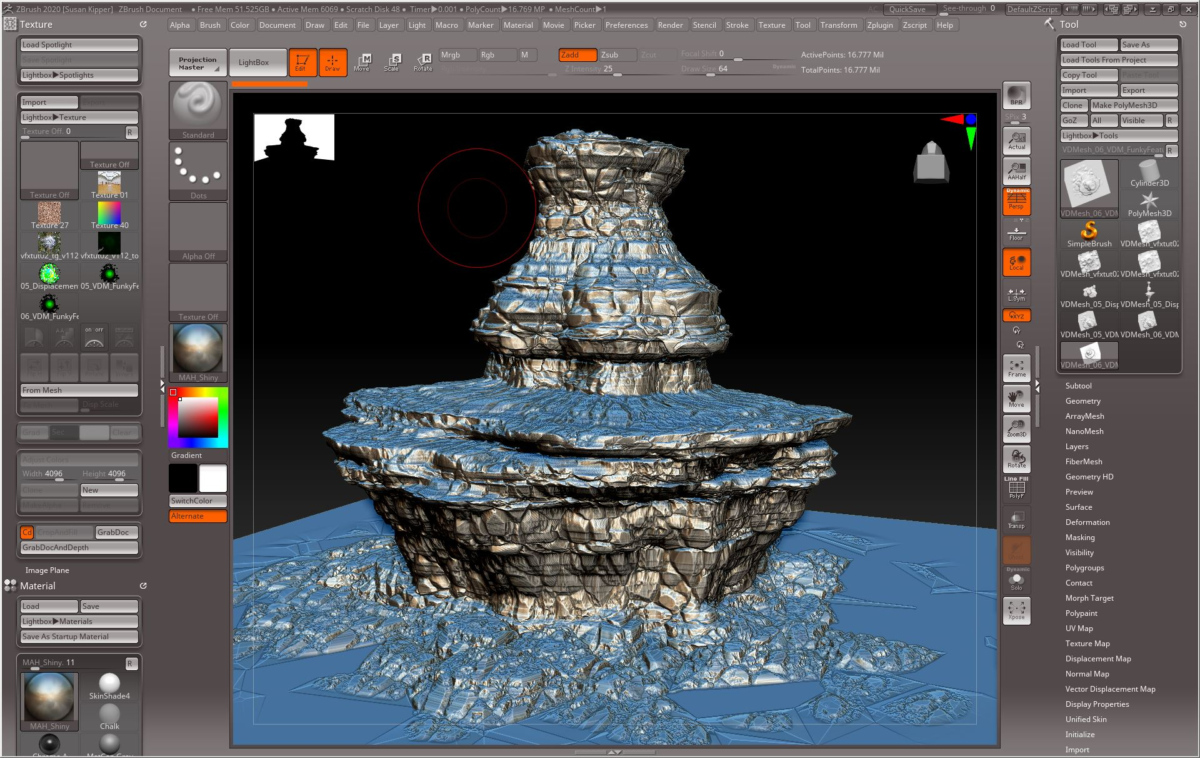
Terrain exported as a vector displacement map and imported into ZBrush.
Micro Exporter
Major improvements to this feature have been made in Terragen 4.7 including cleaner geometry export, smaller file sizes and support for multithreading rendering.
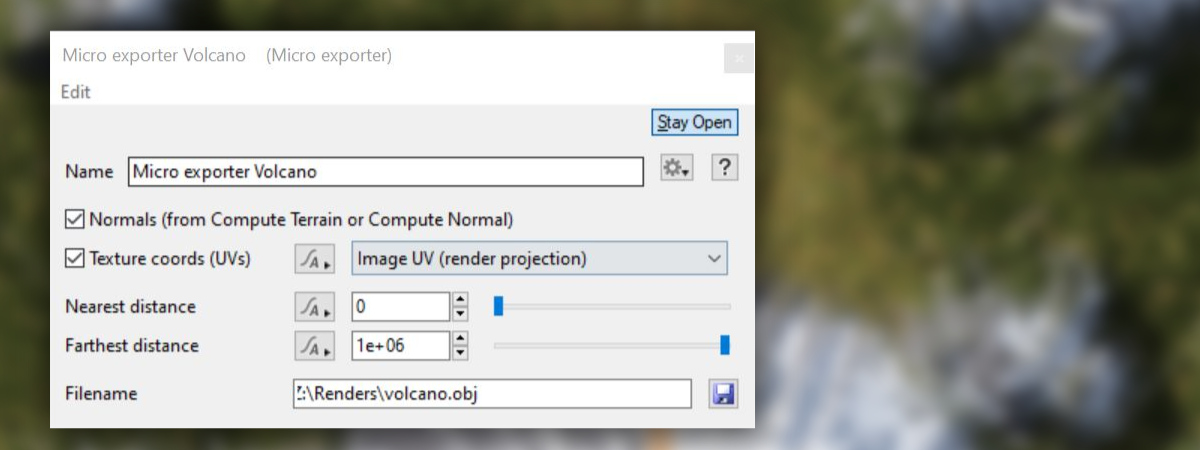
Any terrain, including those with overhanging features, can be exported as a 3D mesh via the Micro Exporter. You have full control over the level of detail in the exported mesh and the format it is saved in, including OBJ or FBX.
You can even export “camera dependent” geometry based on the position of the camera assigned to the renderer.
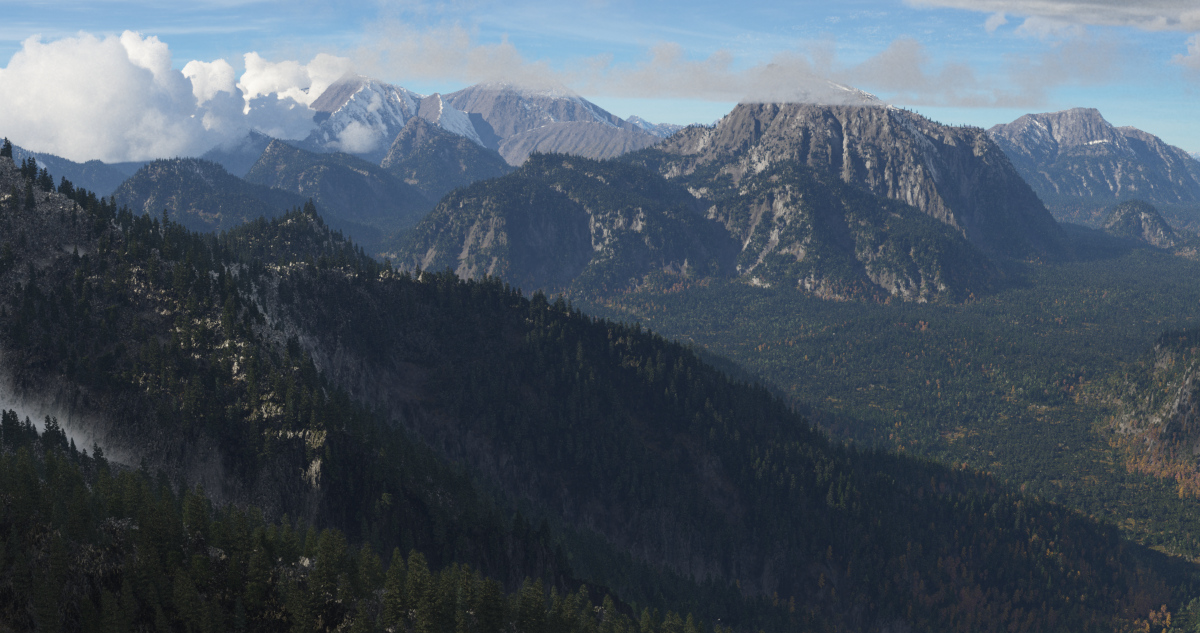
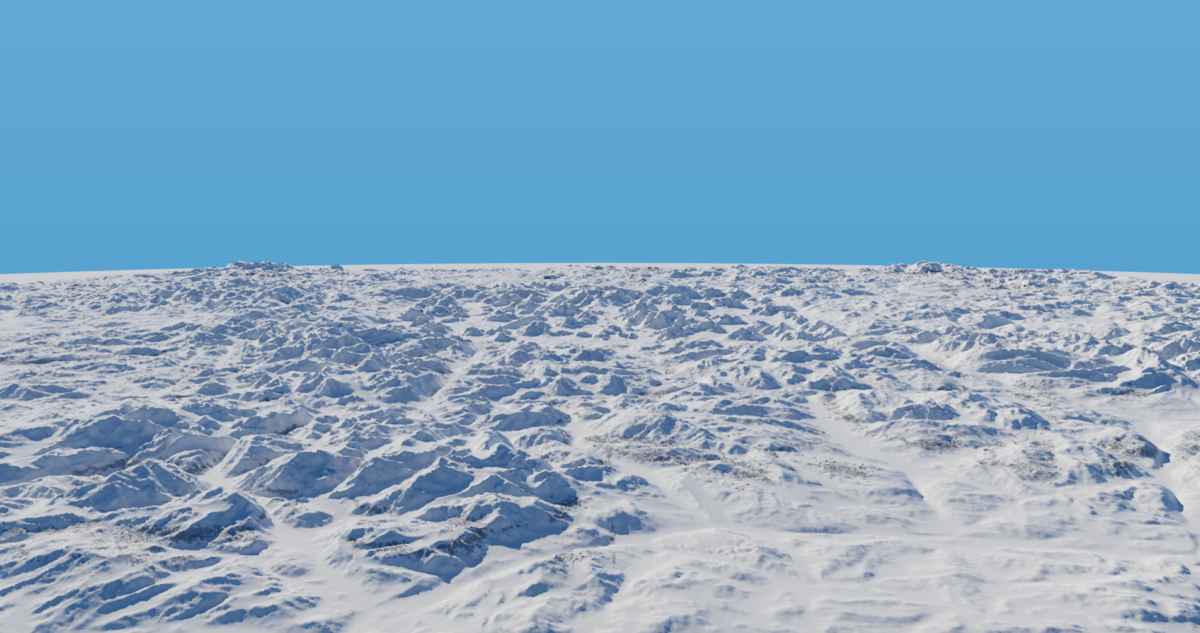
Terragen render.
Terrain geometry Micro exported from the render camera’s point of view and clipped at 50 kilometers.
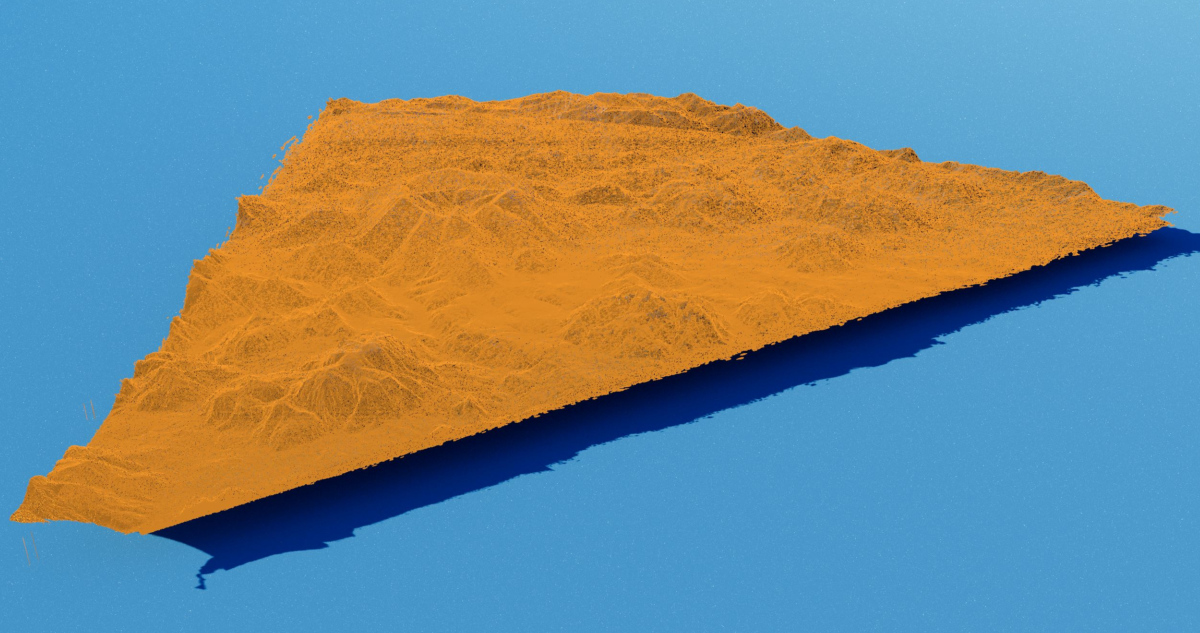
You can export terrain of unlimited size, too.
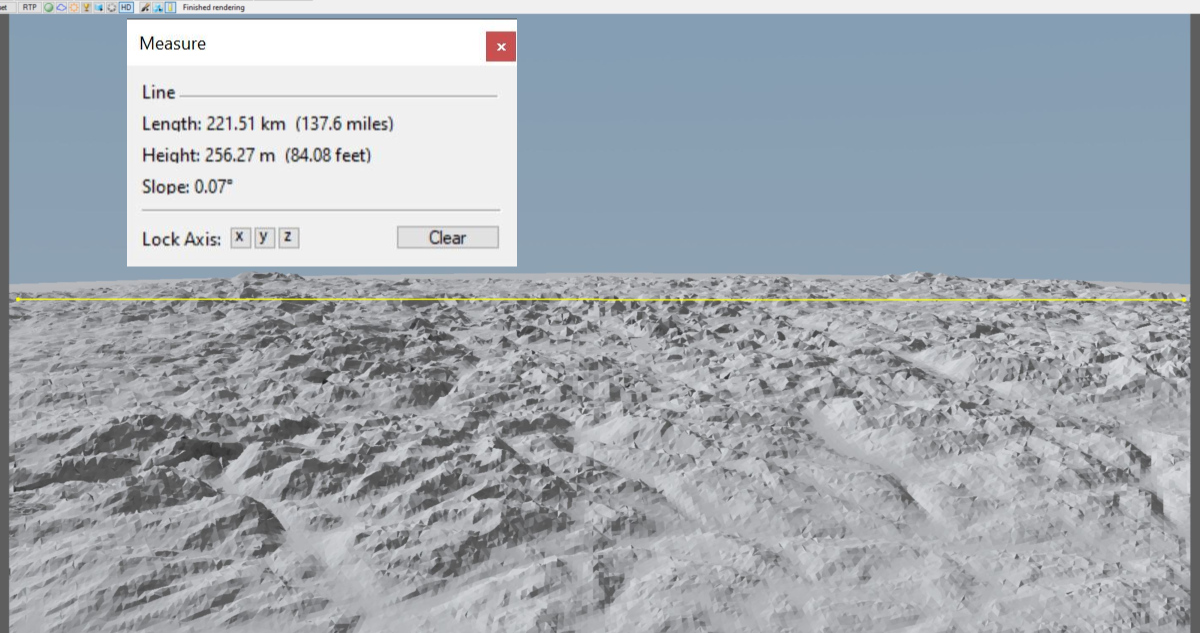
3D Preview and ruler tool for measuring distances.
Micro exported terrain loaded into Blender.
Textures
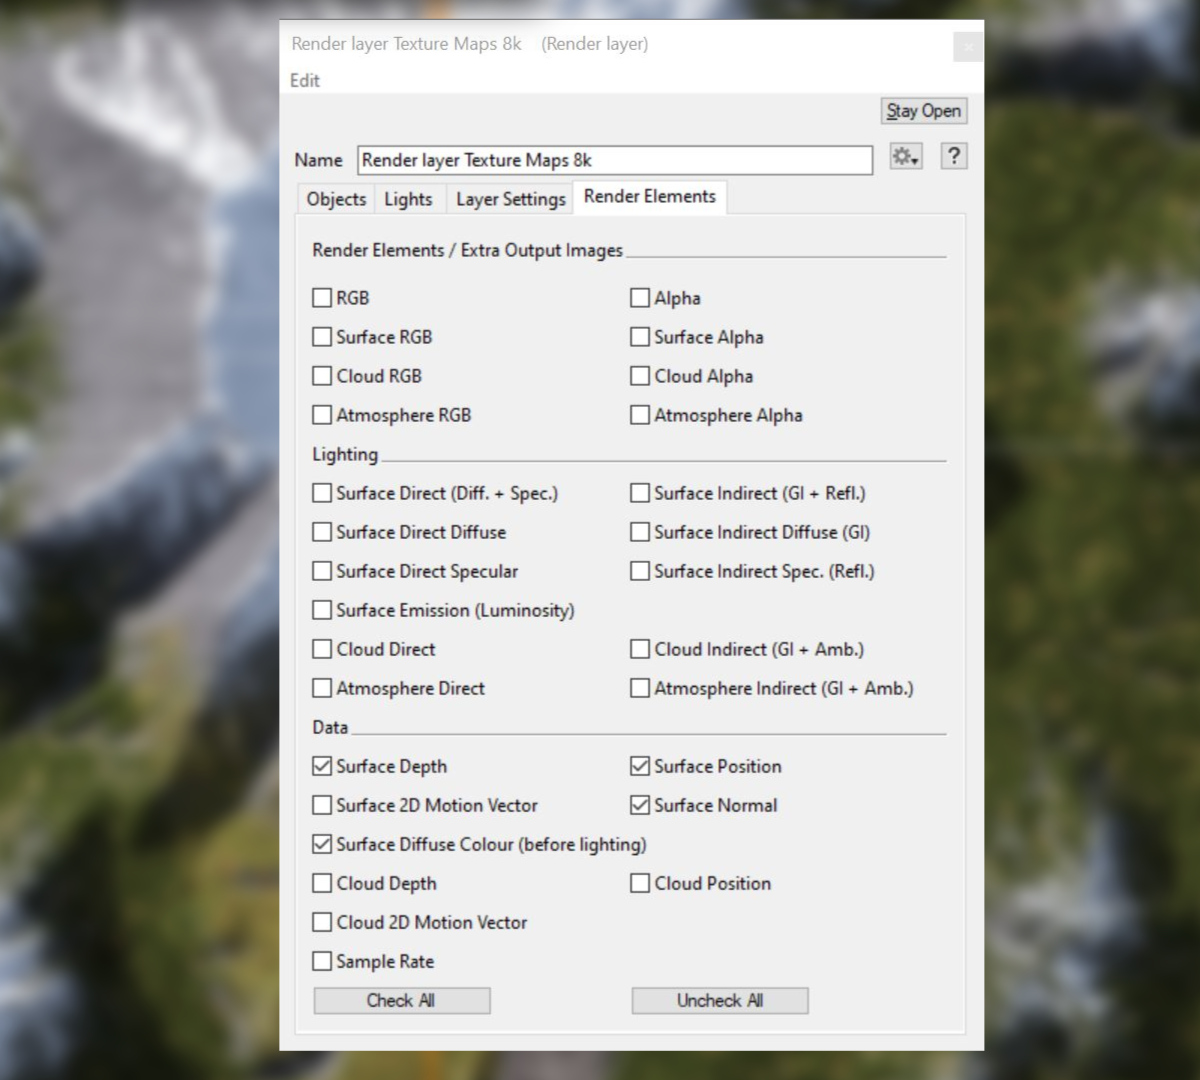
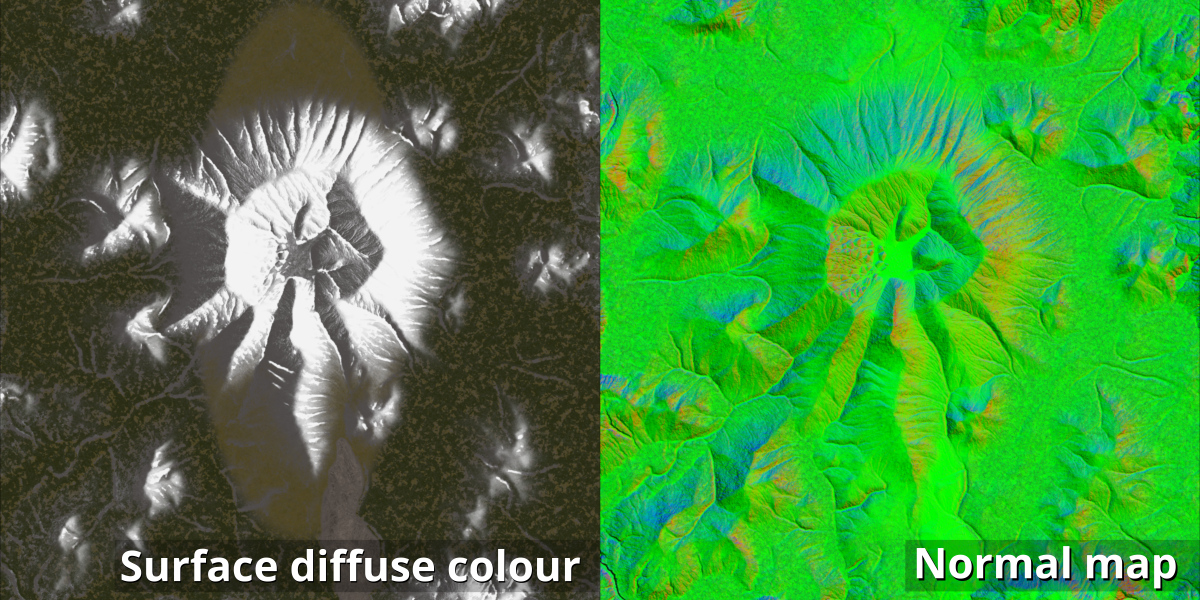
The Render Layers feature can be used to save specific texture maps and render elements, such as Diffuse Colour and Normal maps, for the mesh you’ve created.
In Conclusion
As you can see, in addition to clouds, atmosphere, and great rendering, Terragen 4 gives you multiple ways to export terrain and complete control over your asset’s quality and level of detail.
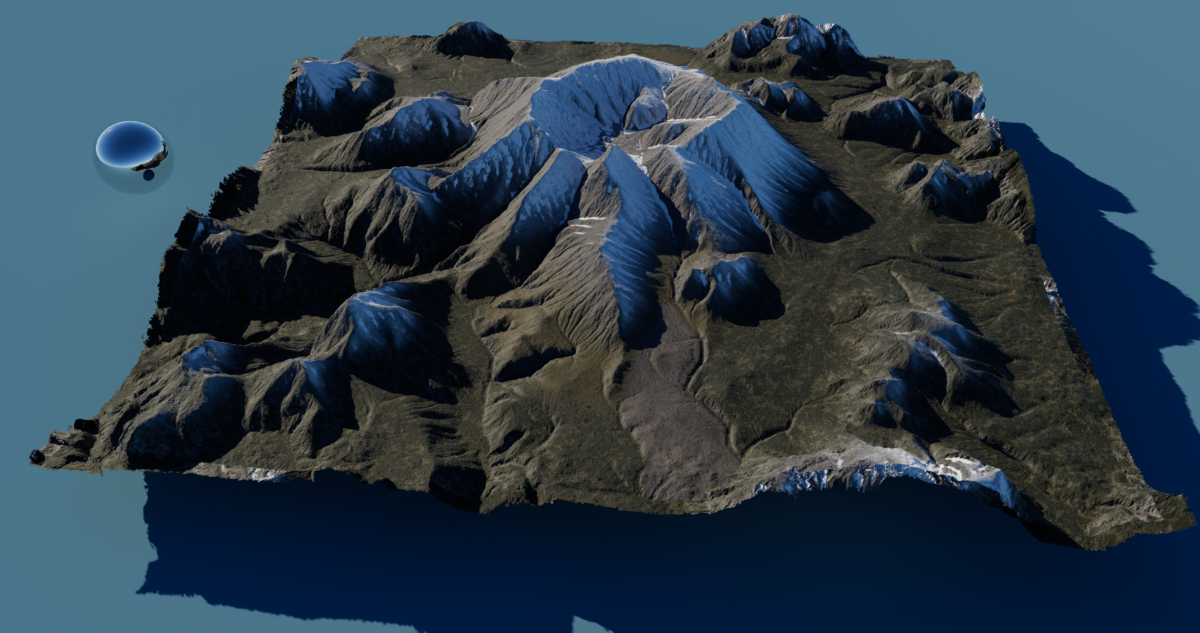
Terragen terrain exported as geometry via the Micro exporter, with texture maps for surface colour and normals. Imported into Blender.
Further Reading
For an in-depth exploration of how to export terrain and texture maps from Terragen using the Micro Exporter and Render Layer features, please see this https://planetside.co.uk/blog/exporting-terrain-via-the-micro-exporter/.